Print Portfolio
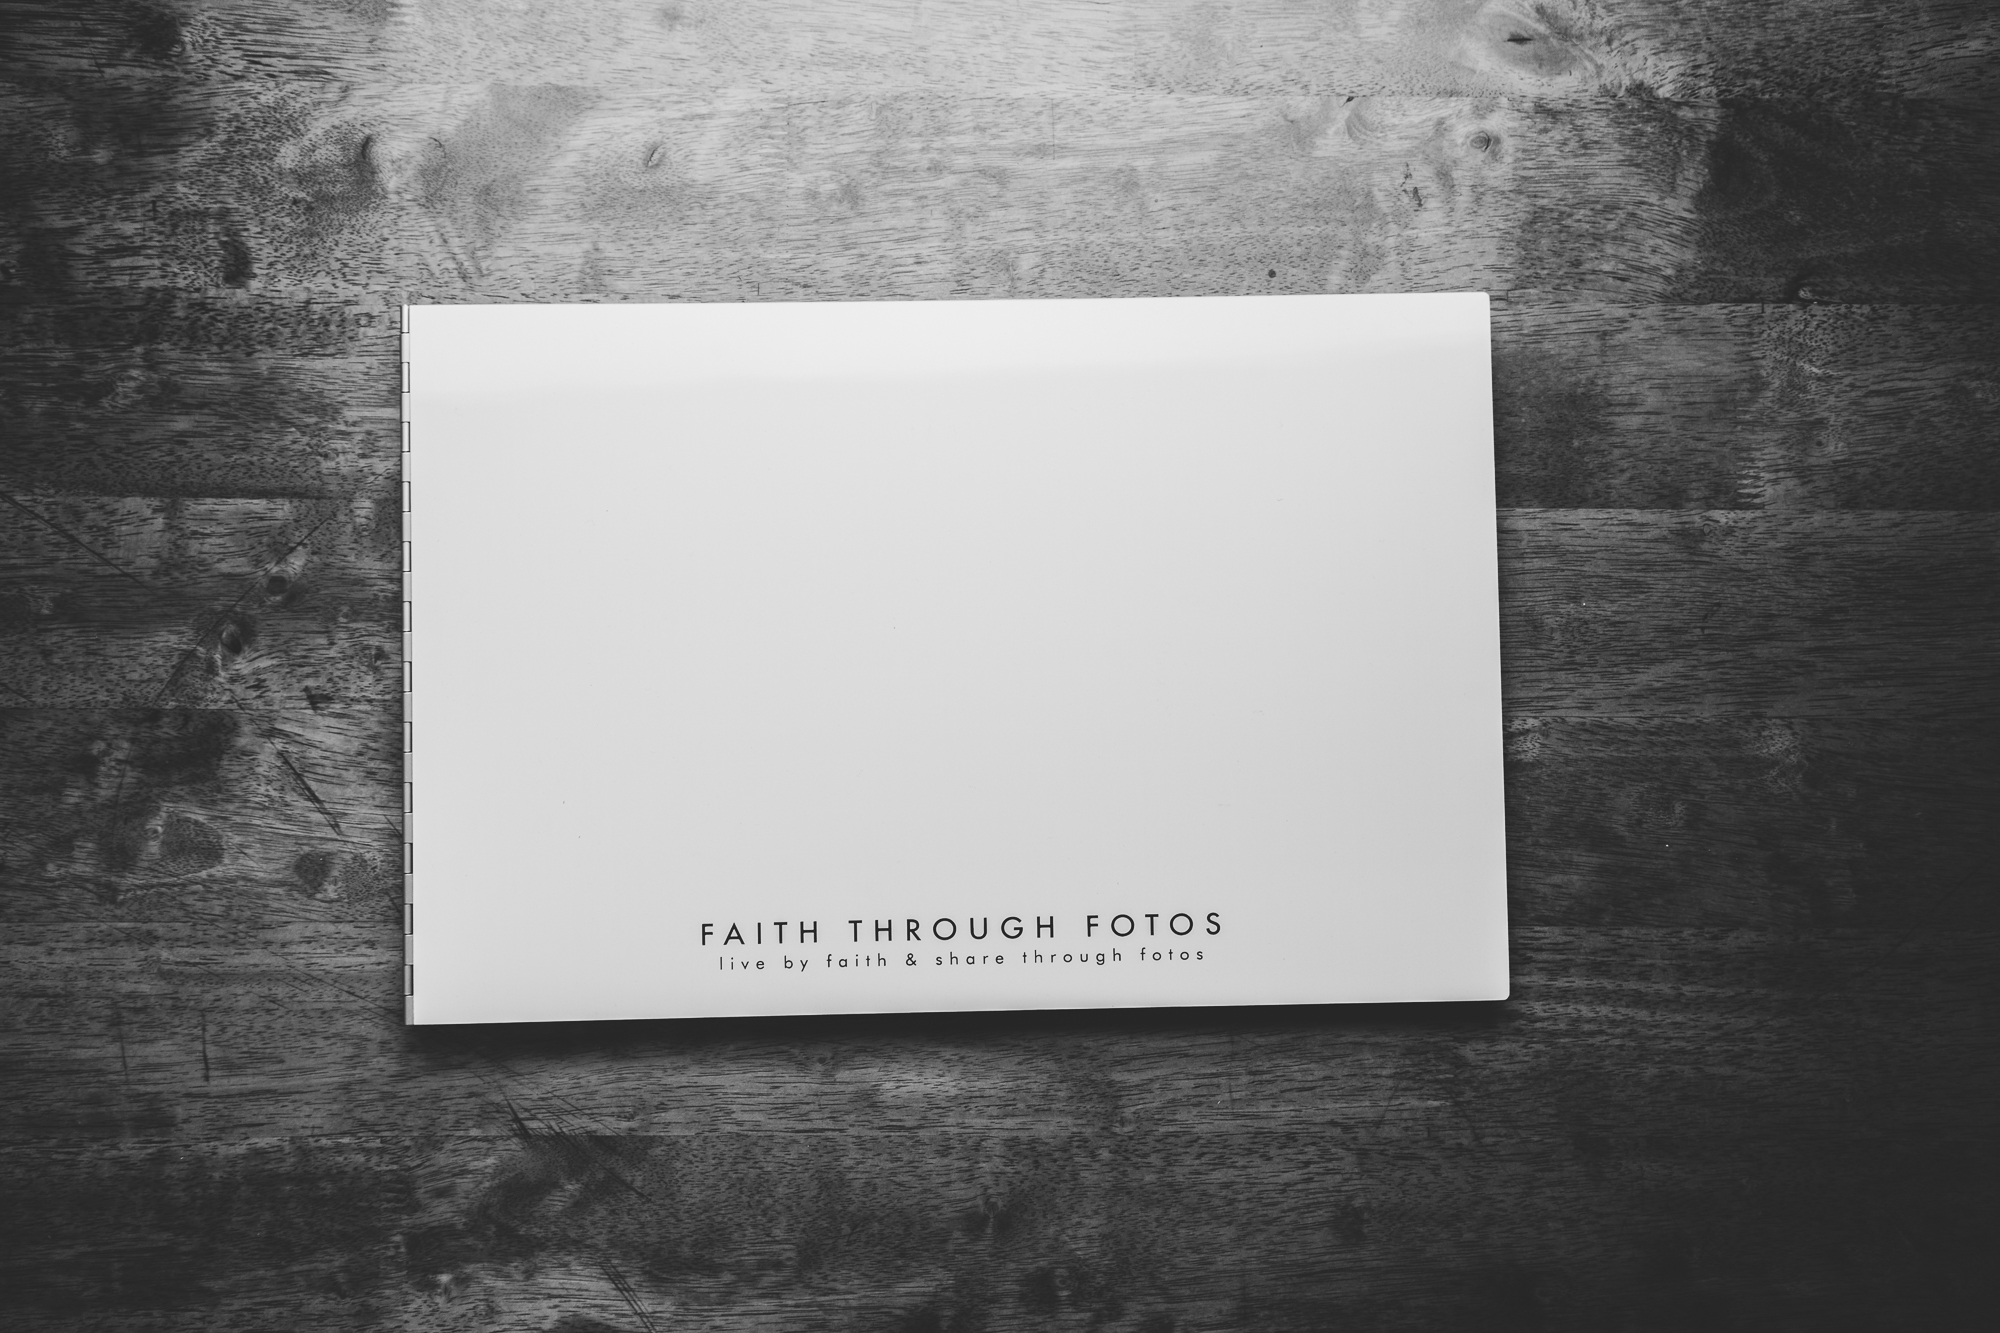
My print portfolio case by Shrapnel Design & my final selected portfolio images.
As you may know, I graduated at the end of June this past year from The Art Institute of Pittsburgh. In order to graduate, one of the requirements was to show a print portfolio to the faculty and at the Portfolio Show. This portfolio book is also a tool to show potential employers your work that may not be displayed directly on your website portfolio, but is still consistent in style. The portfolio includes my best work created up until graduation, along with an artist statement. It is a difficult self-assignment because of all the decisions that need to be made, and in a timely fashion. These decisions include what type of case, plastic sleeves or no plastic sleeves, what type of paper to print on if you are printing yourself, choosing which images show your overall and consistent style; from there, the layout of the images on the page, and many more technicalities. A lot of time and thought went into this print portfolio, although all the prep work goes unseen.
I chose to order my white aluminum case from Shrapnel Design and use plastic sleeves to protect the prints. My portfolio is 11x17 in order to show the closest crop size as possible to the originals, and printed at full bleed. The average number of images in a portfolio should be about 15-25 and display your technical skills and creative ability, in a consistent manner that reflects your branding. An artist statement about my work is displayed before the images. The cover of my portfolio reflects the watermark that I use for social media which "Faith Through Fotos" printed at the bottom.
So here it is, my artist statement (able to be clicked on to read more easily) and my print portfolio from this past year!


Live by faith & share through fotos.

Wake Up, Sleeper
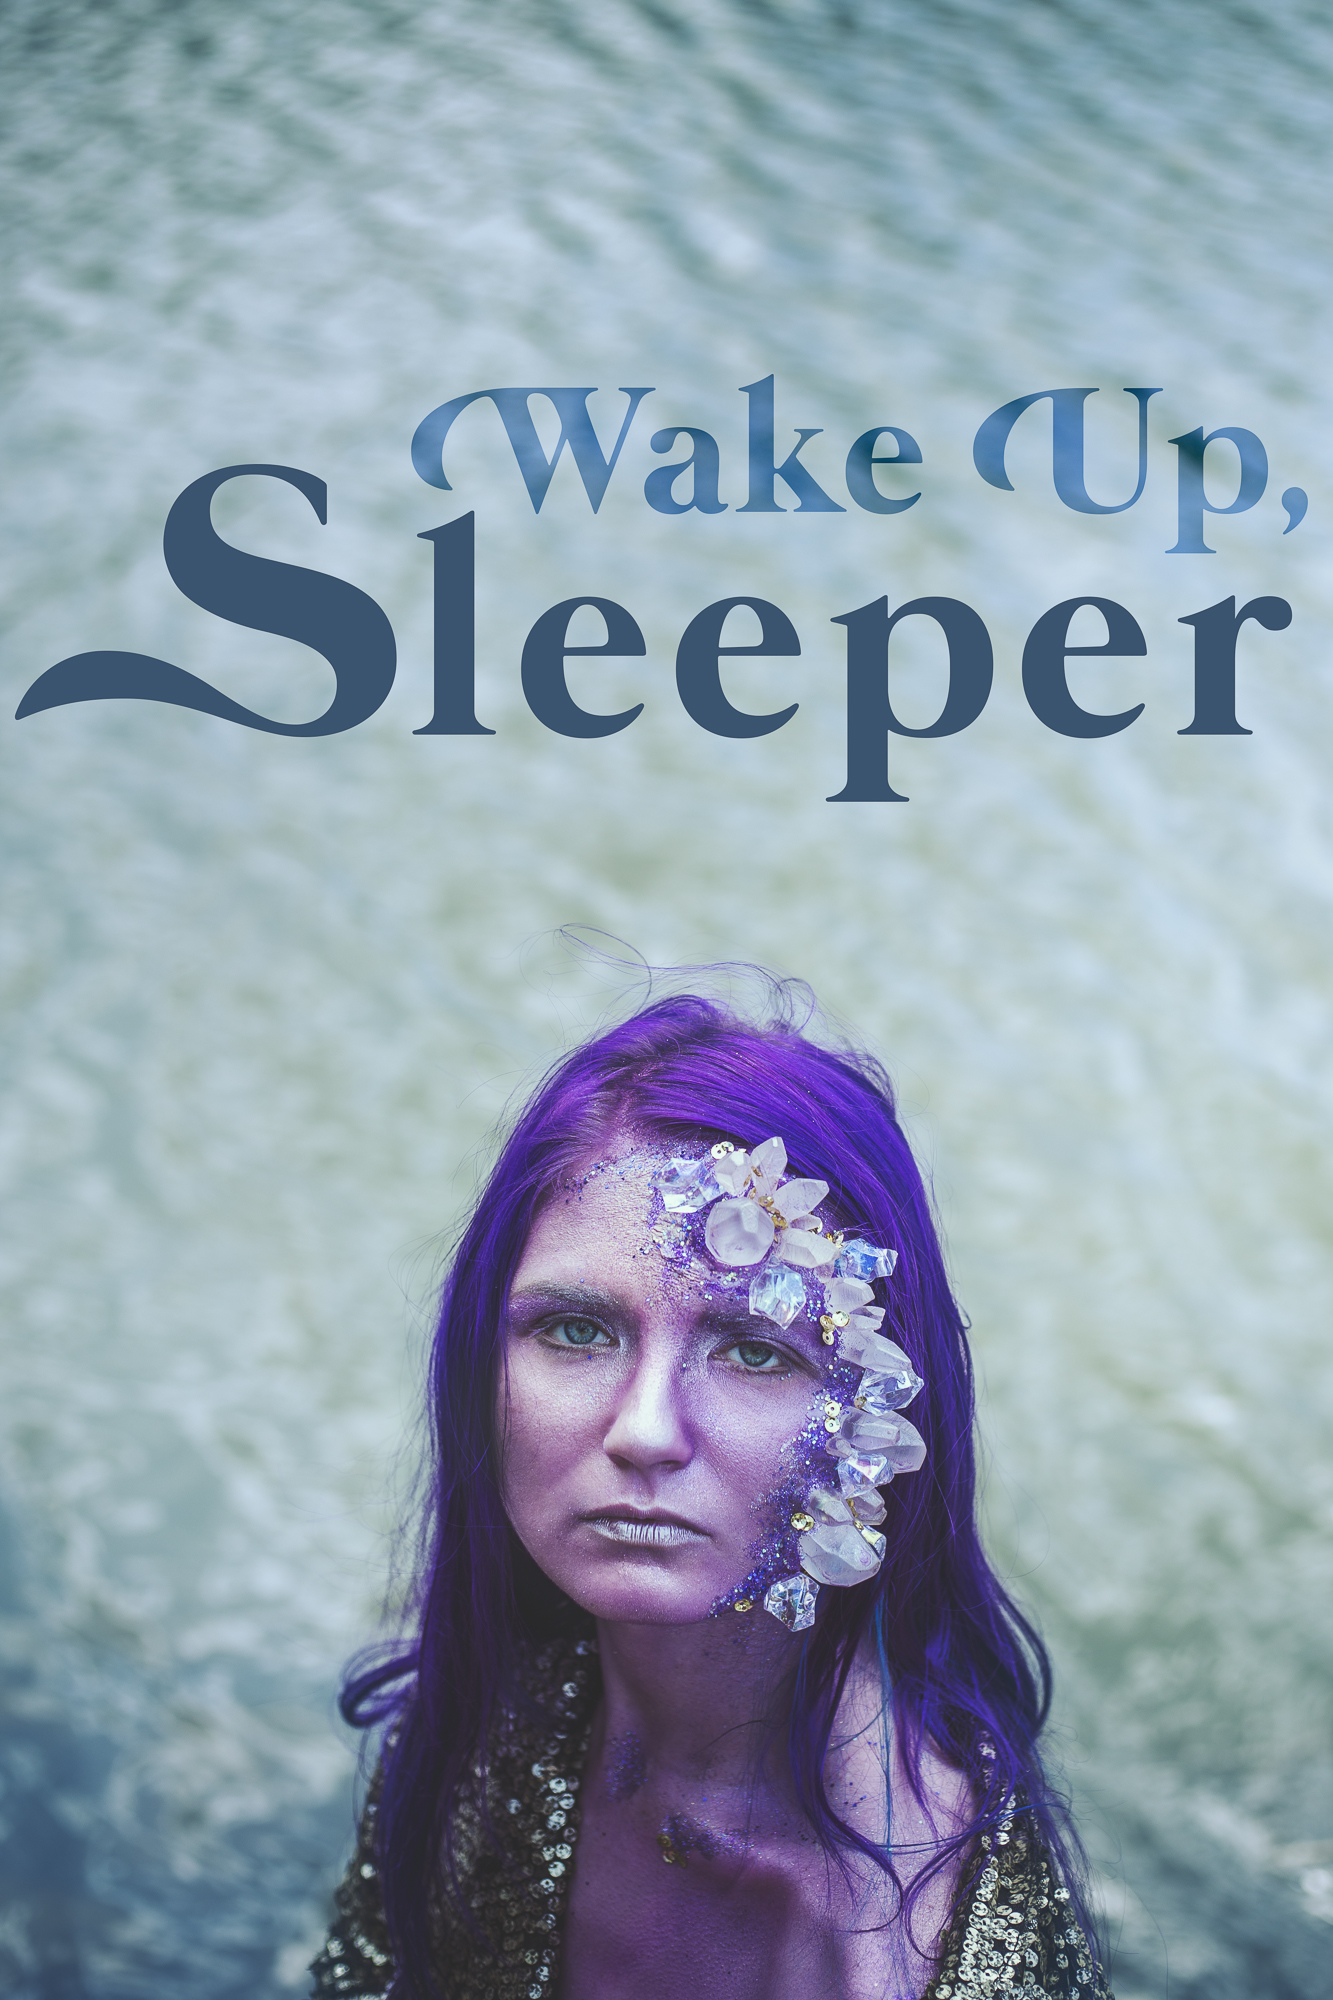
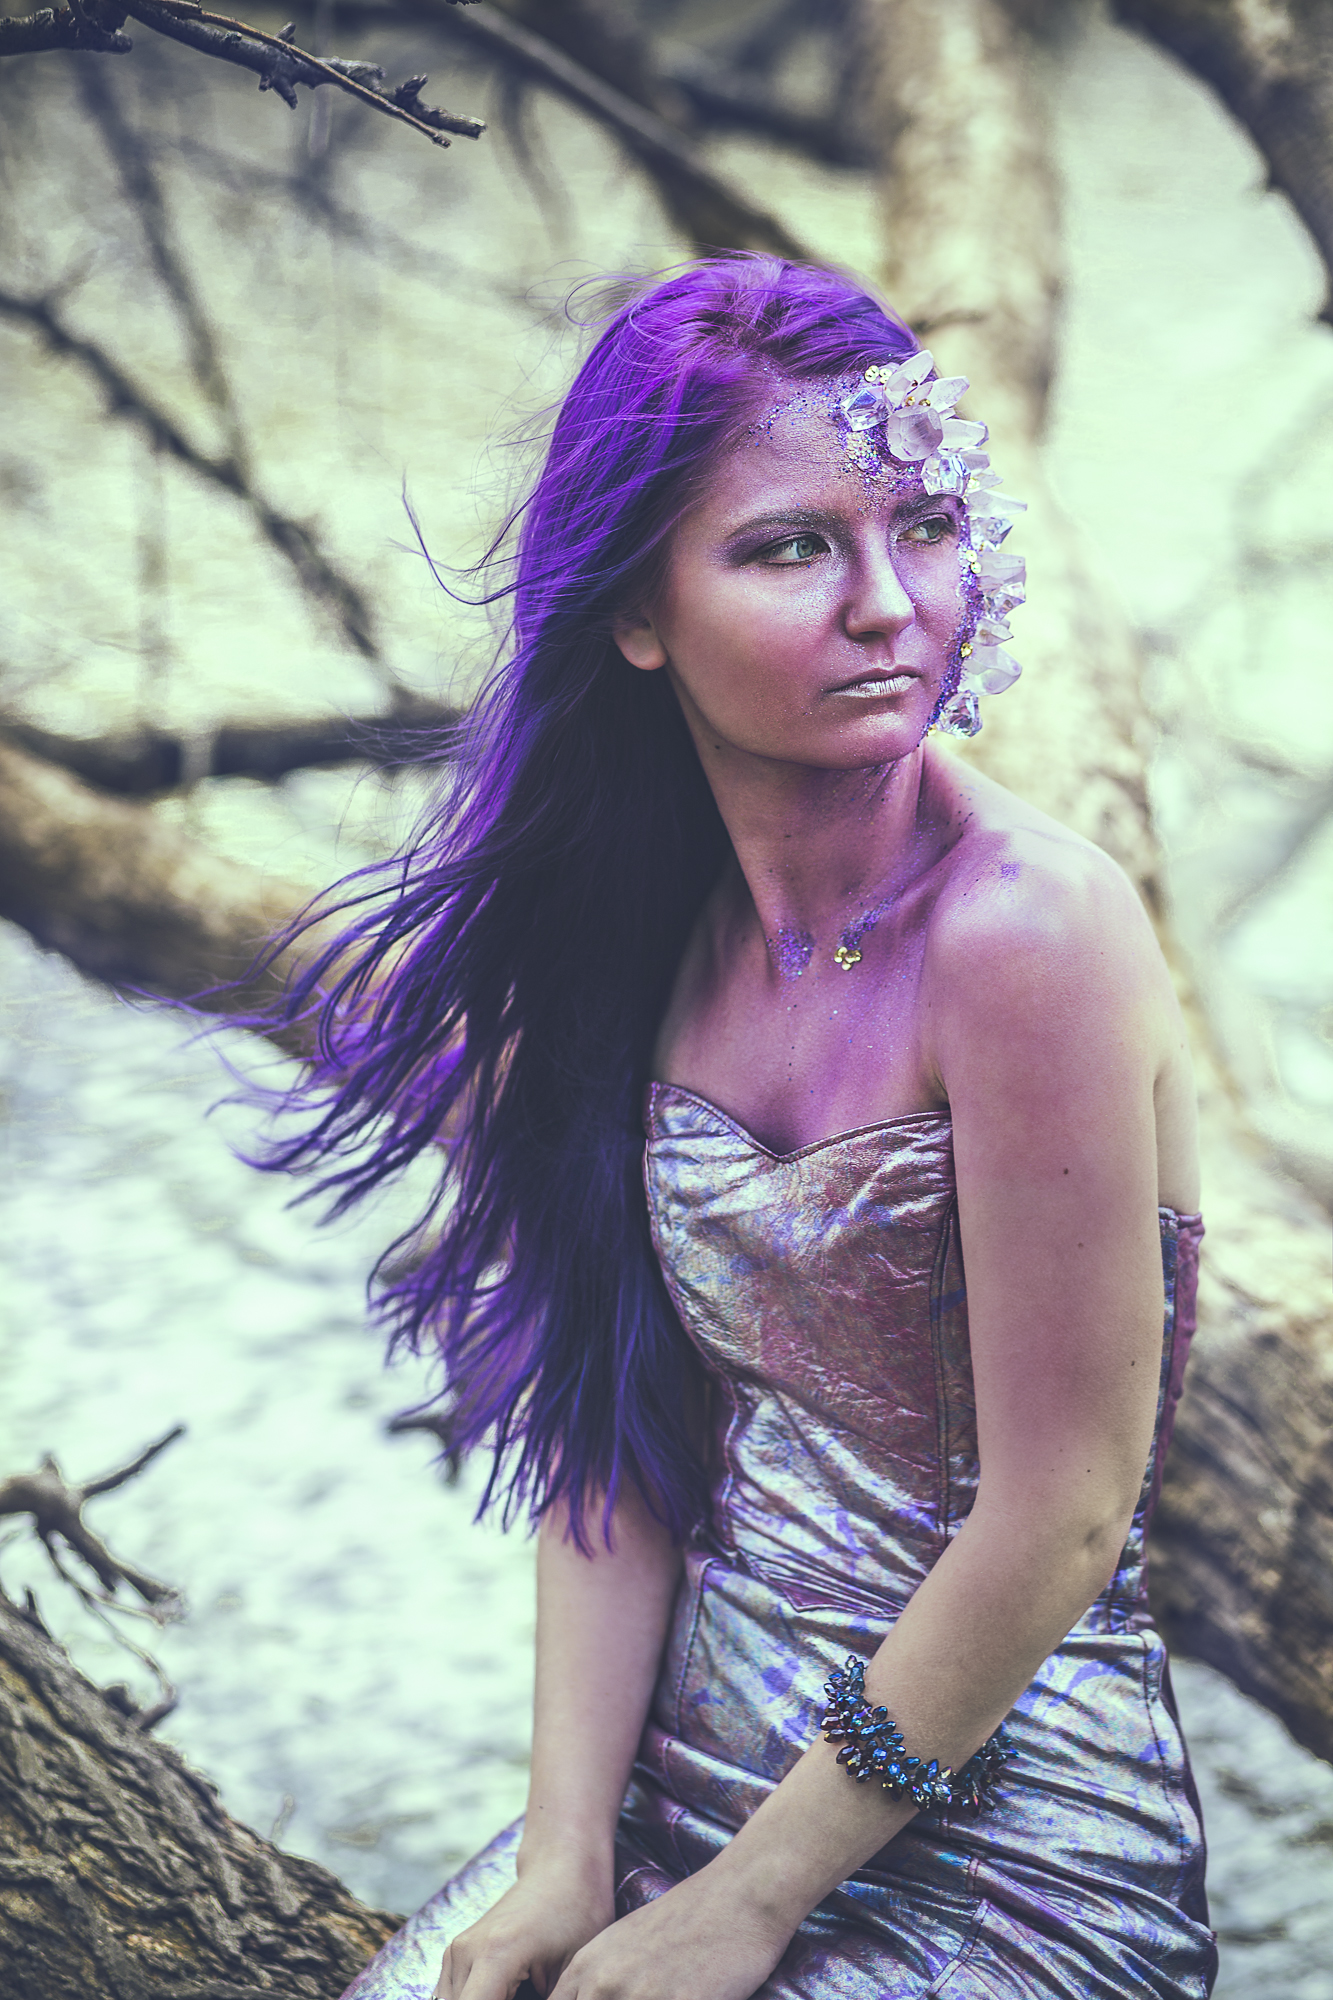
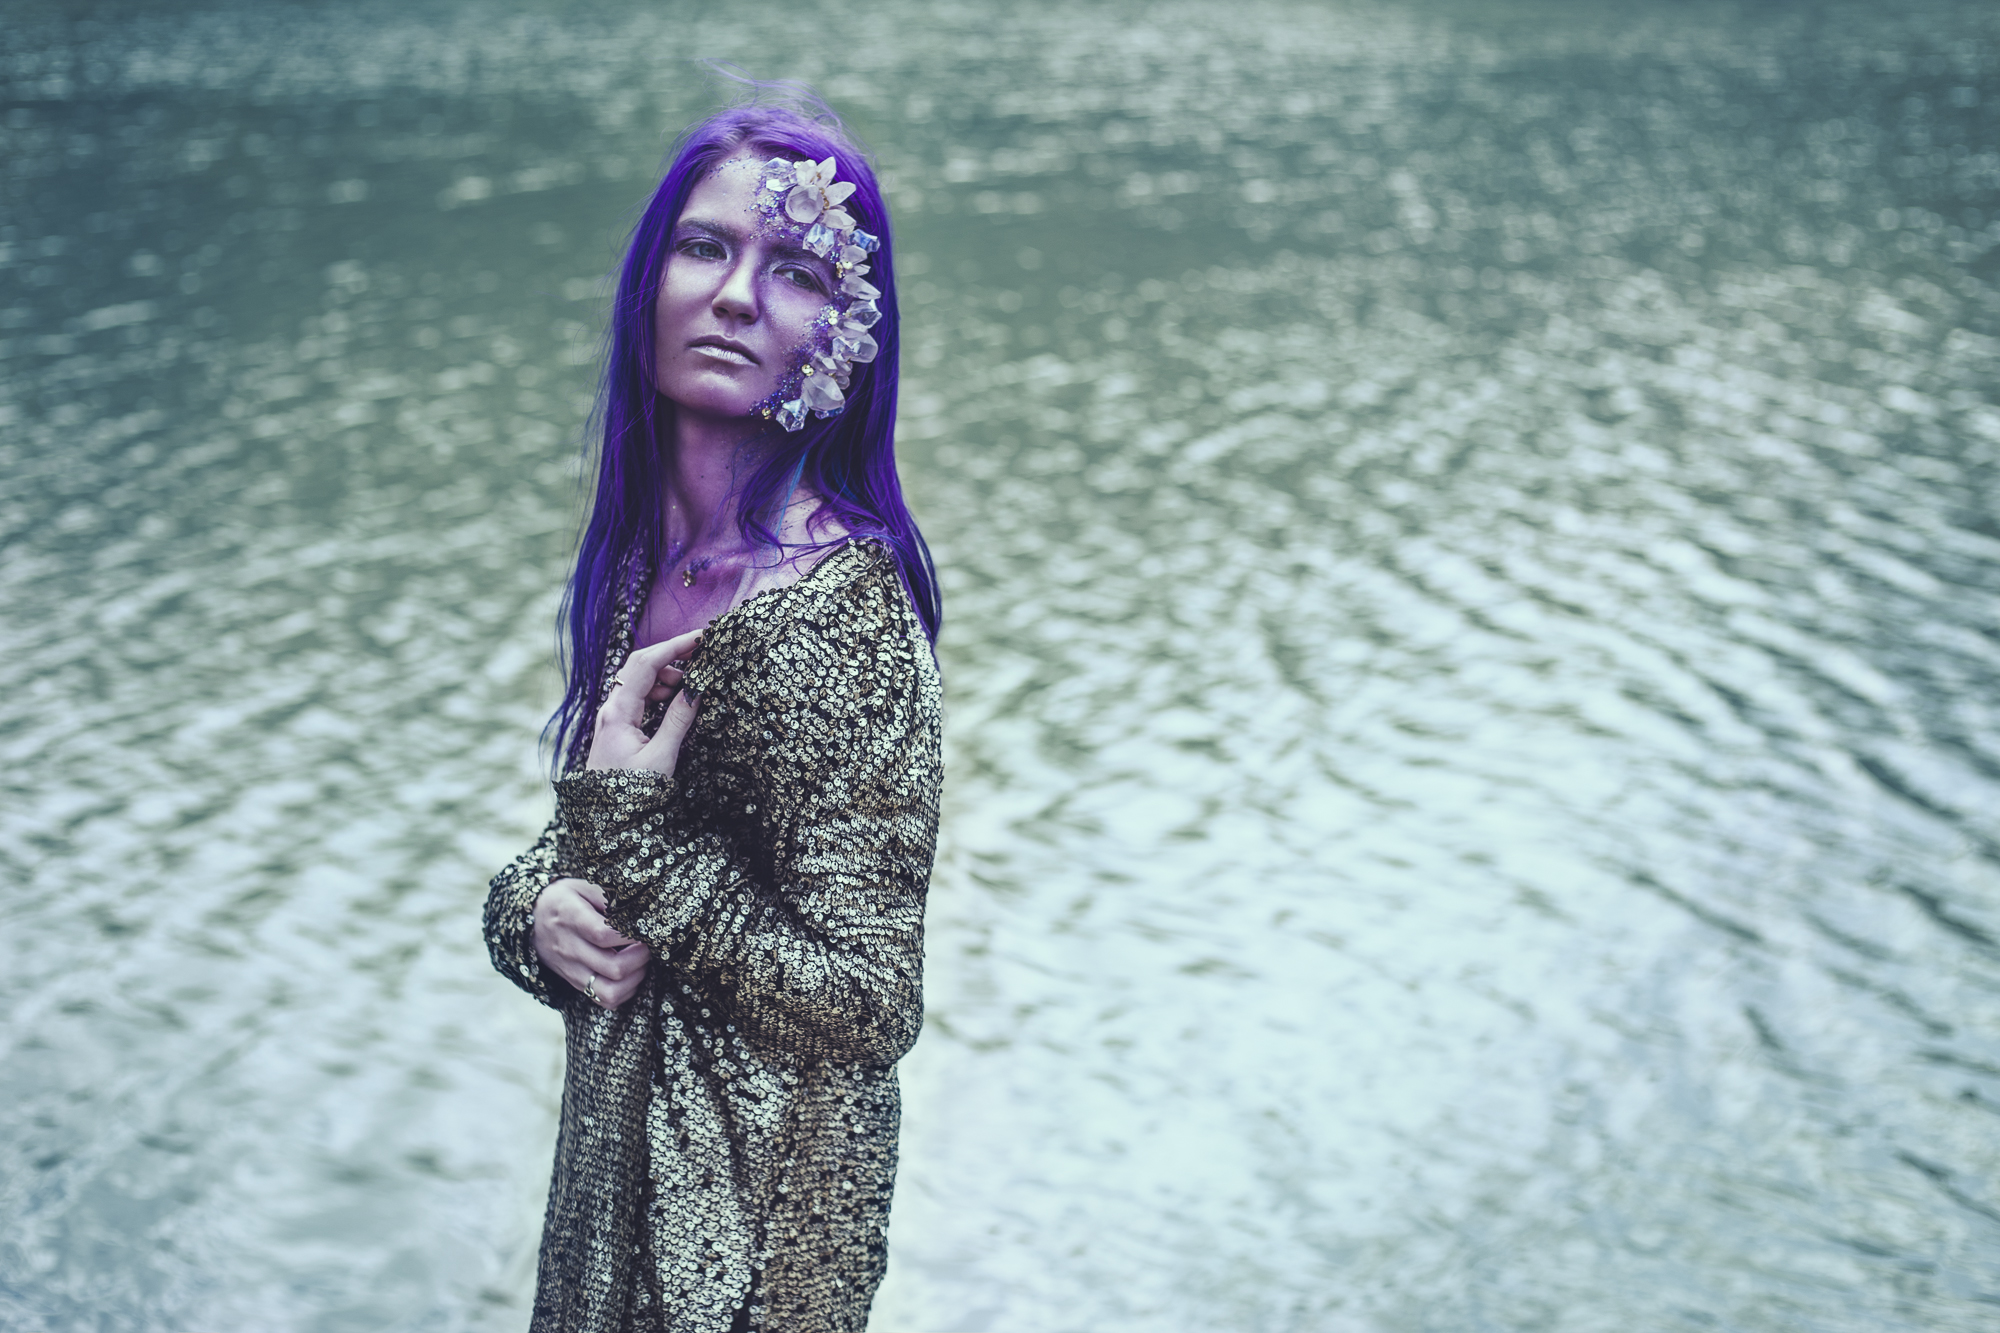
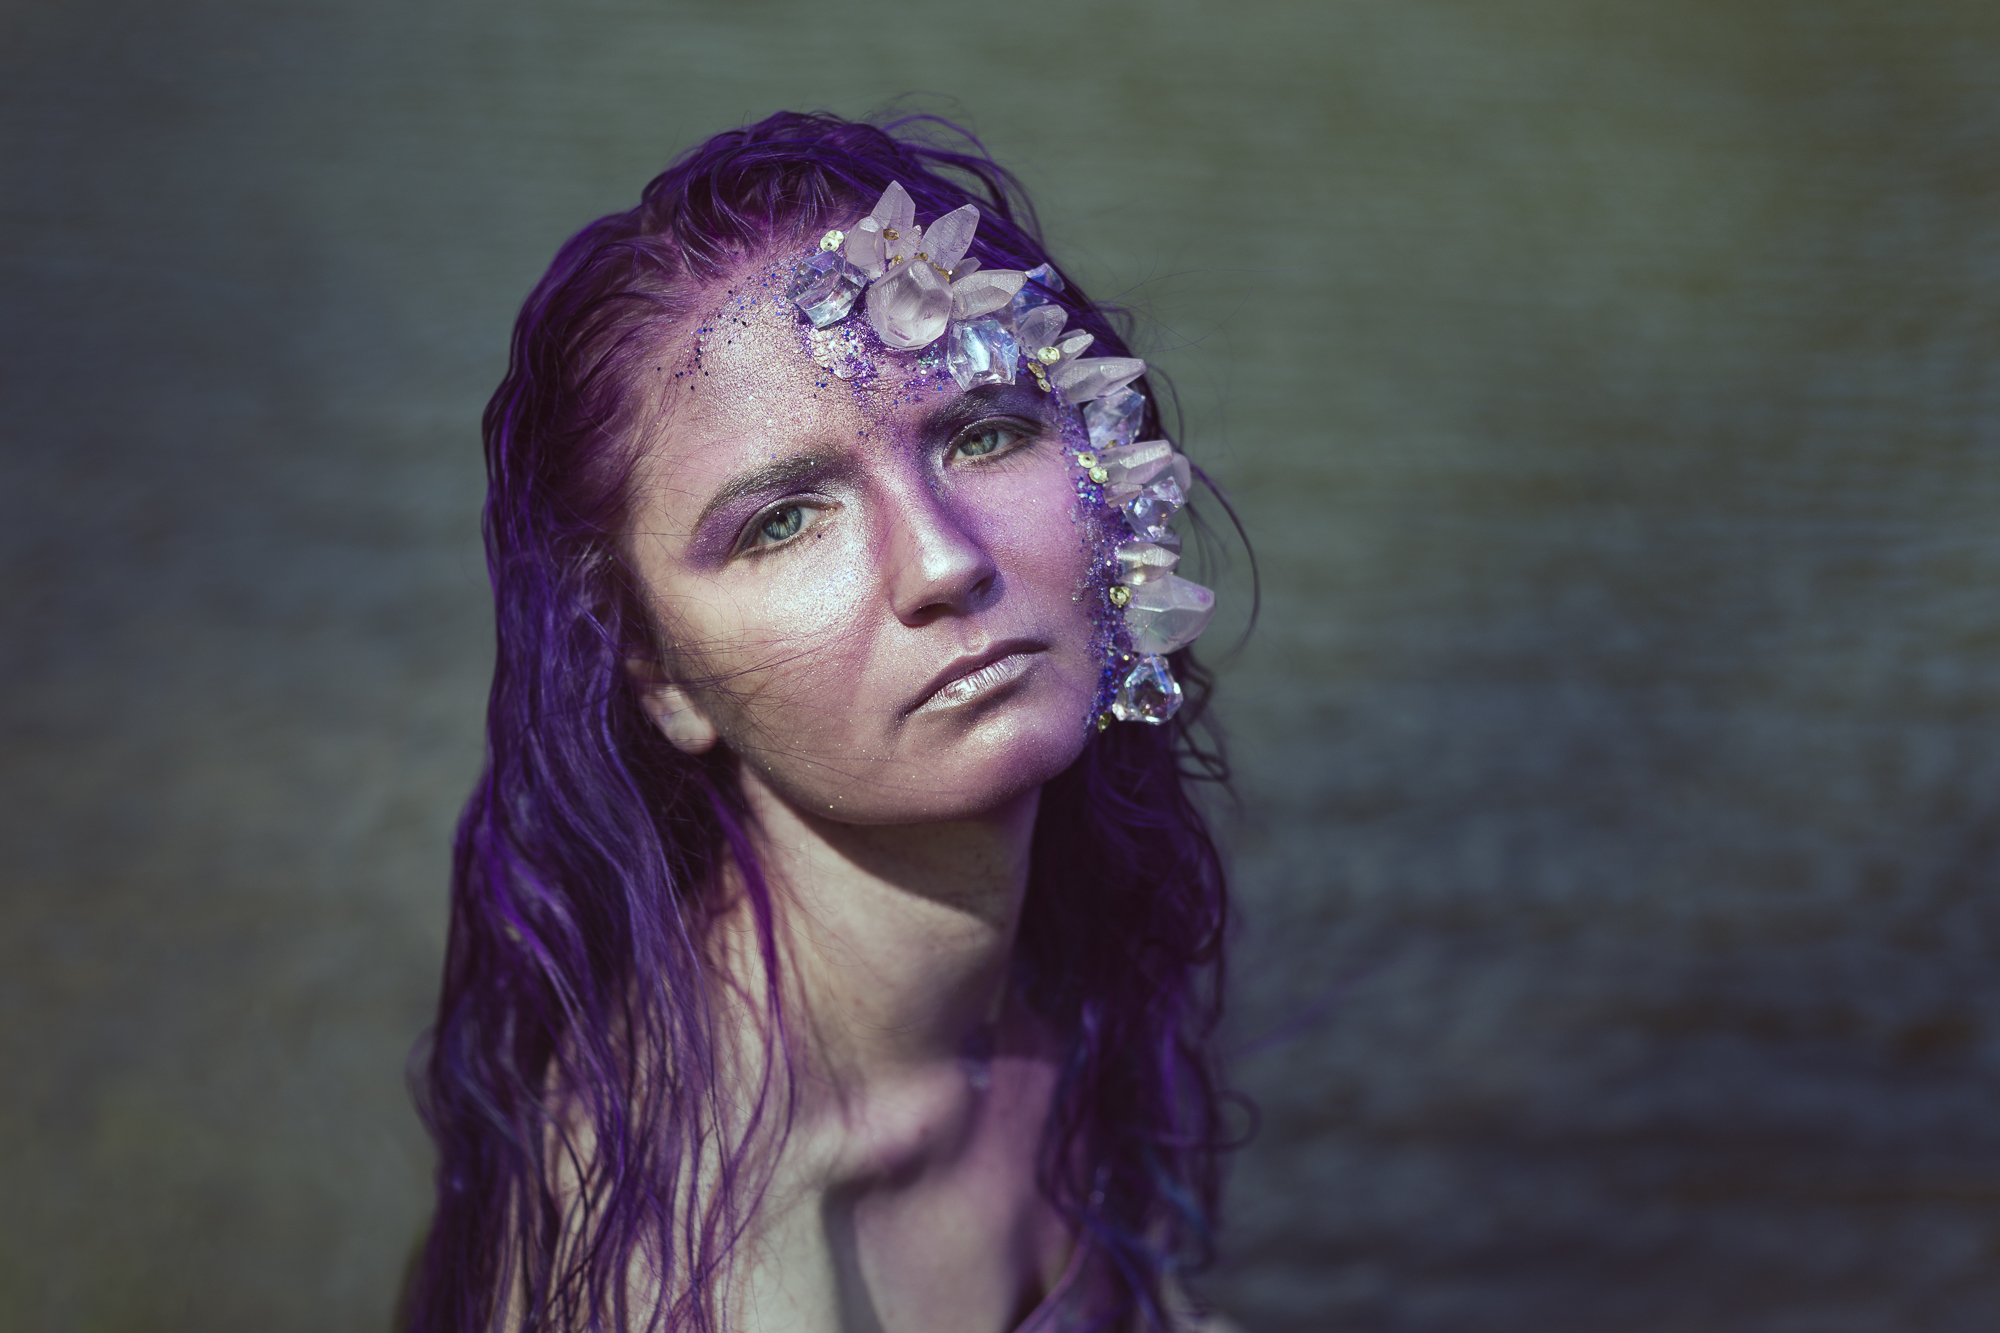
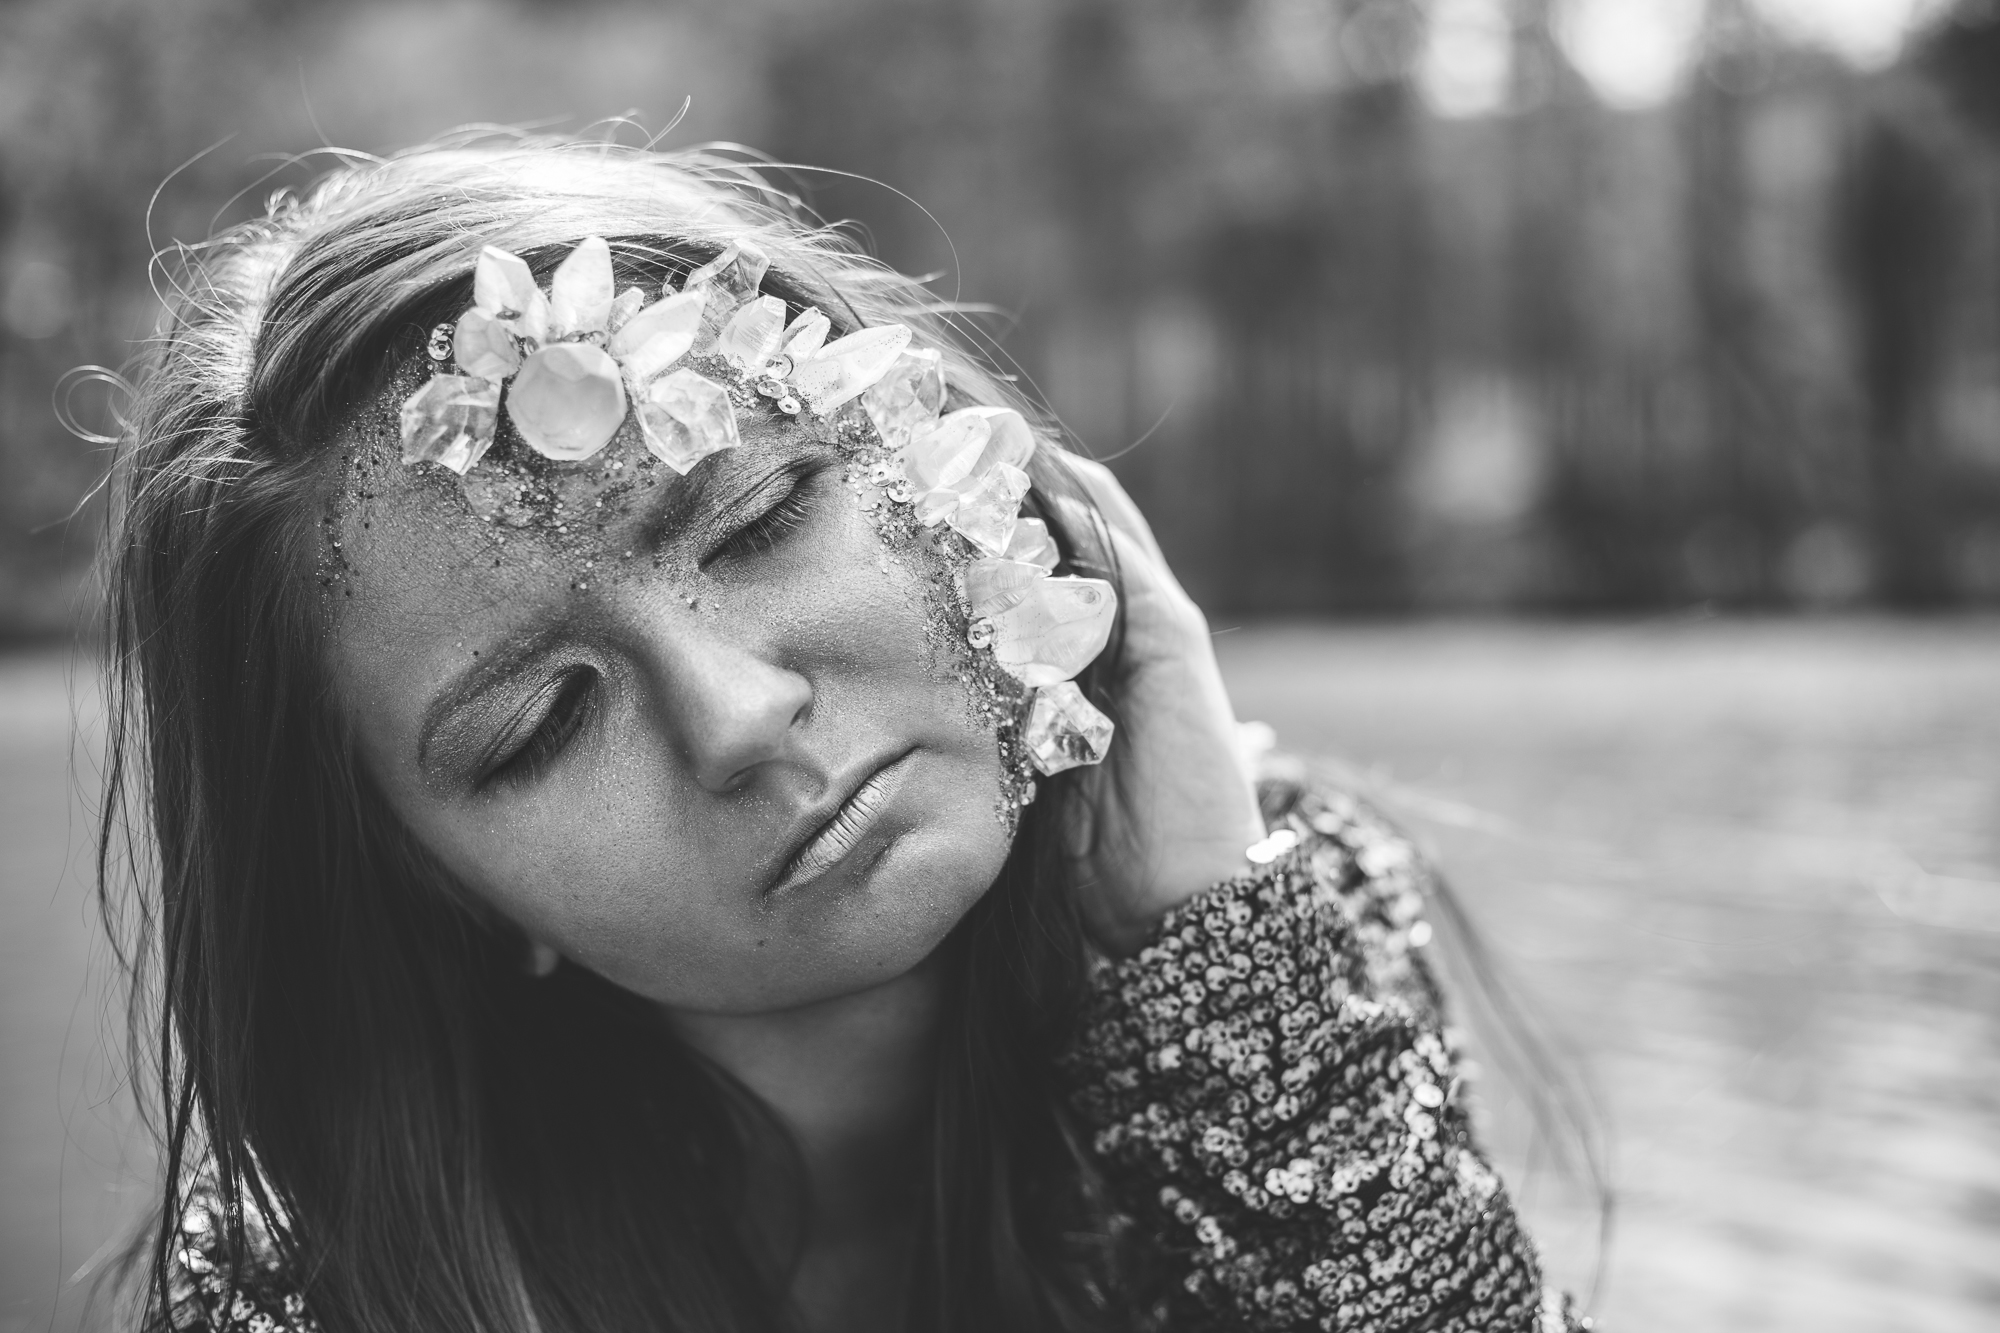
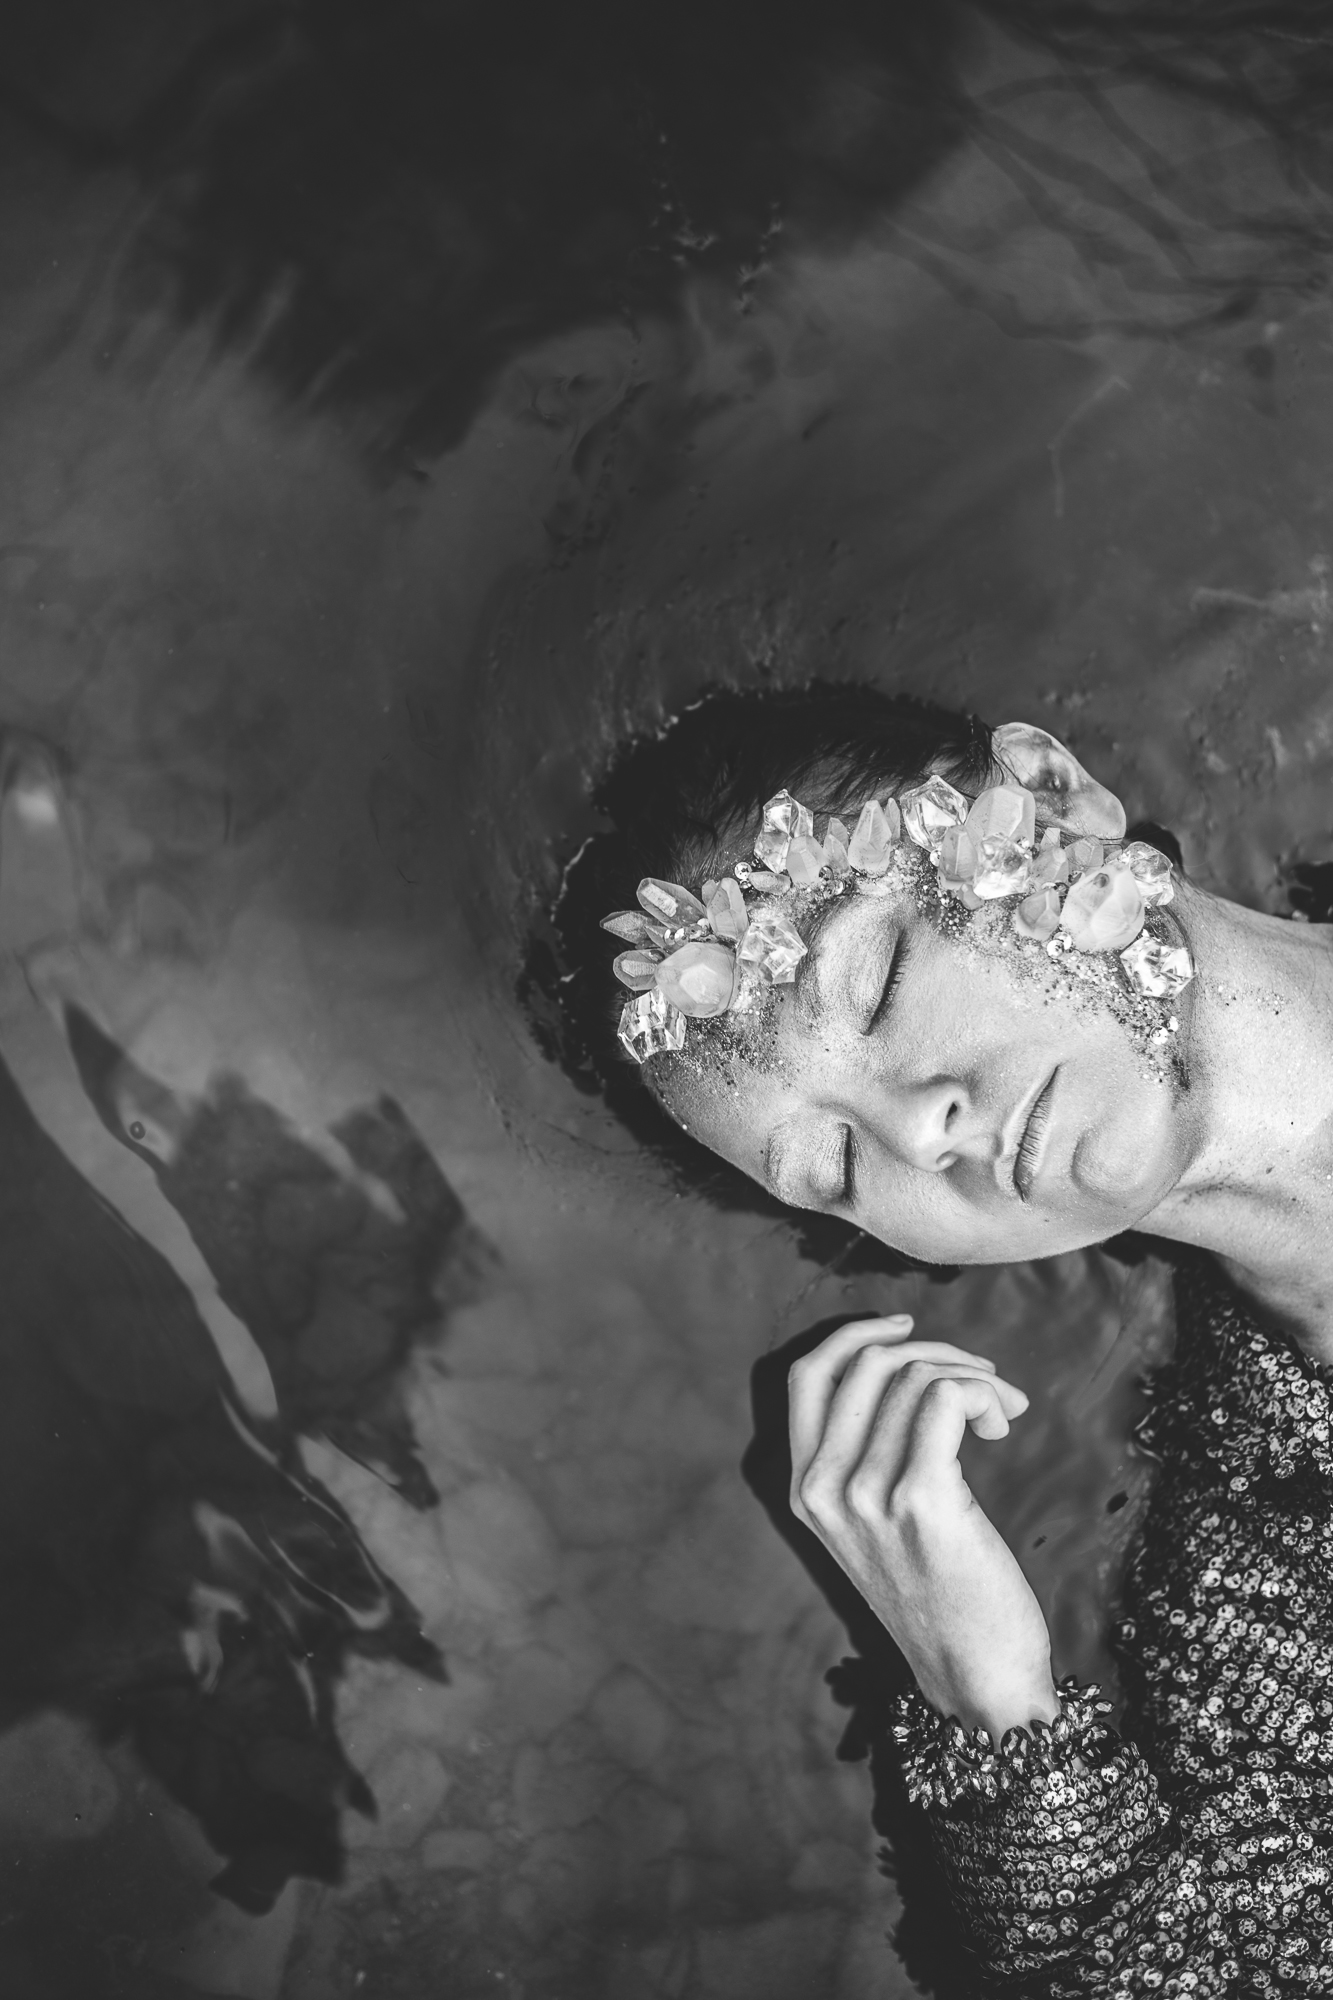
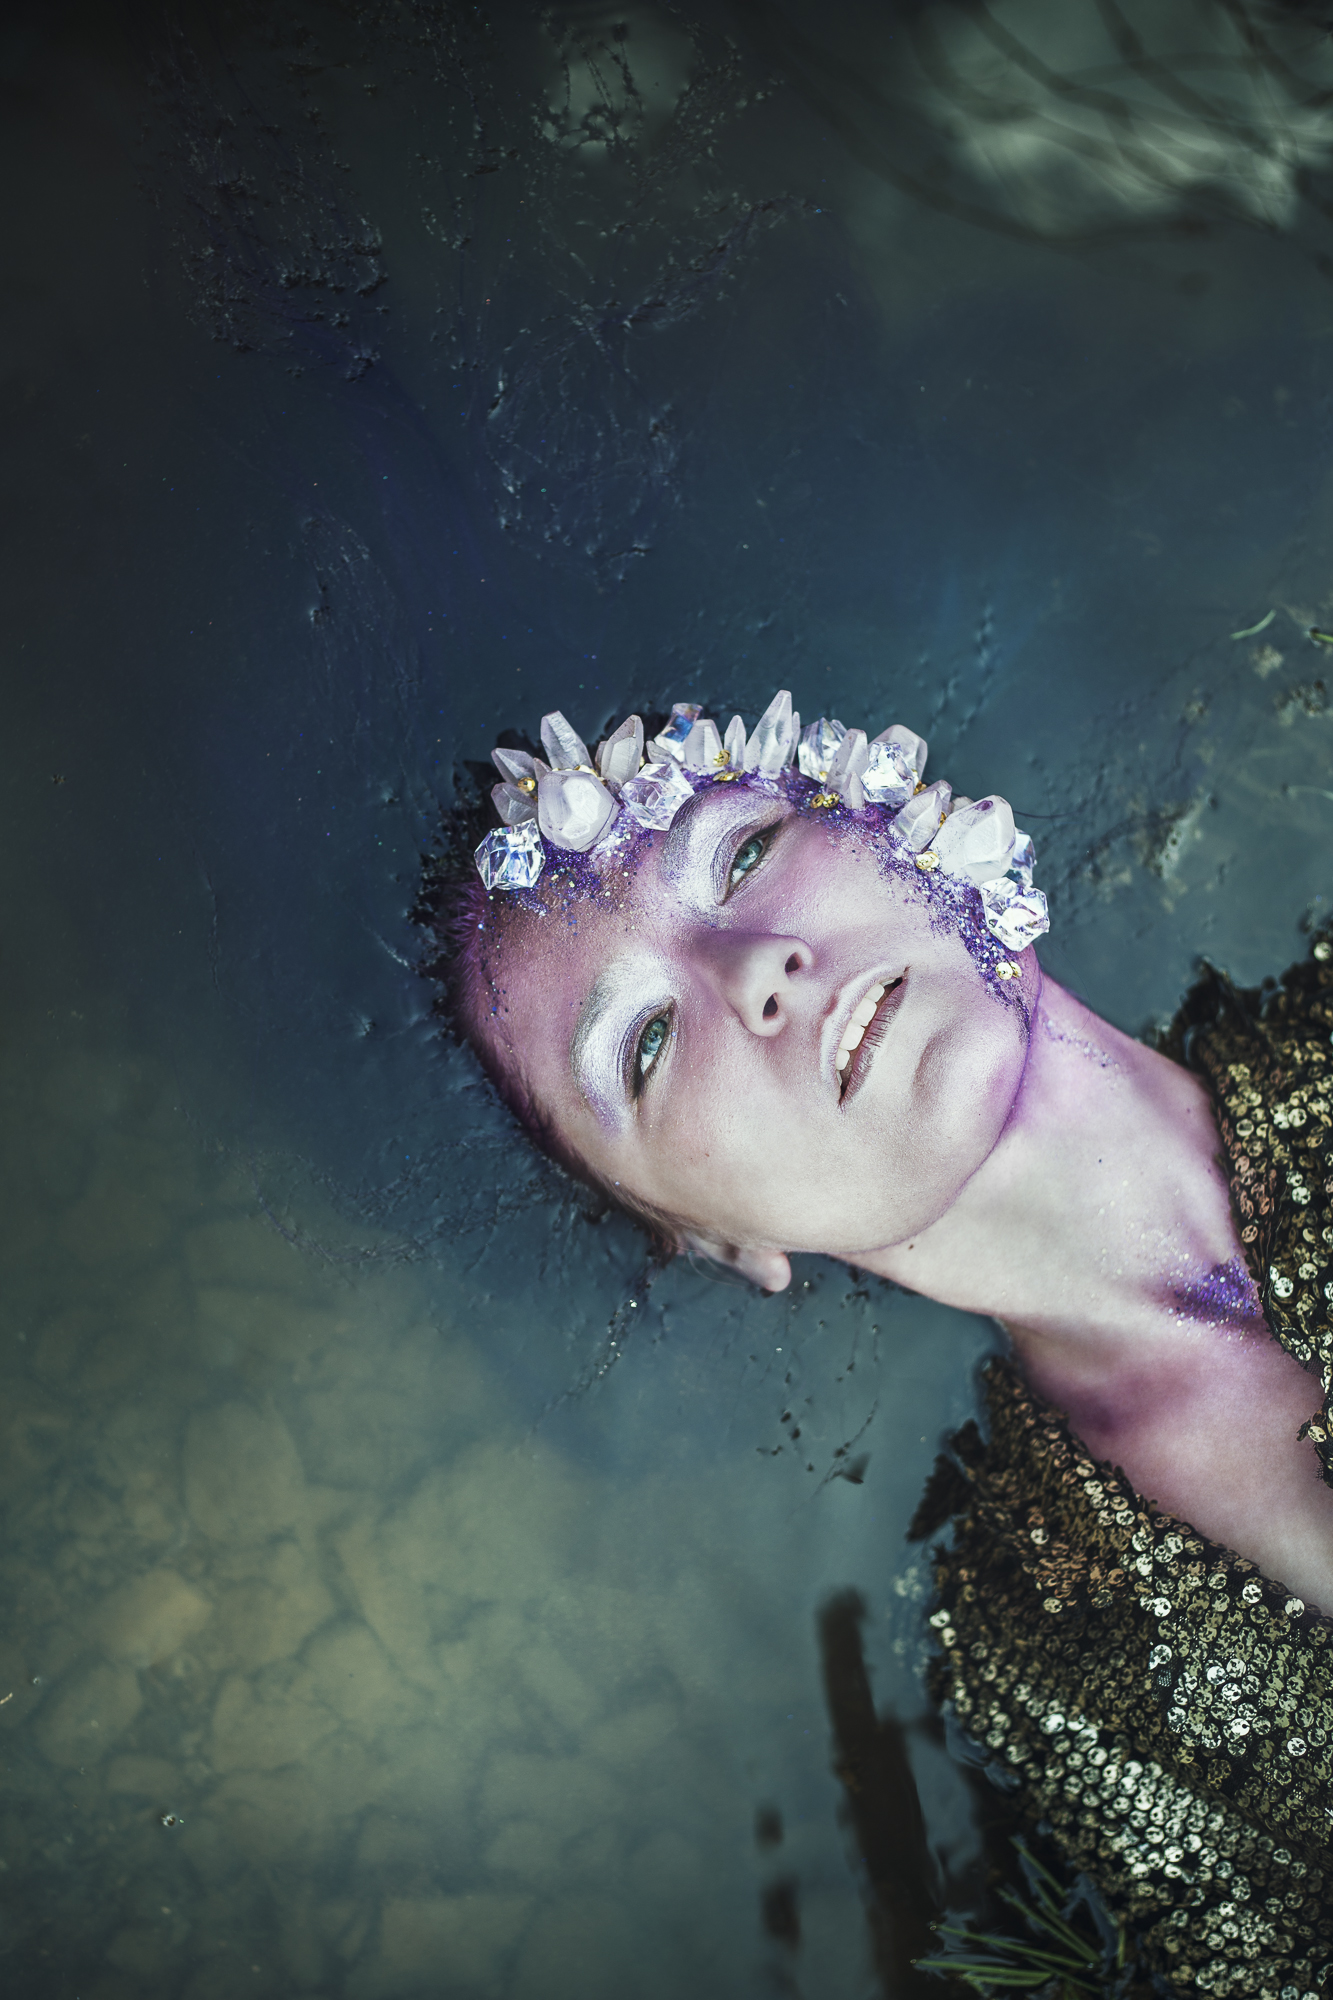
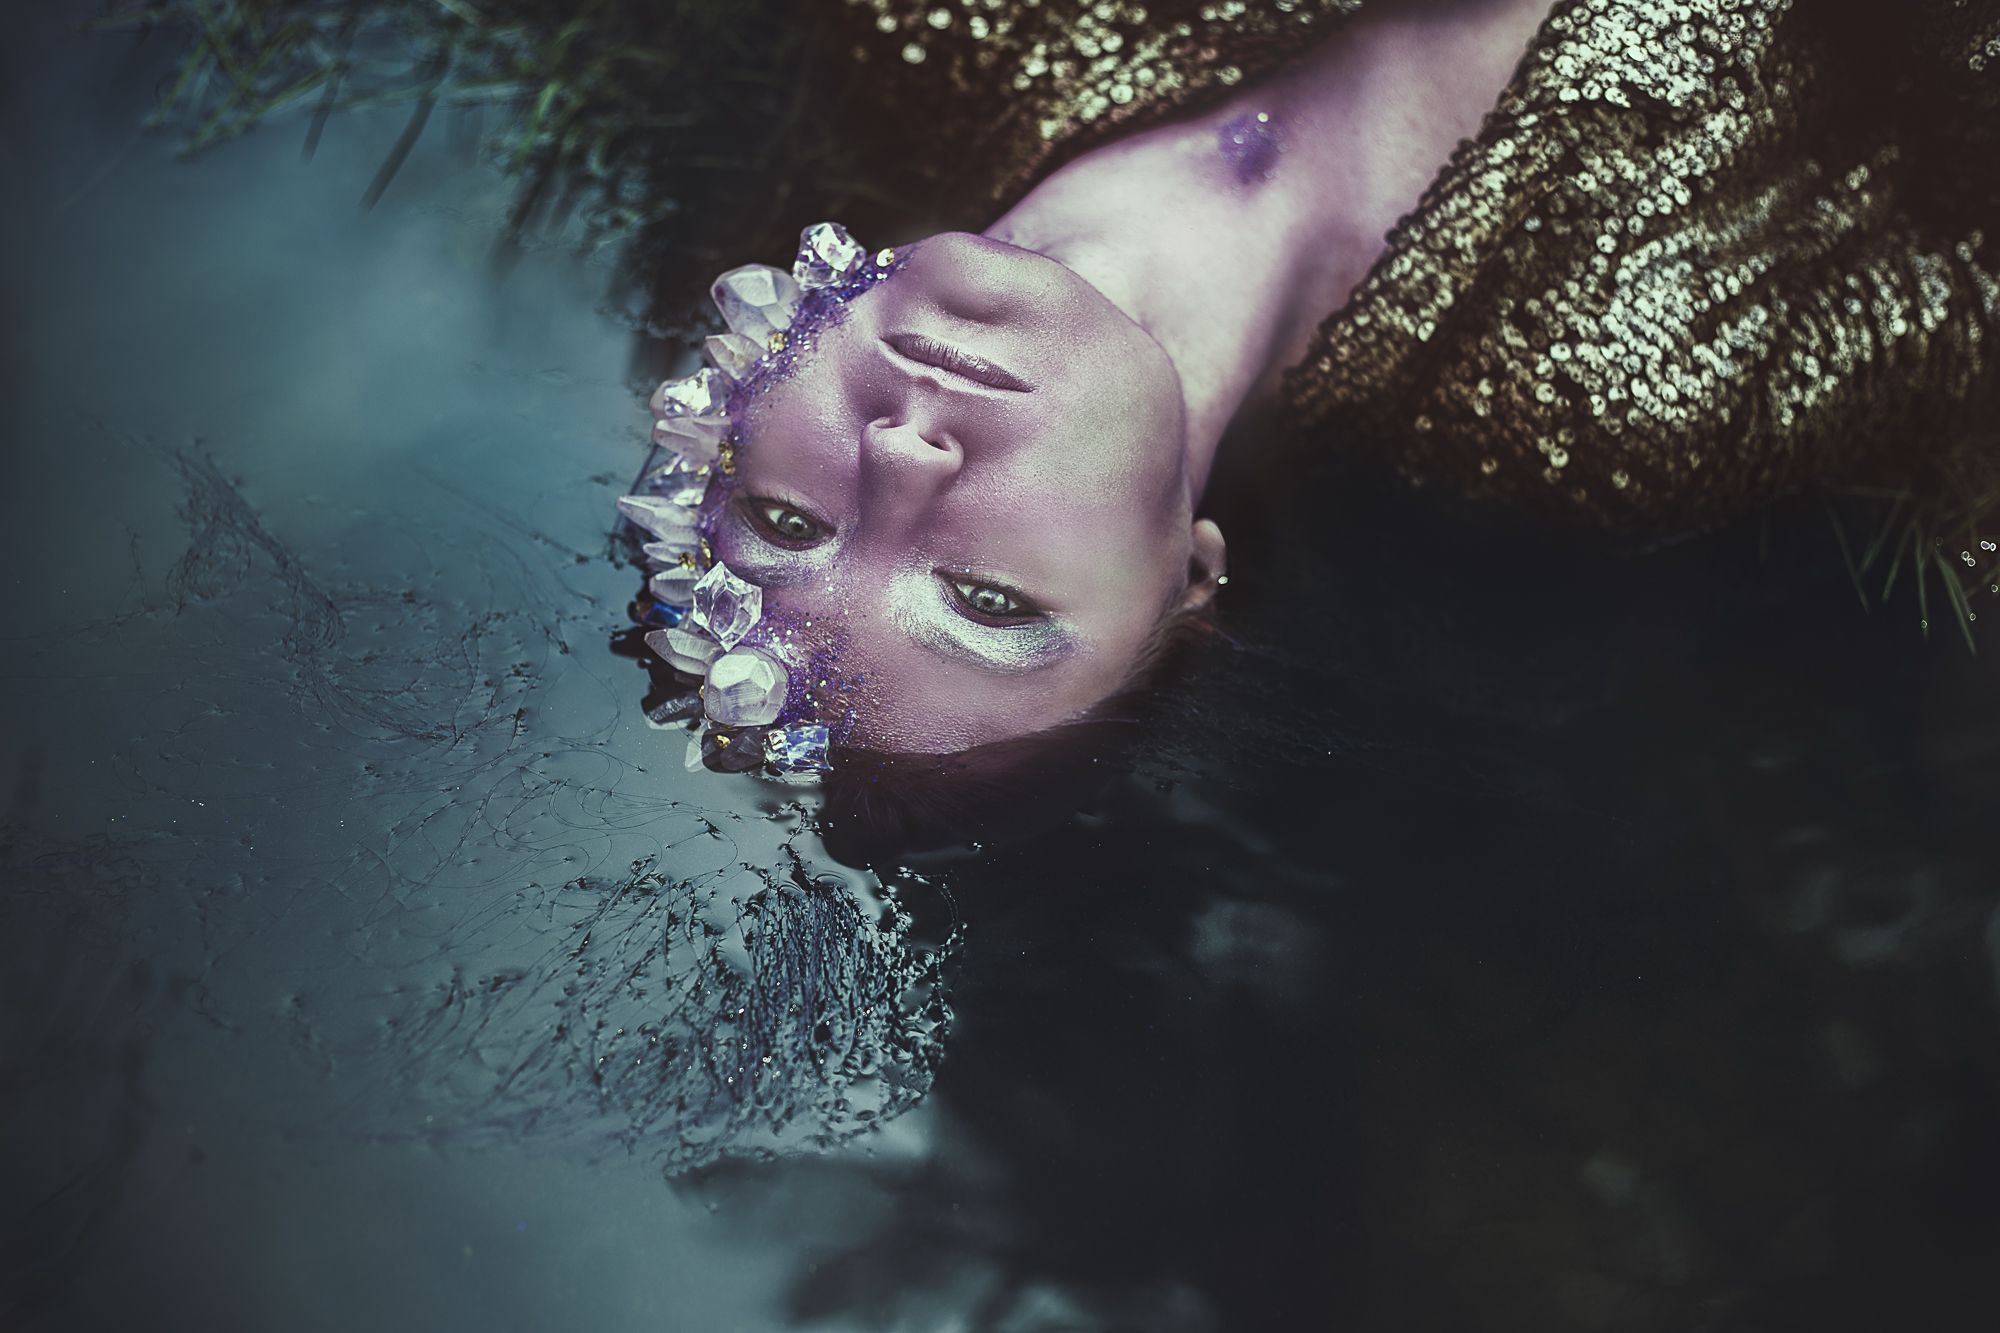
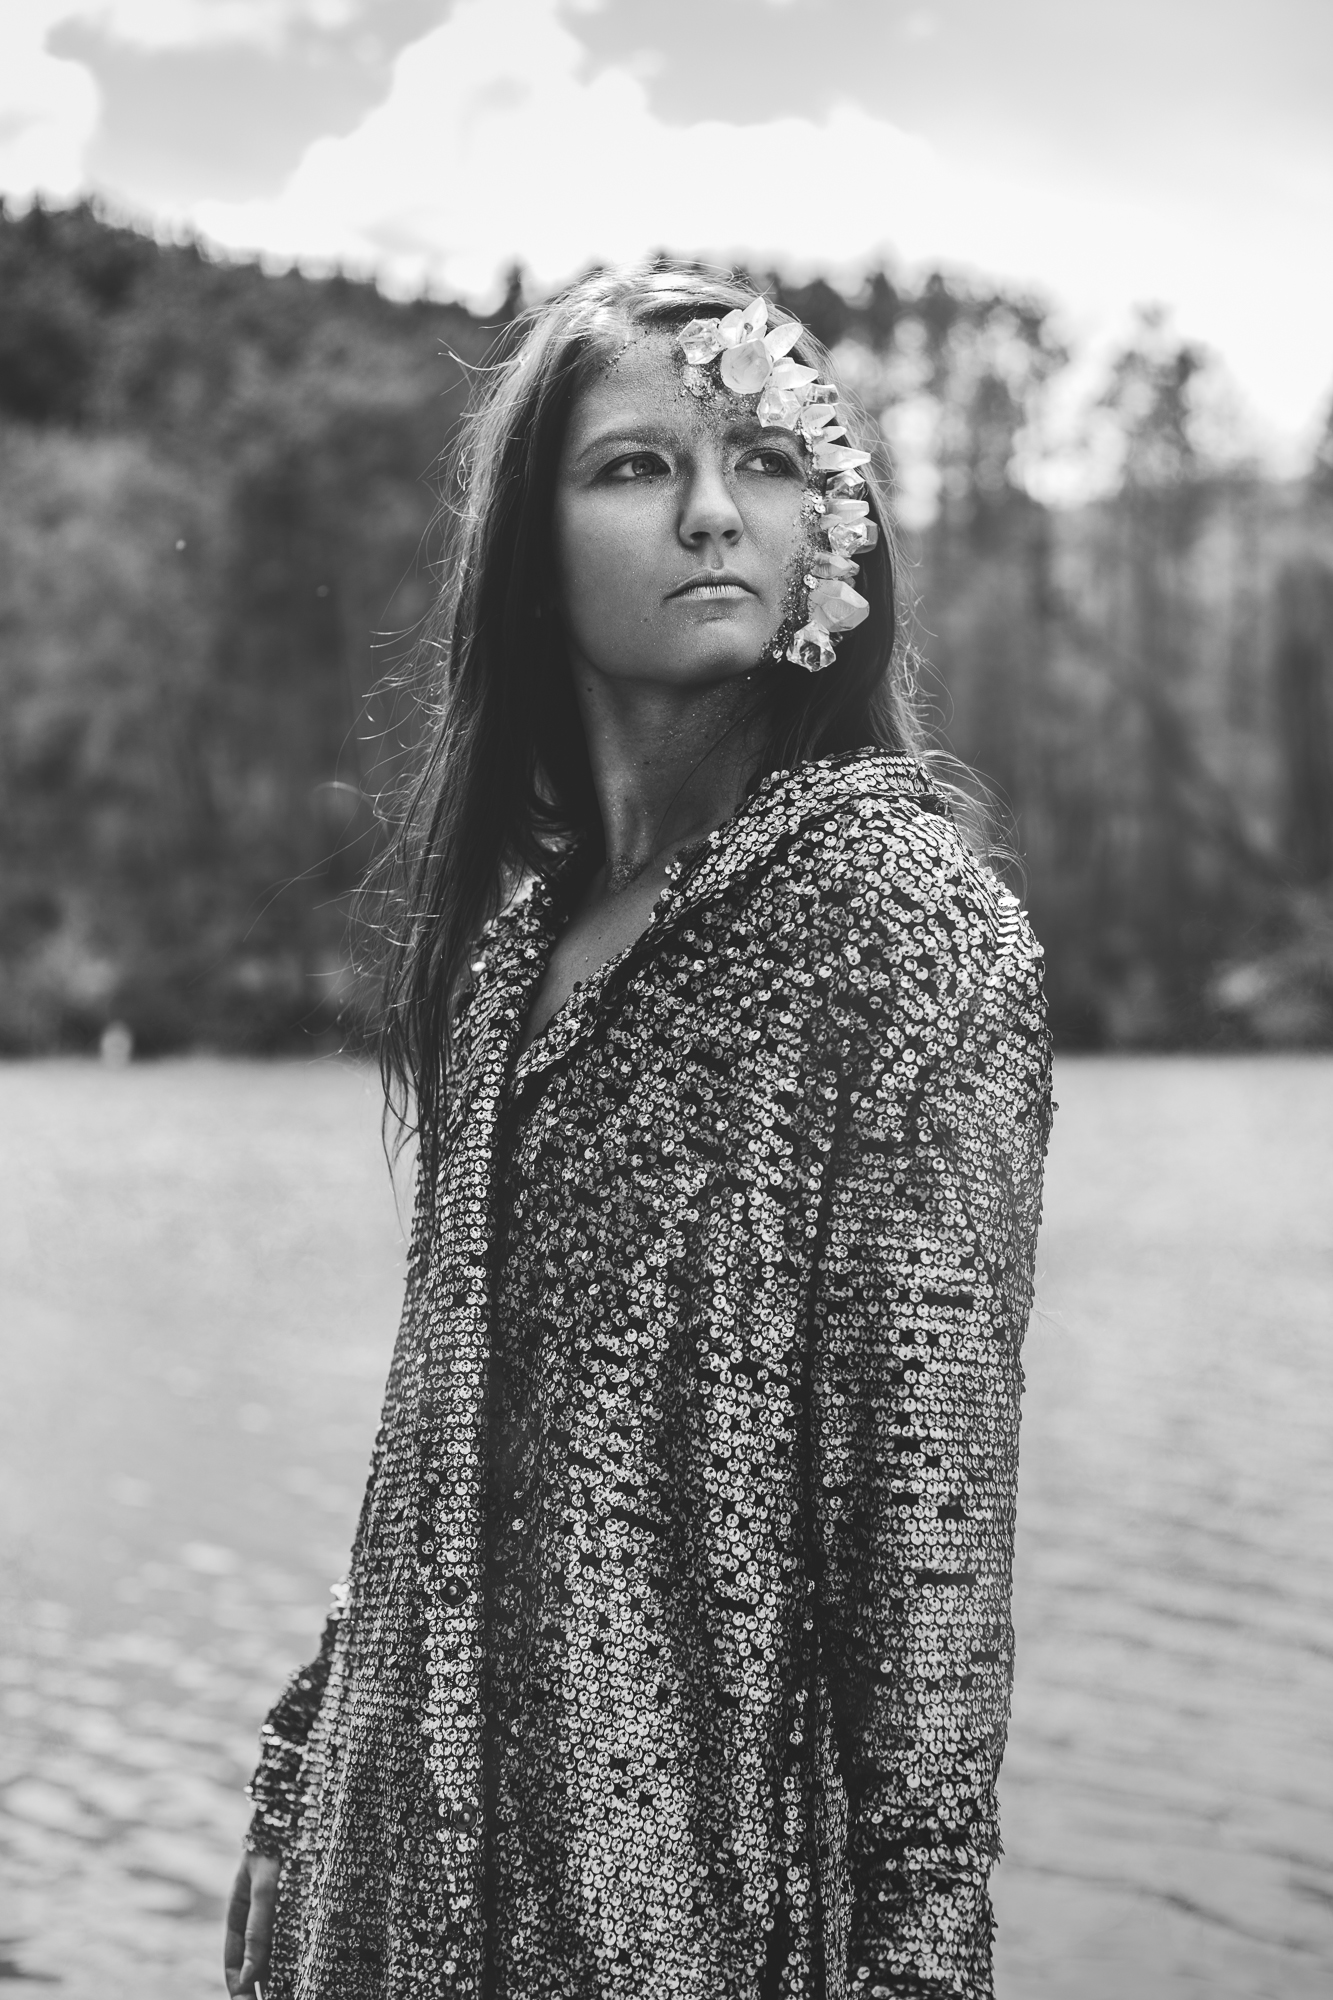
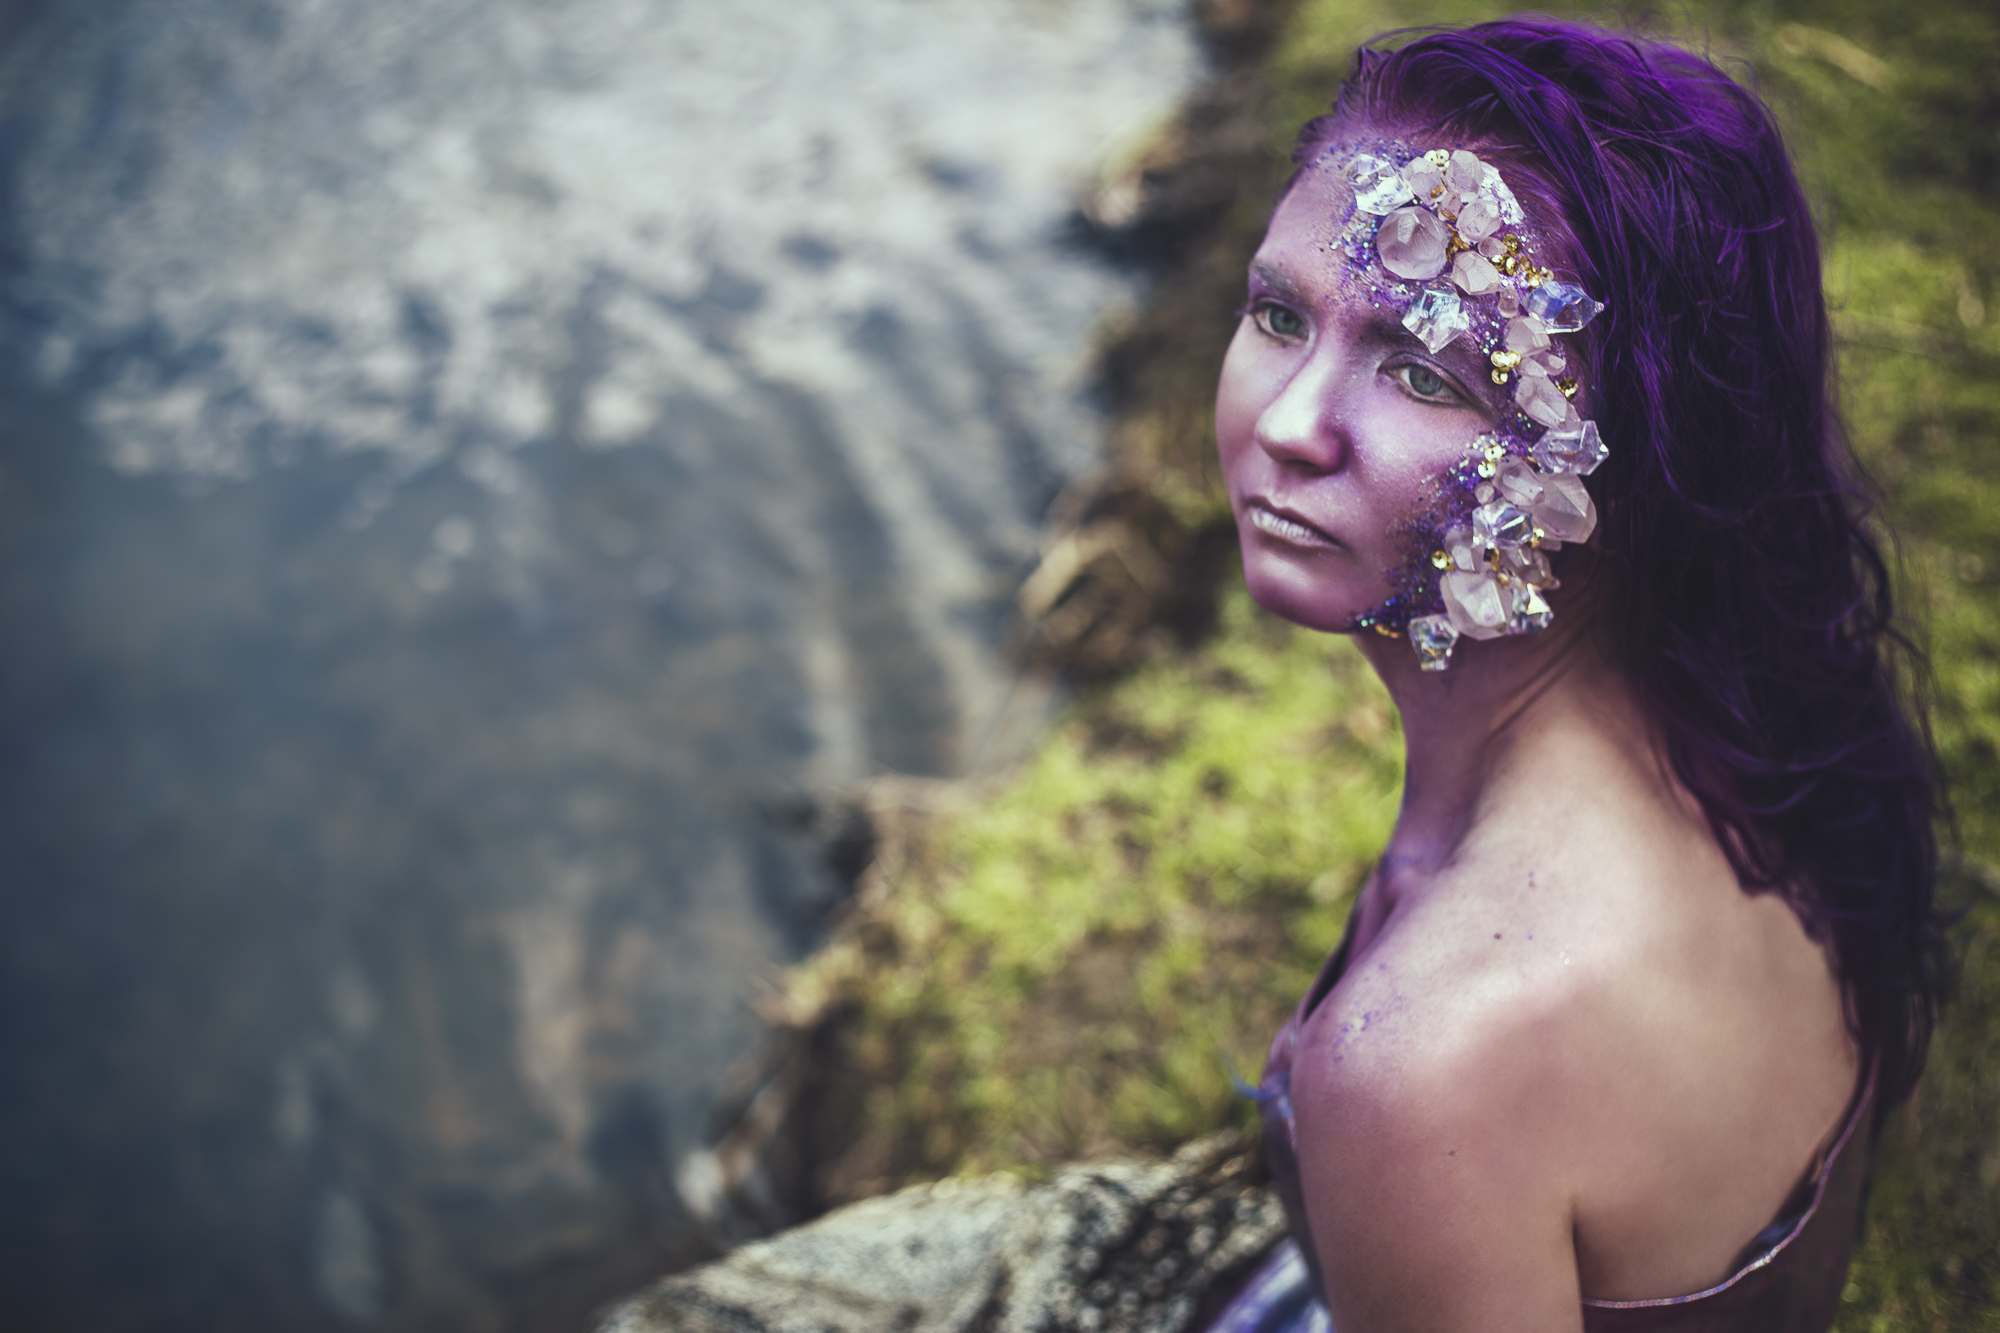
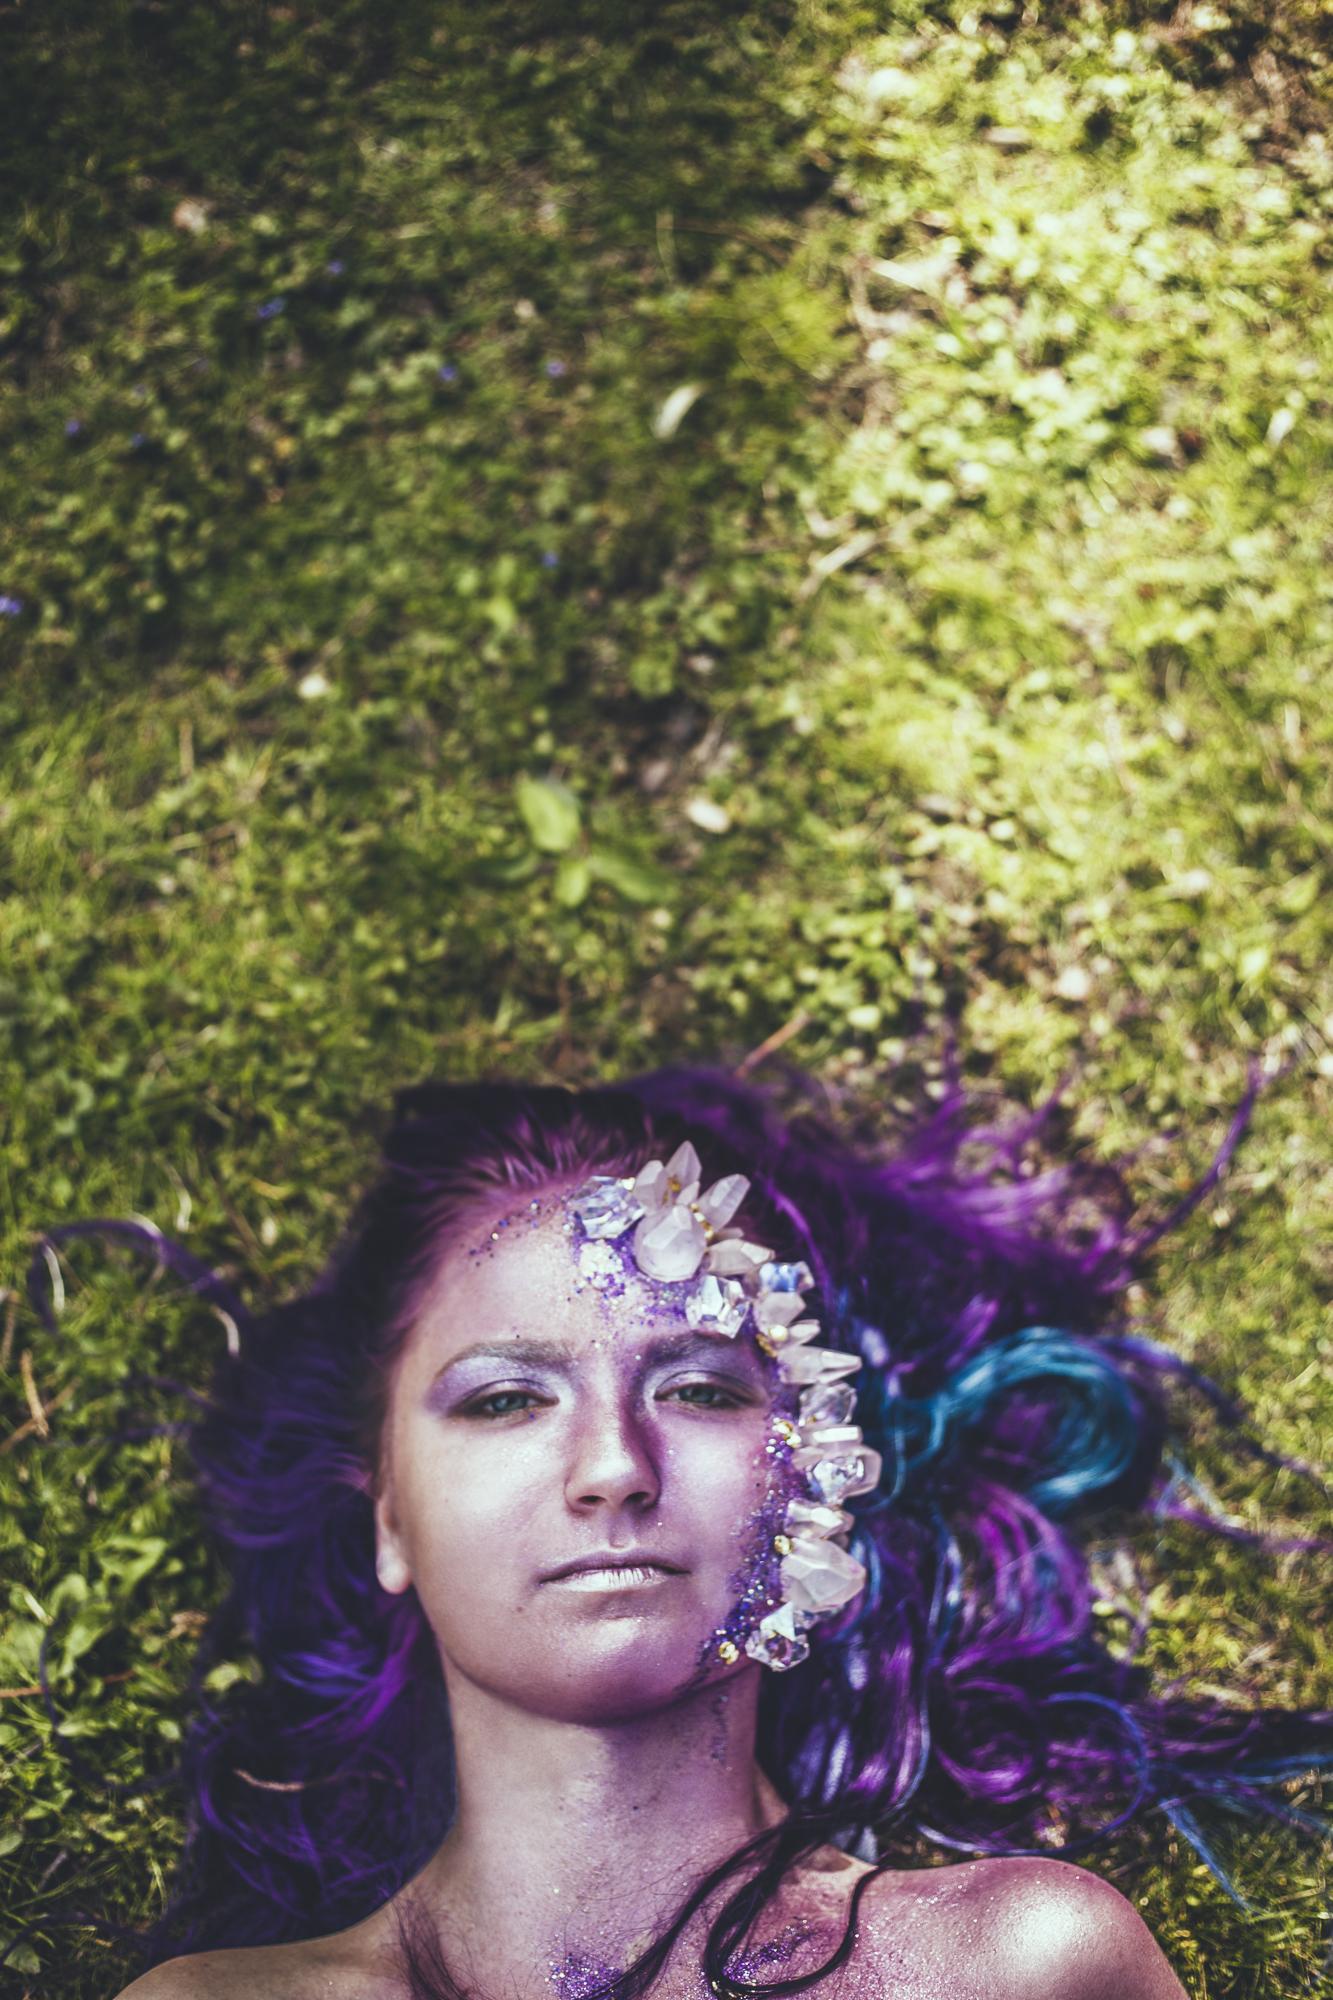
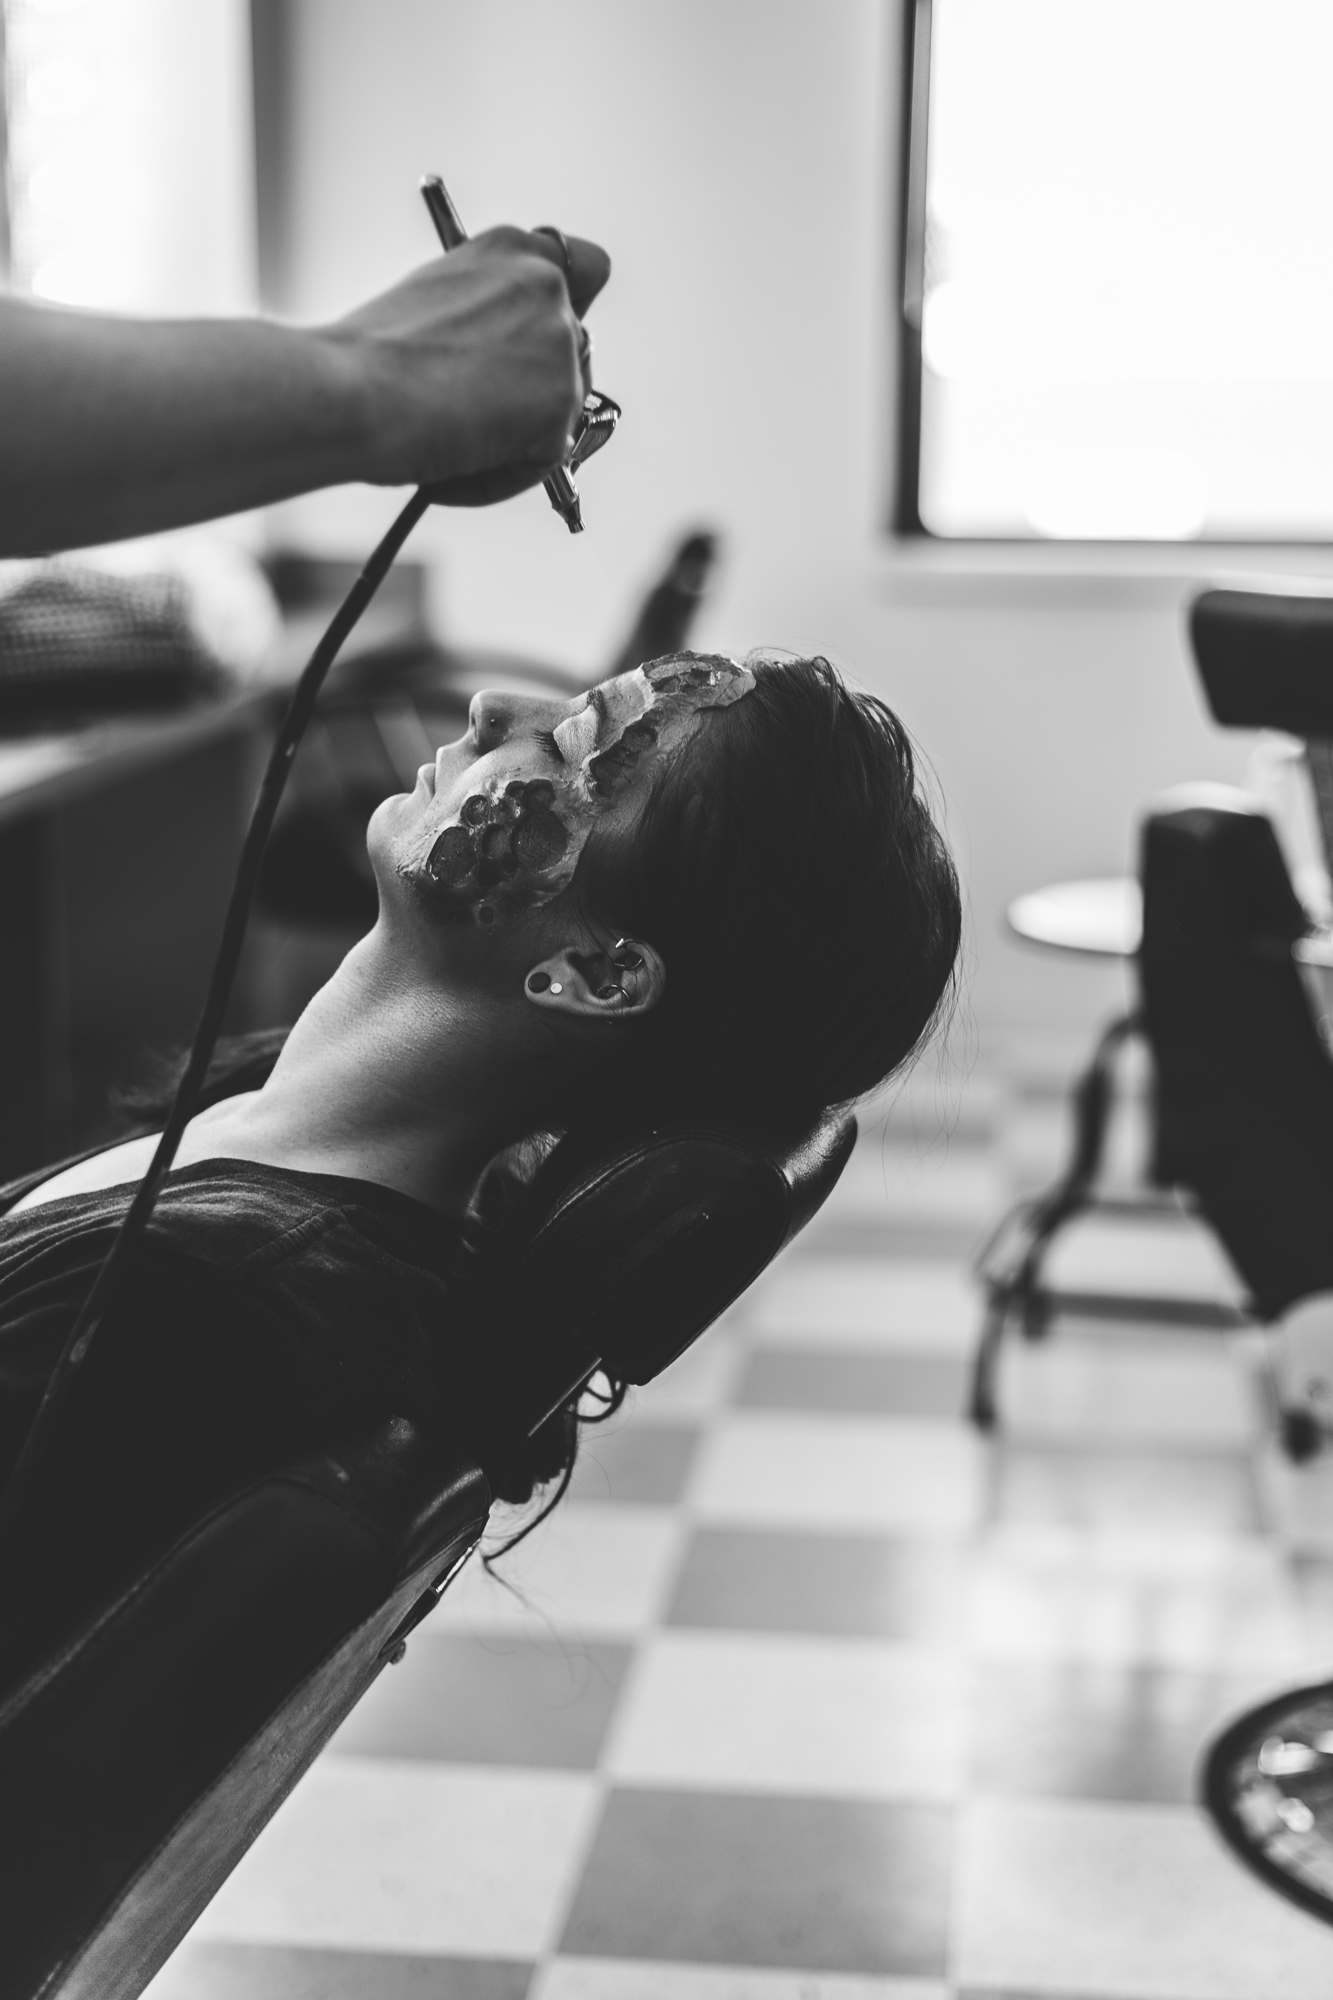
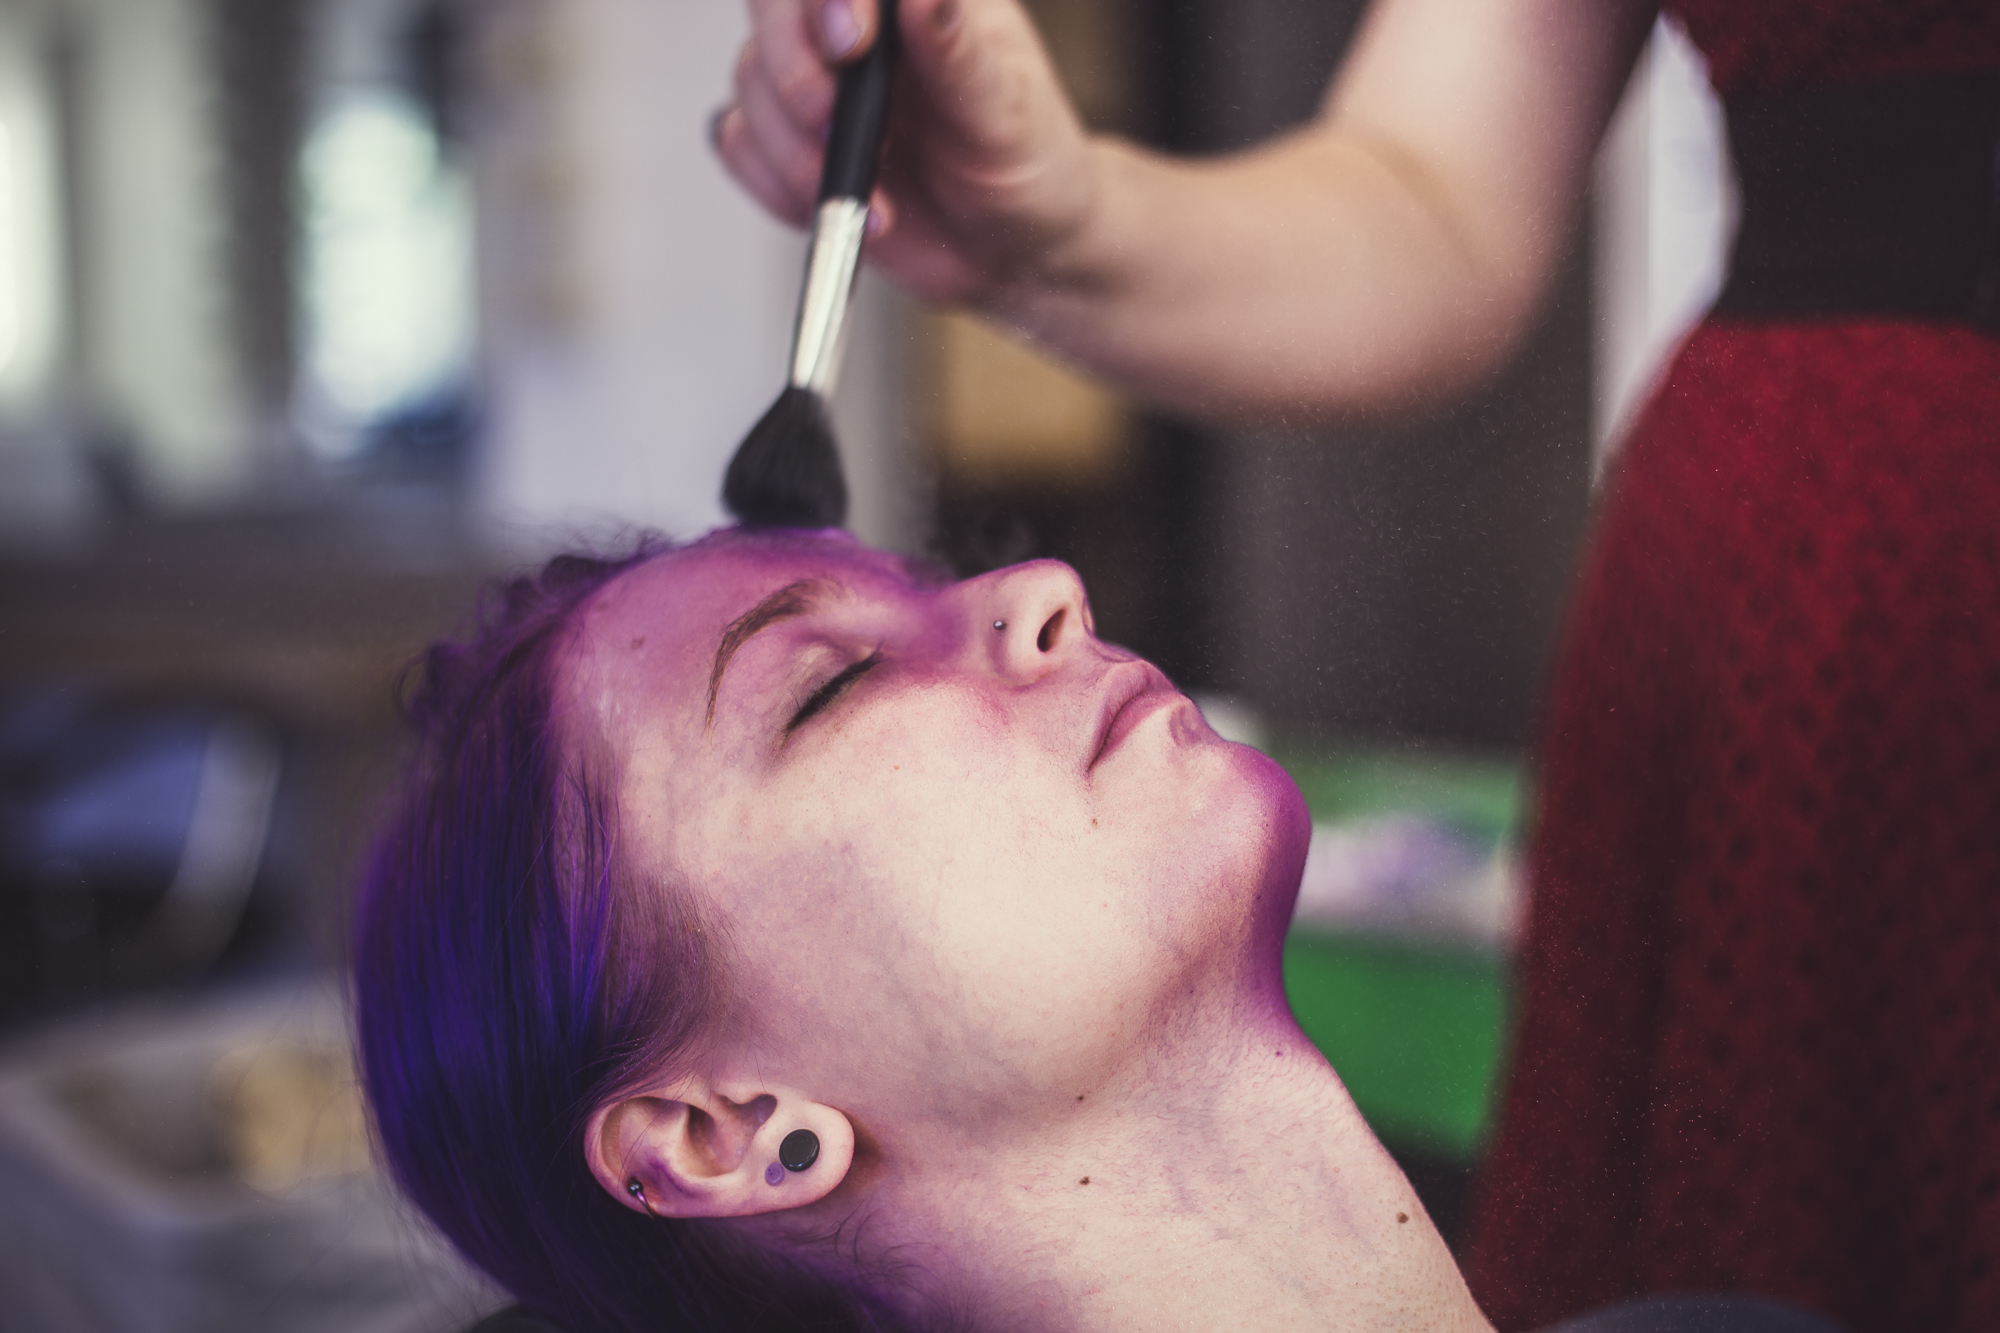
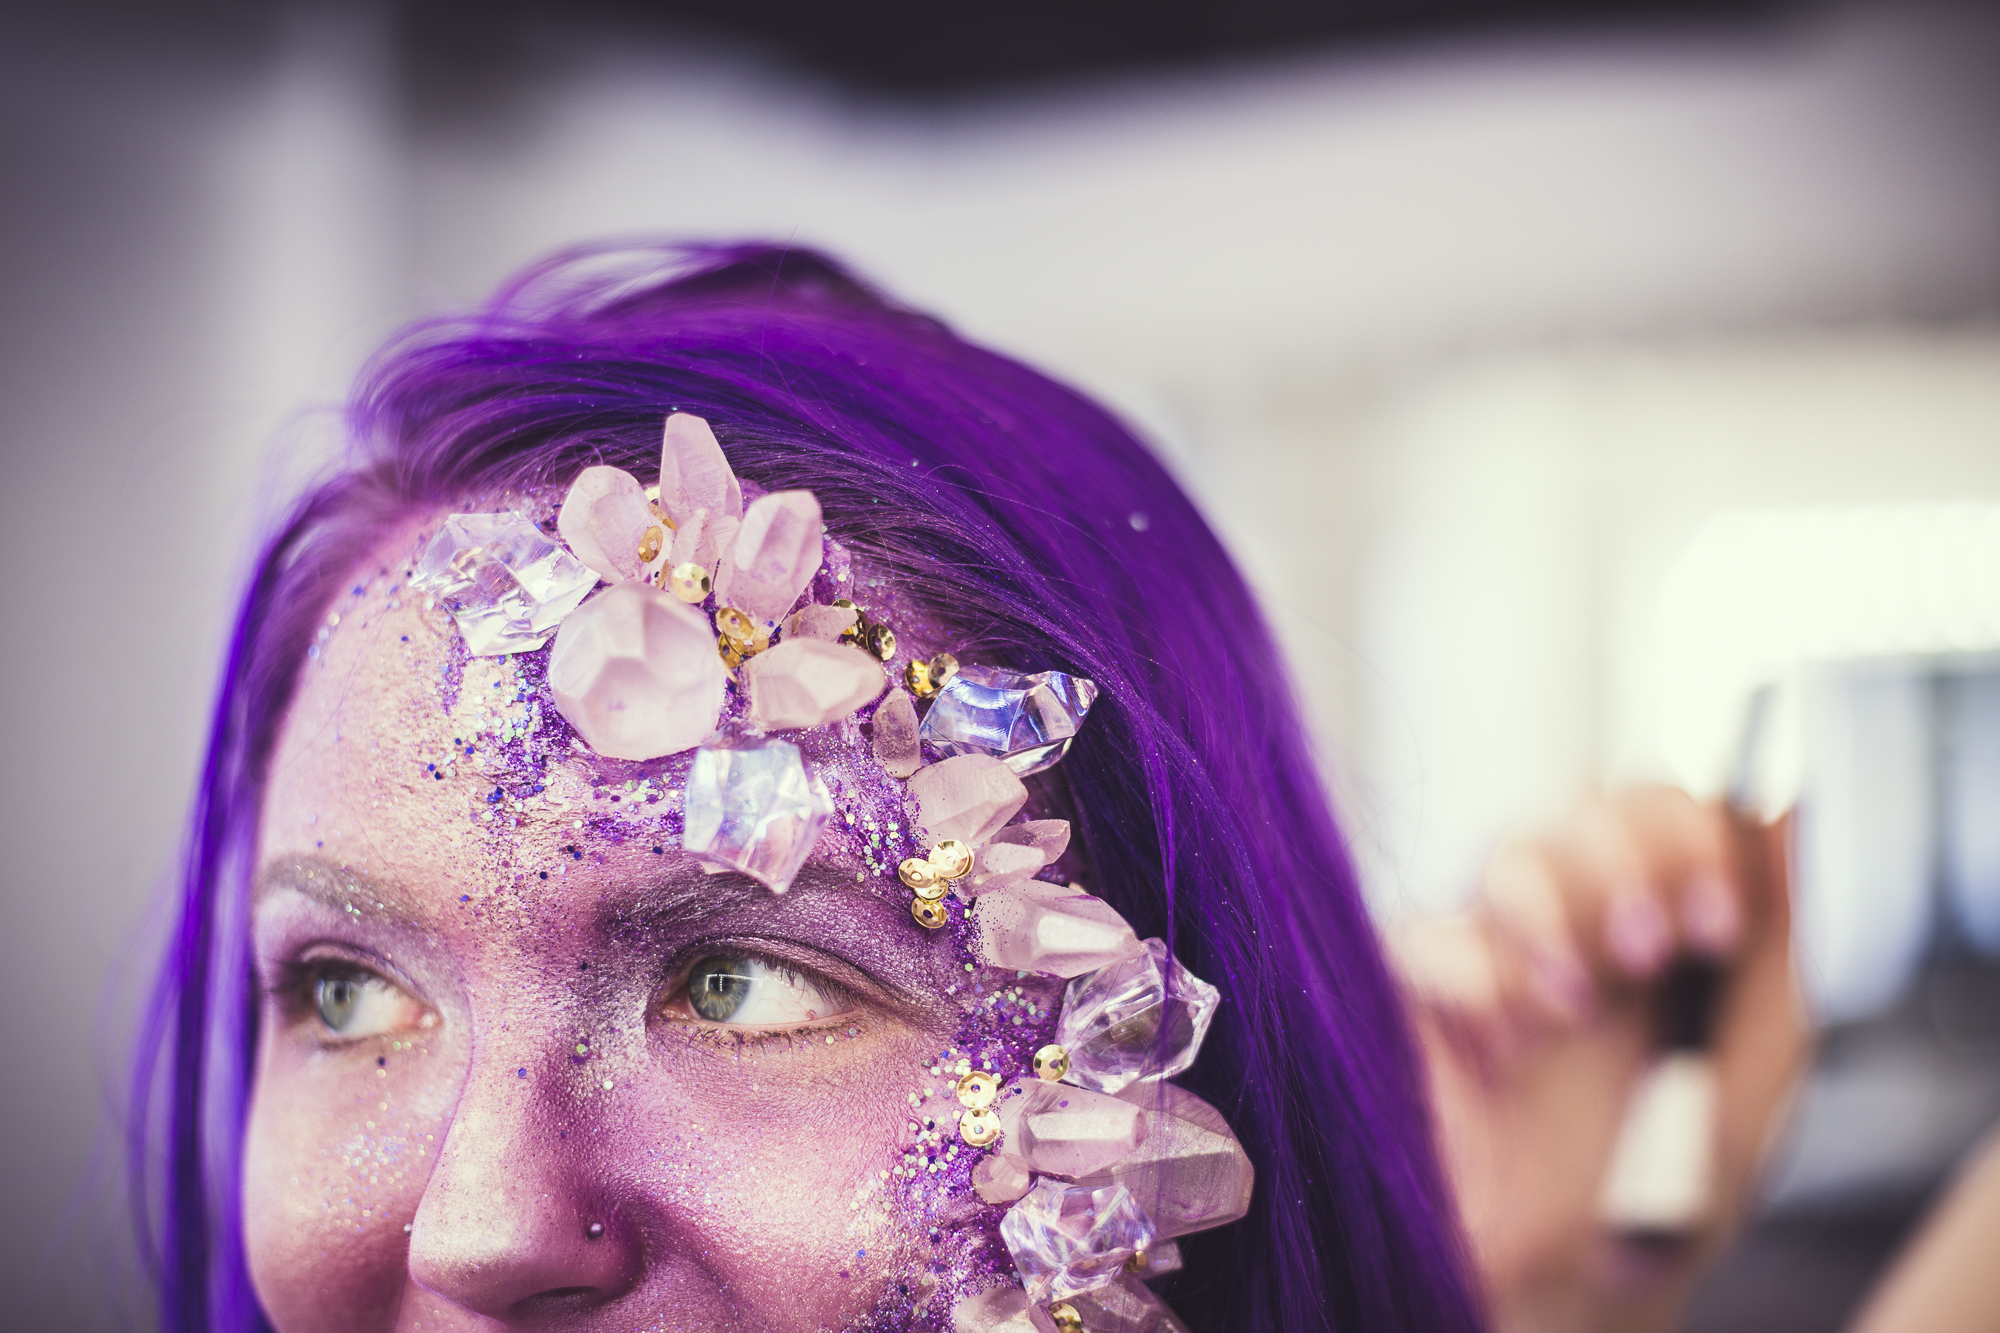
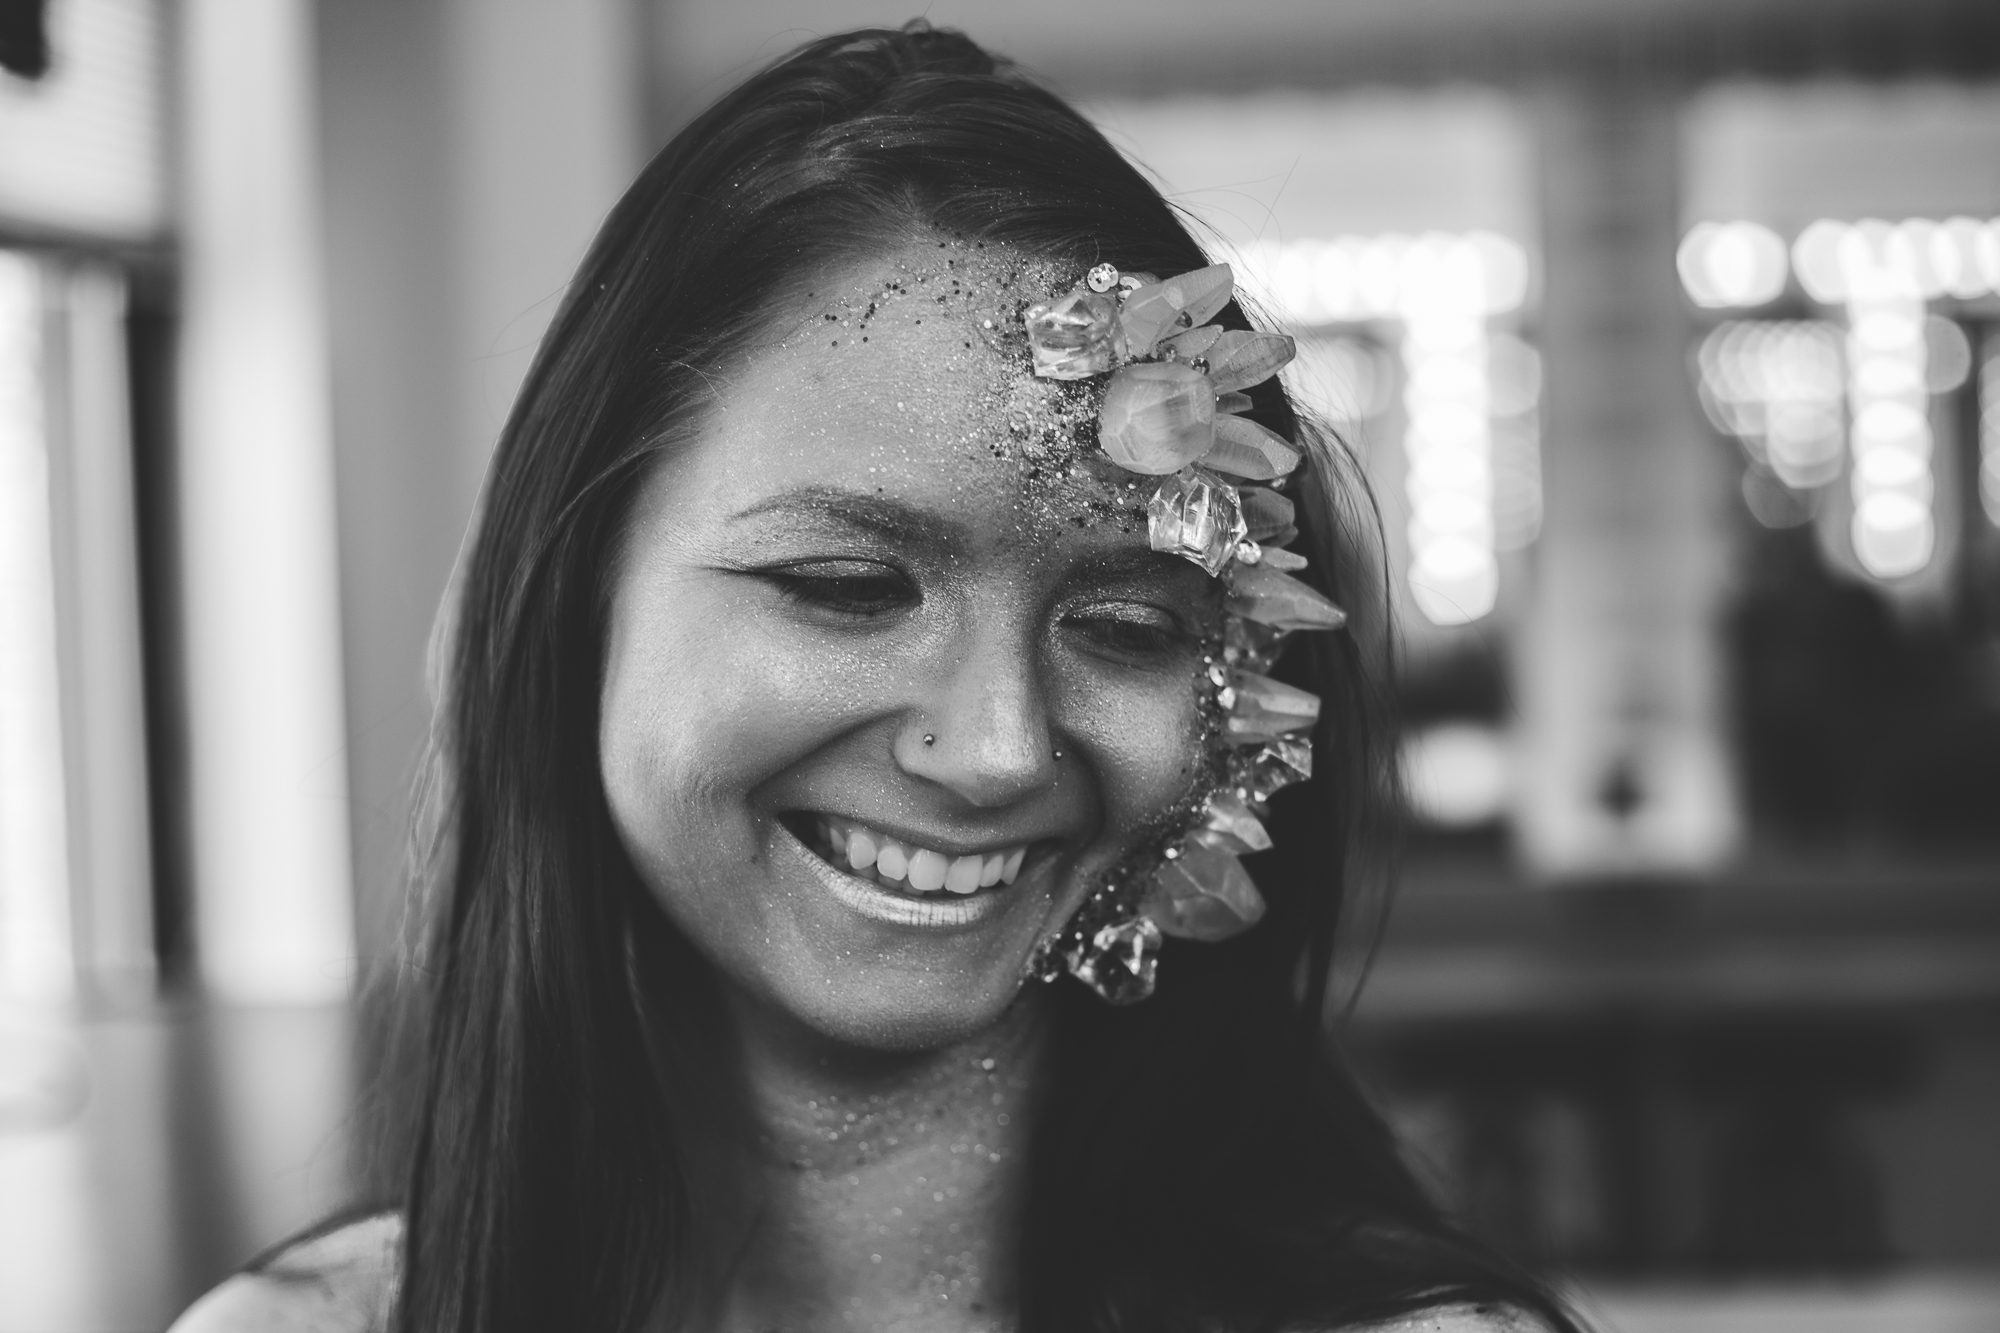
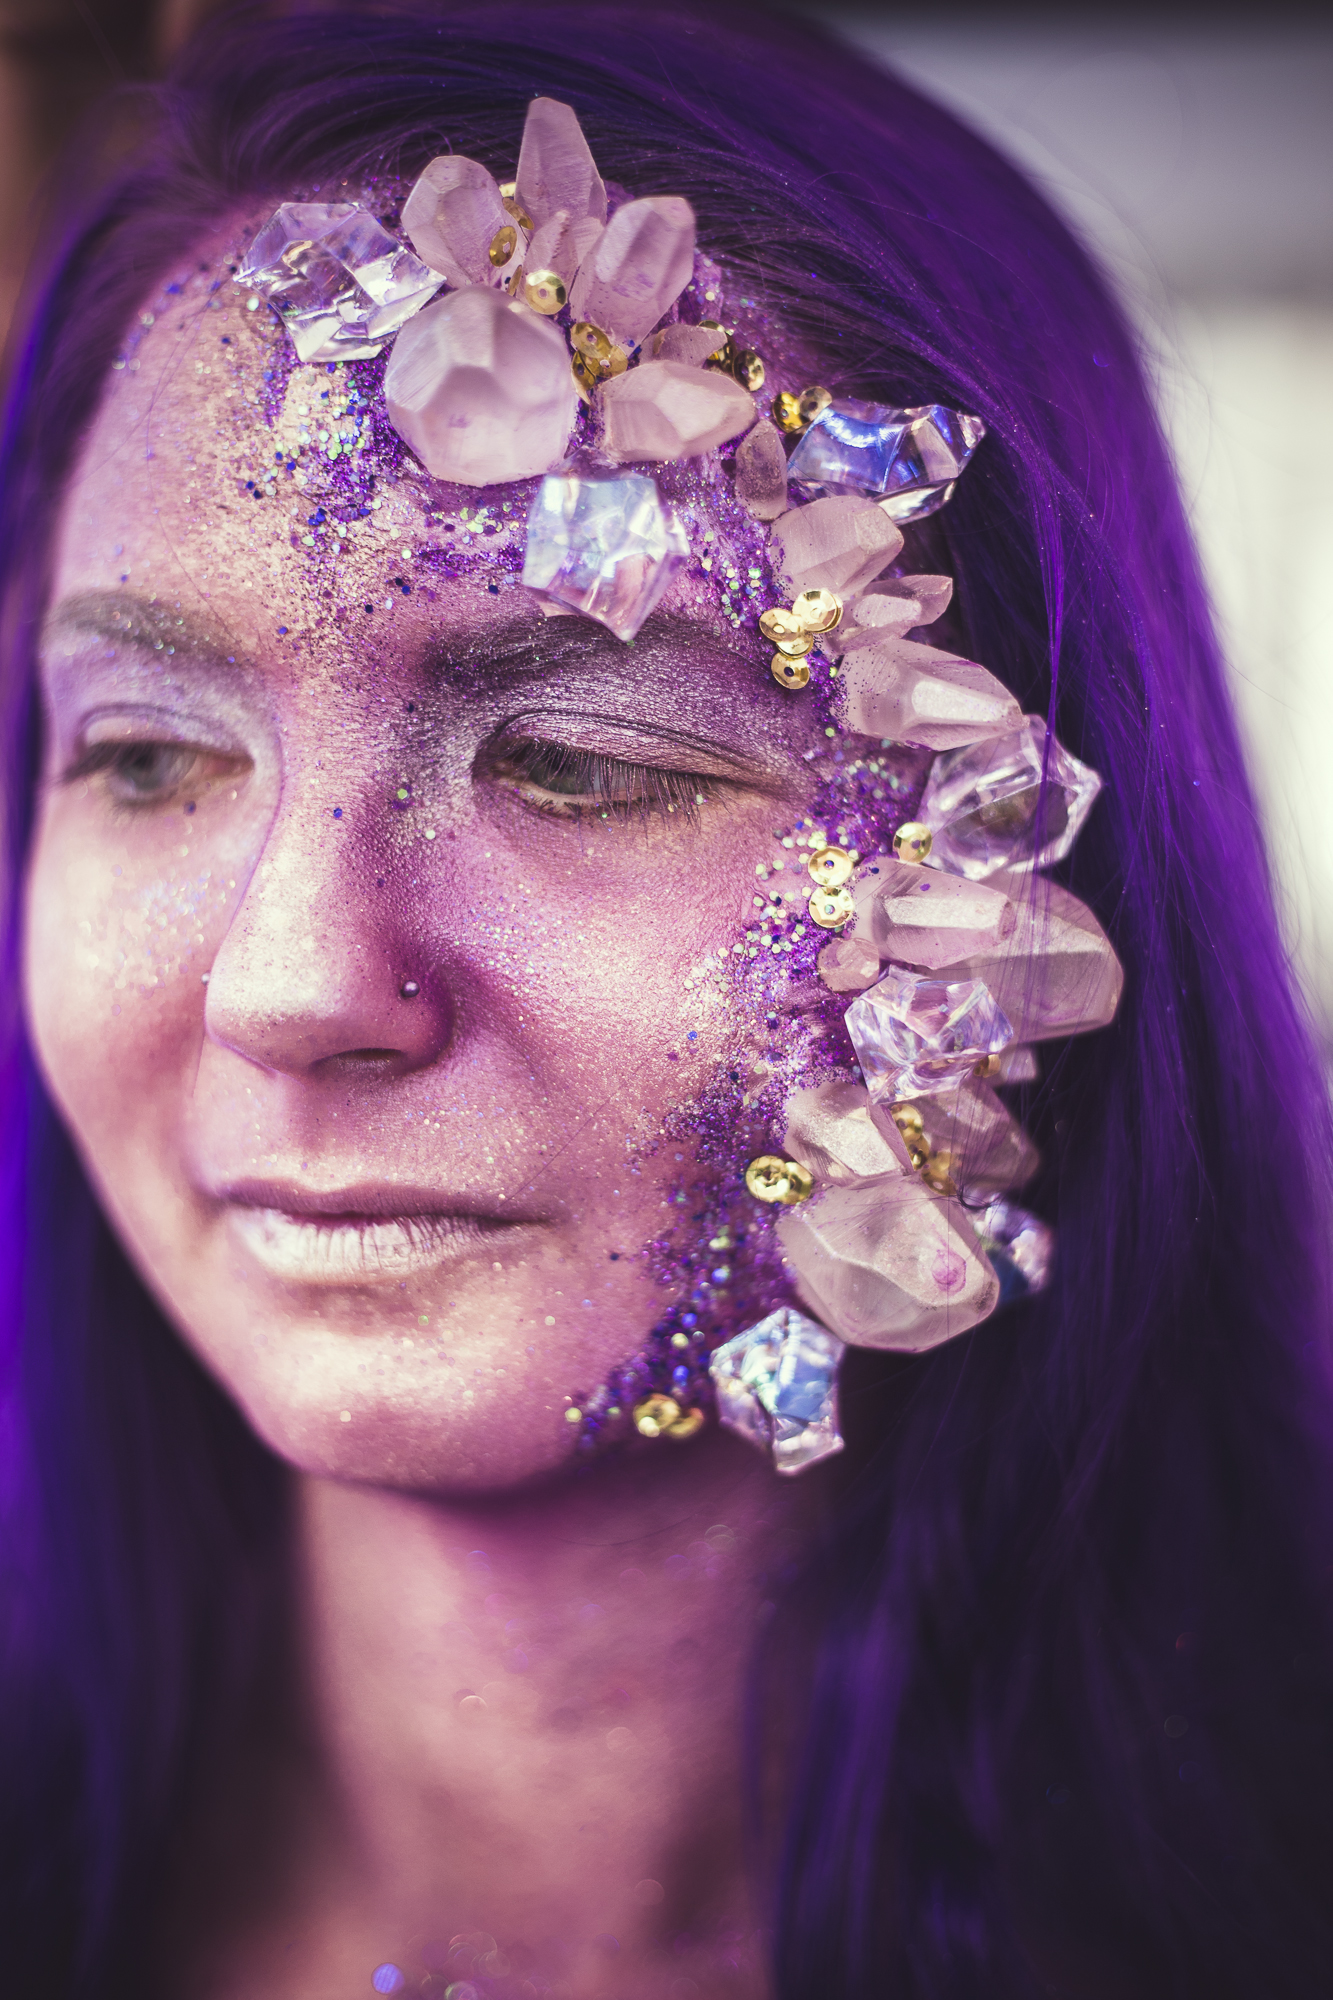
Final images revealed from my personal project, "Wake Up, Sleeper" in collaboration with makeup artist Alyssa Emigh and my friend Victoria Venskoske. Script from a class also included that I have integrated with this short series.

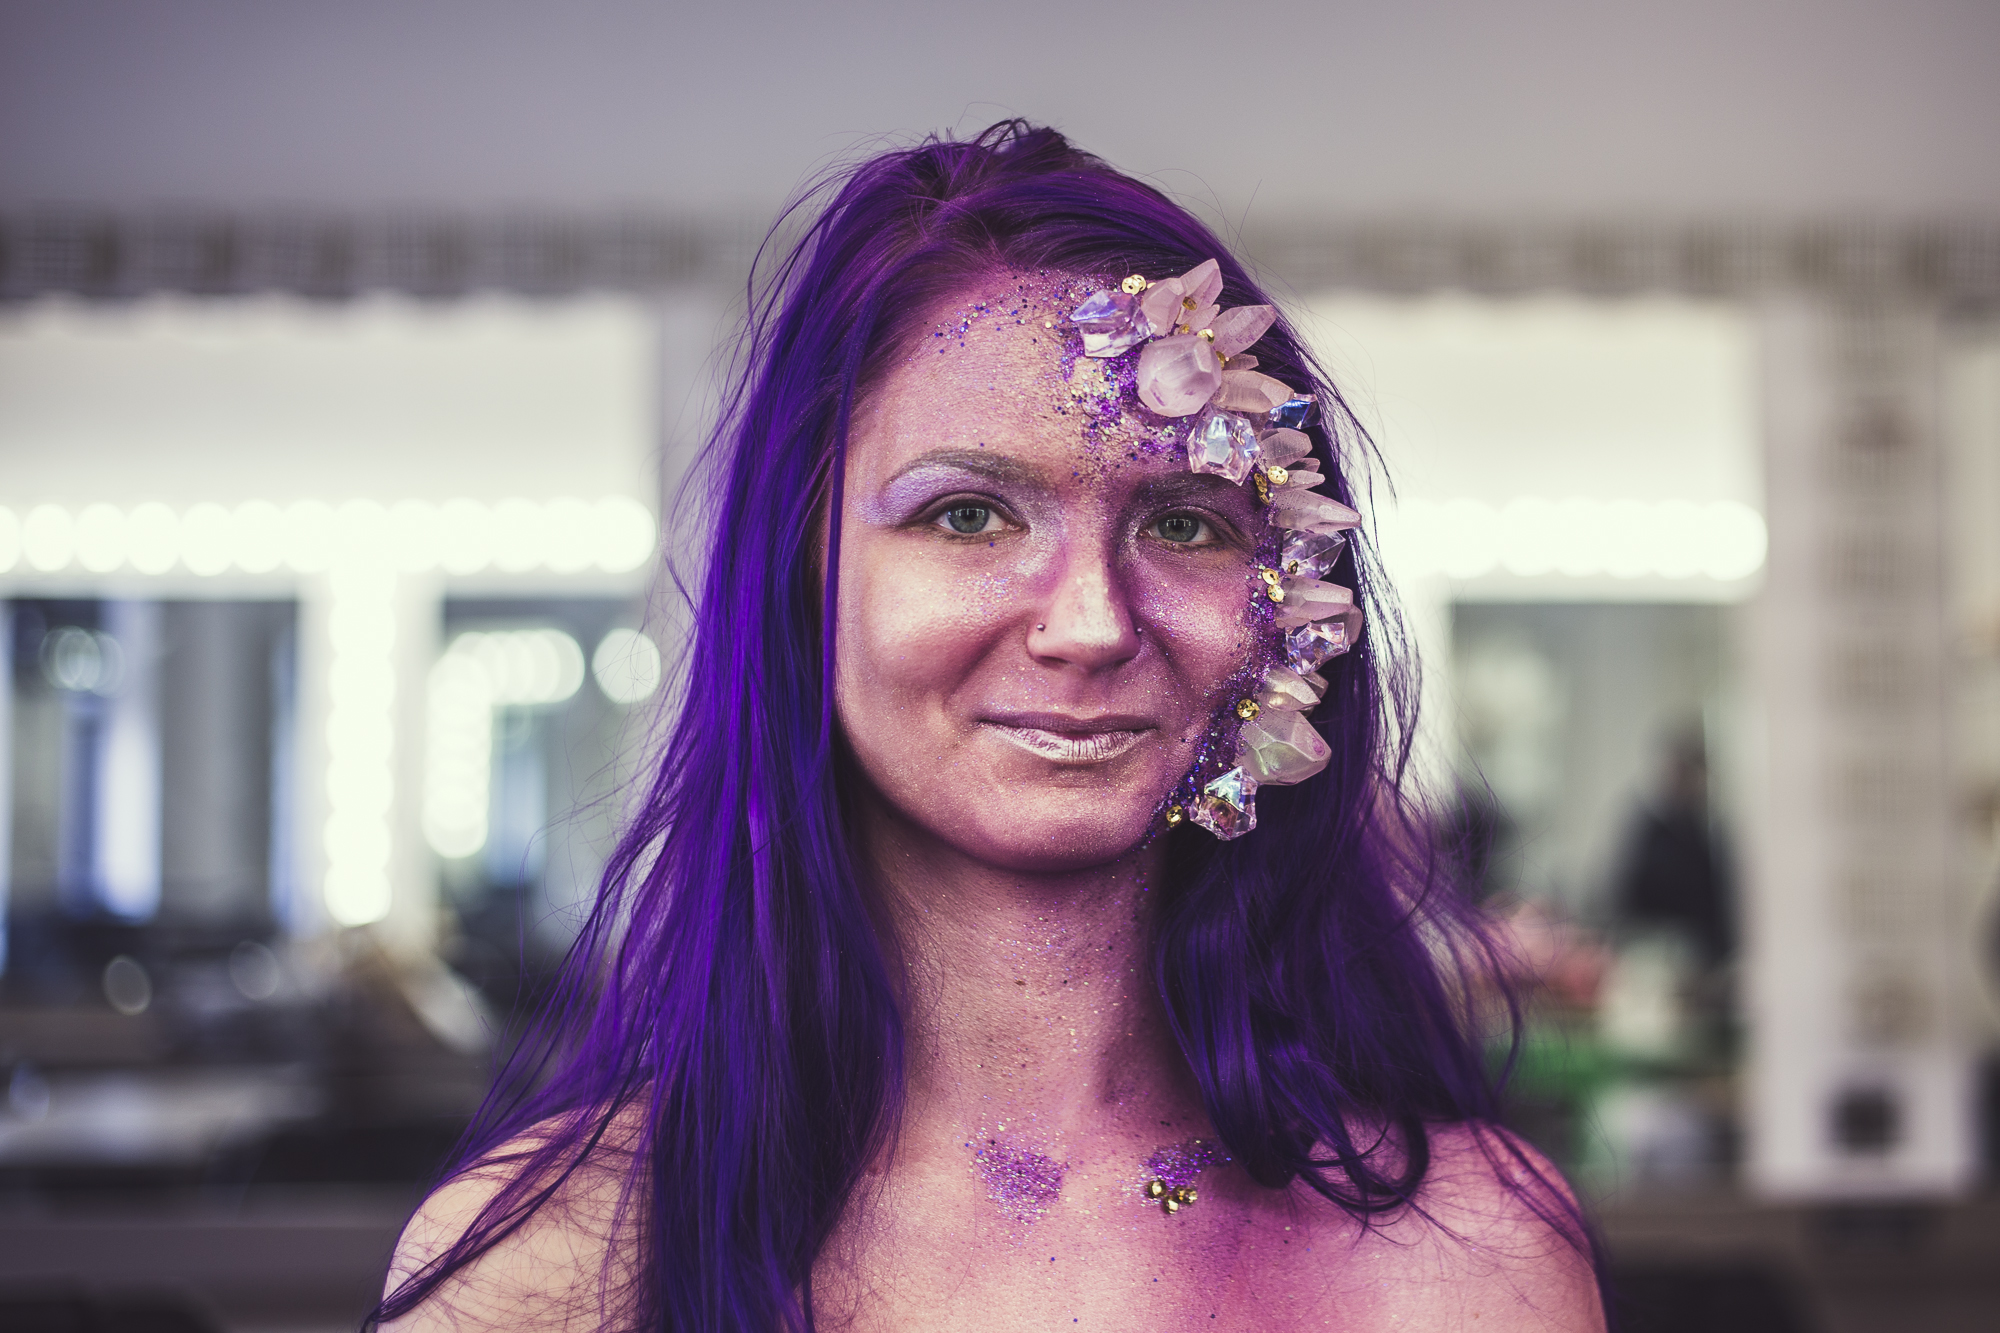
One of my favorite images, and the final image I used in my print portfolio.
I've been debating the way I should go about sharing this group of images for several months now. This photo shoot was put together in April when I began drawing inspiration images for my print portfolio to first be shown at The Art Institute of Pittsburgh's quarterly Portfolio Show when I graduated. I wanted to collaborate with another artist specifically for this shoot, and special effects makeup was the way I decided I would go. I knew I had wanted to do a "mermaid" themed shoot with my friend Victoria for quite a while. When your friend has purple and blue hair and your a photographer, there's no question about who to use for a model. Funny enough, I first got the idea to have her model for me because she wore a shirt to school that said something along the lines of "I'm a Mermaid". Later I pulled inspiration from Ephesians 5:14, "This is why it is said, 'Wake up, sleeper, rise from the dead, and Christ will shine on you.'" I wanted the shoot to have this idea of a "mermaid" turning away from her life that was not what she wanted and not where she was supposed to be. The crystals on her face would represent the time that she had been in that stagnant place and almost appeared to be dead (rise from the dead). She then "wakes up" and realizes where she not only wants to be, but where she is meant to be.
I ended up using a single image from this shoot for my print portfolio, but I enjoyed the images so much as a whole that I wanted to do something bigger to share them. It didn't dawn on me until a couple weeks ago that I had written a short script for my Conceptual Storytelling class at The Art Institute. This was actually a filmmaking elective rather than a photography class, but I took it to have enough credits to graduate on time. I also thought it would be a neat opportunity to work on developing a story for each of my series, and would help me to see movies (which is where I draw a lot of my inspiration) in another way, as far as the way the story is told.
In the first planning stages, the way I develop a photograph in my head is really like a mini movie trailer, literally playing like a scene of a film rather than just still images. Then in the following planning steps, I'll decide on makeup, hair, location, lighting, etc. I work on this entire process all while trying to figure out who the character is, where they came from, what their motivation is, and what is driving the story.
This script was an in-class assignment, assigned at 8:00 AM and due before class was over at noon. Trying to figure out what the heck I should write about, and never having experience writing a script or really any story that wasn't totally lame or in third grade (especially at 8 in the morning), I kept going back to the idea behind this "mermaid" themed shoot that I had been editing on and off the last several weeks. I kept thinking how amazing it would be to know what was going through this character's mind and why she was where she was and what her expressions meant. The script was written in early June, so the shoot, which took place in early May, had already been completed, meaning the images don't align in complete perfection. However, I think I've found an awesome process to use in order to do a creative shoot like this in the future and have the viewers try to see this "movie trailer" or "short film" using their imagination between the script and the photos I use together.
>>Side note: I really can't believe I'm posting this script for the general public to read because honest to goodness, I've never been so self-conscious about a piece of writing I've ever done in my life. But it's all for a good cause. Below is the script, followed by the images, followed by some behind the scenes. Enjoy!


Behind the Scenes

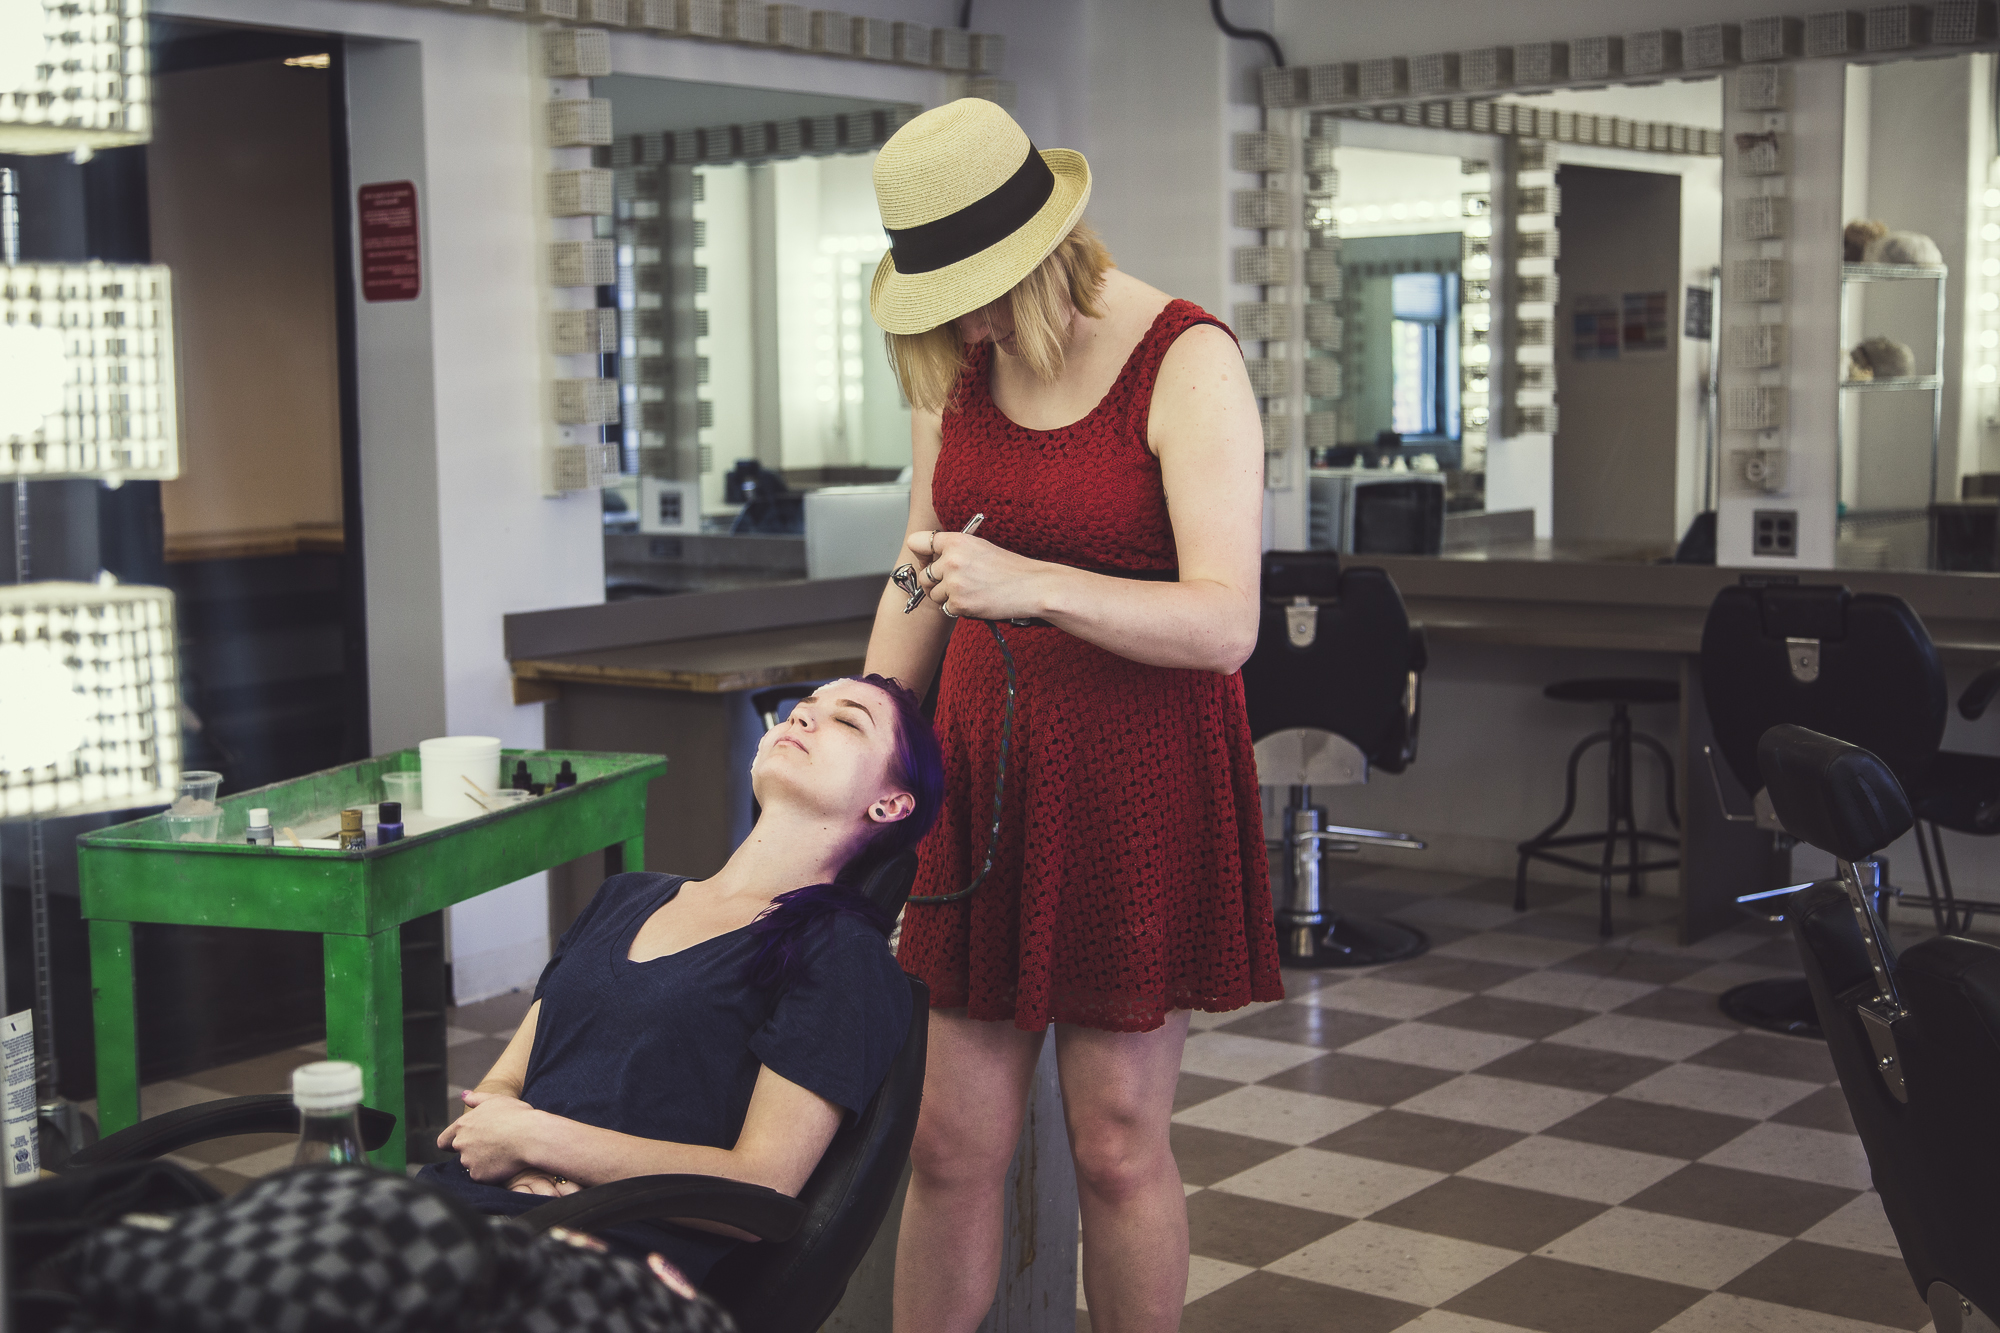
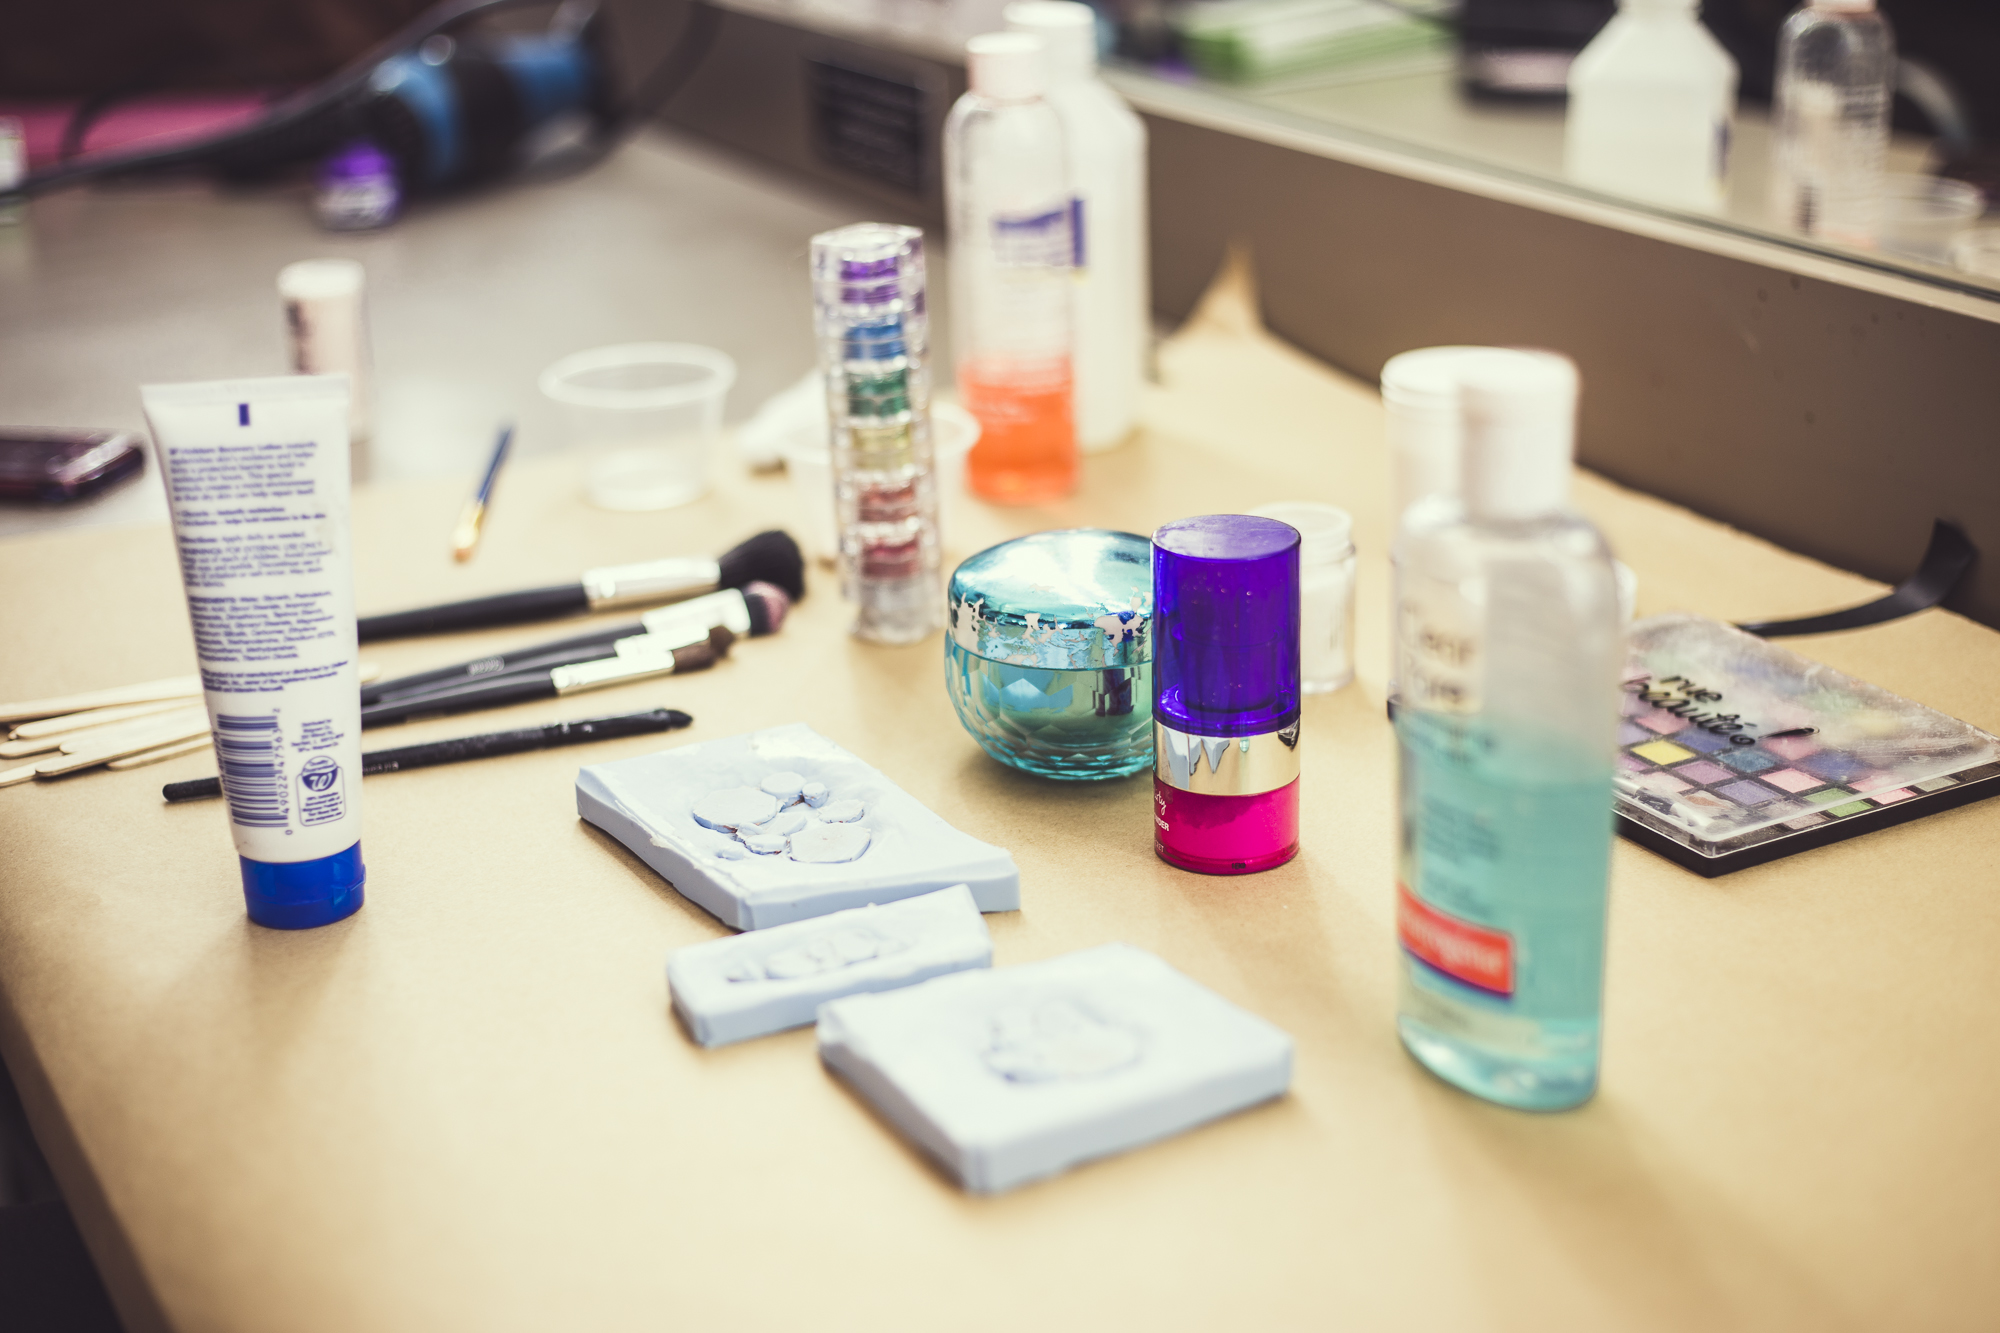
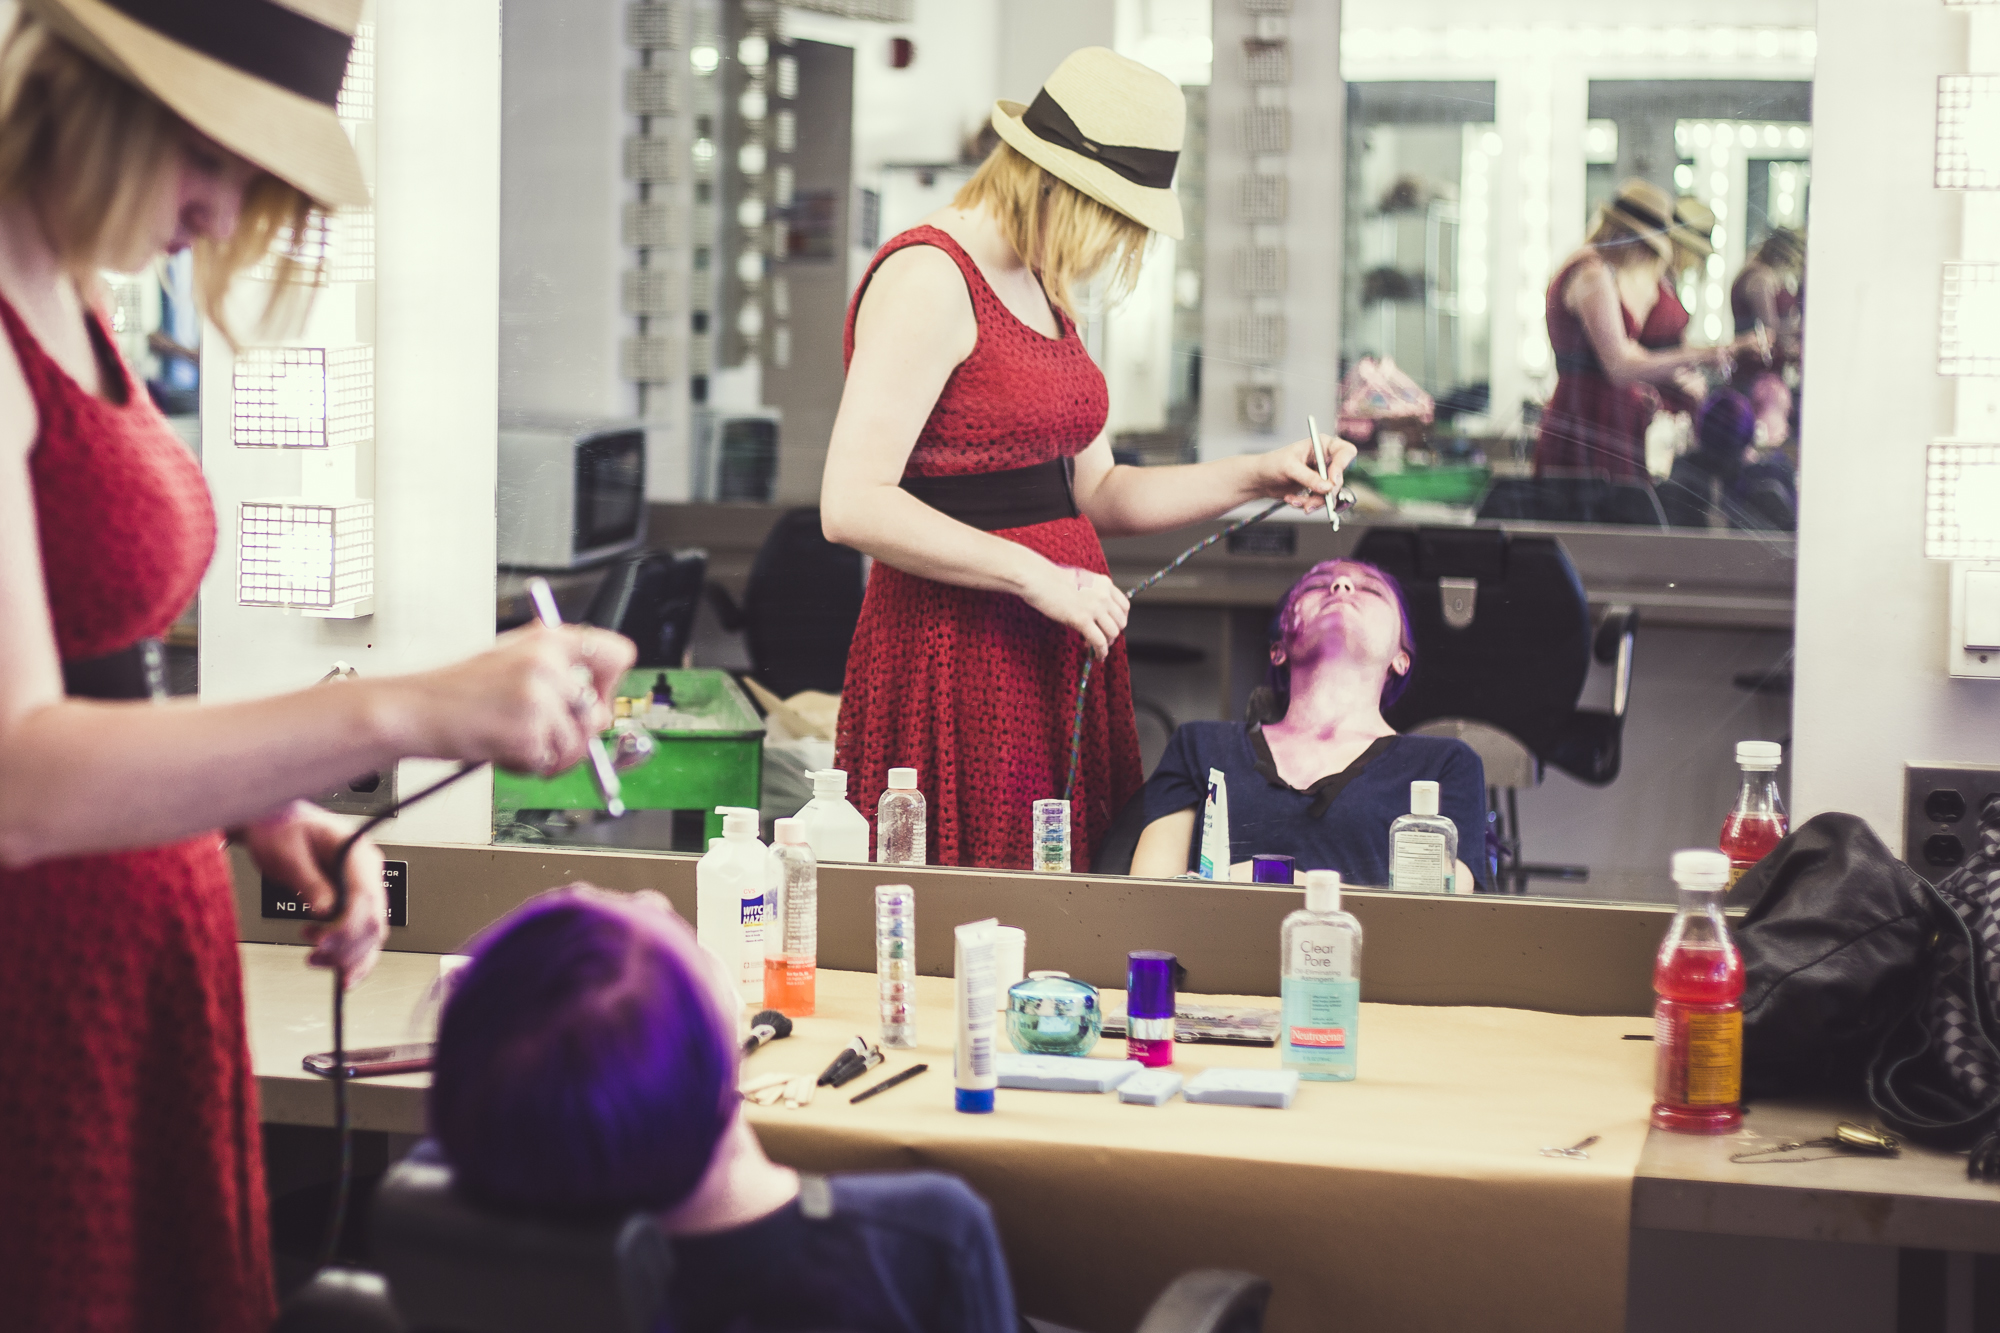
A very special thanks to the people who made this shoot possible...
Model: Victoria Venskoske
Special Effects & Makeup: Alyssa Emigh
Assistant: Camille Madison
Location: Jeannie Werner
Live by faith & share through fotos.

Digitally Restoring Prints
A before and after look at a W. Haskell Coffin print I digitally restored.
The more I work with retouching, the more I realize that I can't get enough of it! So when my uncle asked me to scan and restore a W. Haskell Coffin print that he had, I was up for the challenge. I've never retouched an old photograph or other type of print, so I had to take what I knew about retouching regular portraits and use it to digitally restore this print.
Here are the before and after looks with 4 hours of retouching this beaut.


Live by faith & share through fotos.