
A "Modern Antique" Project
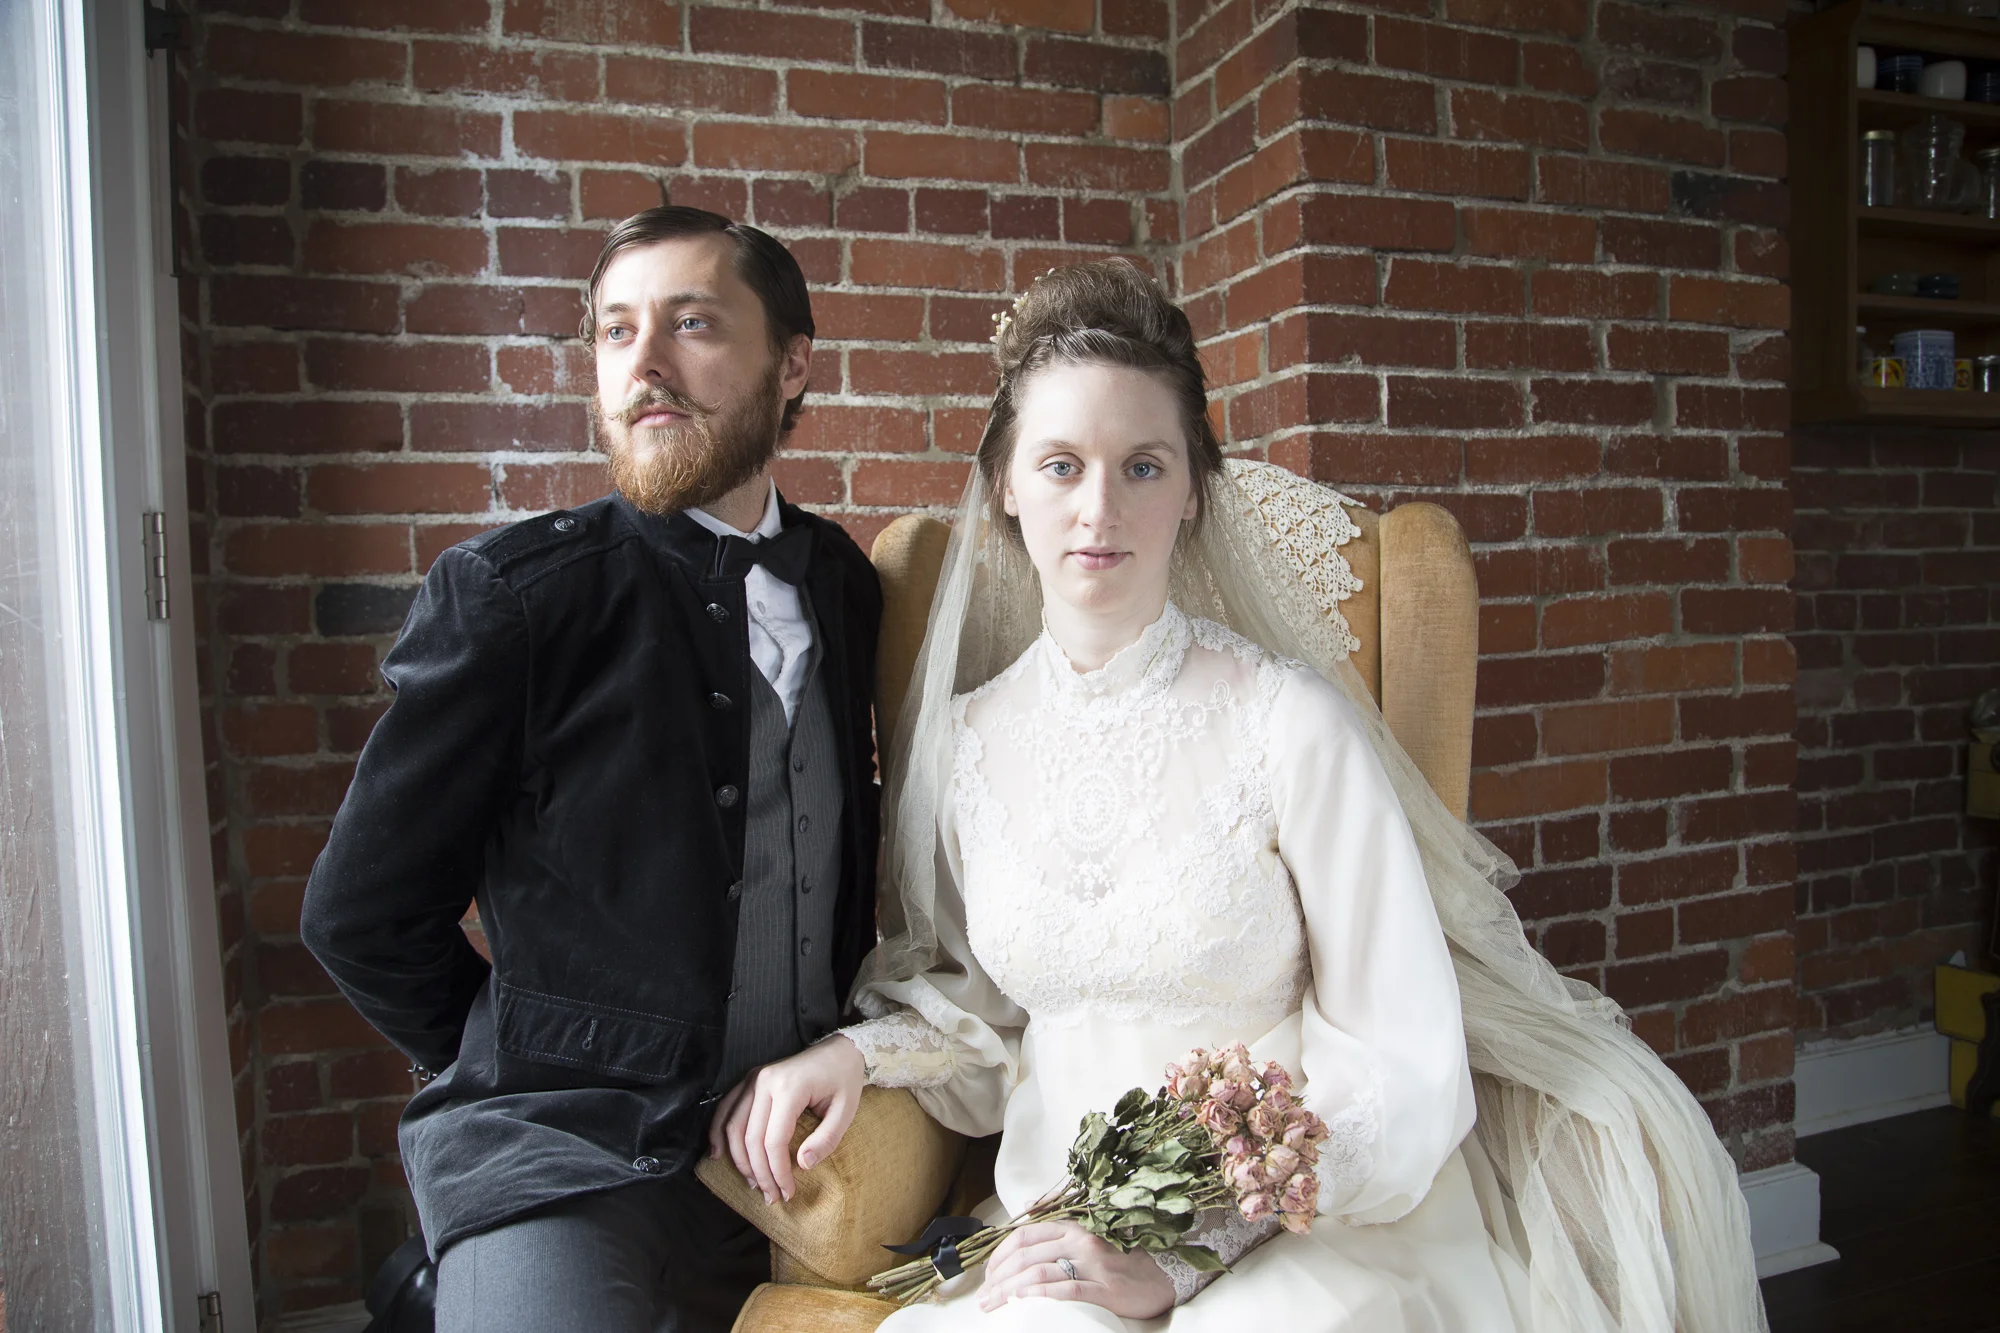
Bringing a little life into the style of antique portraiture in these Mock Wedding portraits with color.
About a year ago, I posted this photo on Instagram..

"When I heard about The Rescued Film Project (@rescuedfilm), it reminded me of one old photo I picked up at an antique mall several months ago in Wexford, PA. There's such a wonderful mystery about a photo without names, dates, places, or knowing the photographer that saw a specific scene. Was this taken on his or her way to work? How old was the photographer? Why was he or she drawn to the moment? I encourage you, with all old photographs, to appreciate the memory and time that it holds, and not to forget the life that breathes in it, still."
With that said, I have this love for antique photos, they just make me so curious. I was inspired to "recreate" photos to mimic the style of antique portraiture. I actually shot these before I graduated. I shot these in May earlier this year. The reason I haven't shared these sooner is because I've been having a creative block with this set of images. Sometimes this happens, and I've realized that I just have to wait it out and let them become what they need to be in order to be shared. I started this project thinking I wanted to share photos that looked worn and sepia tone or black and white. But after months of working with these, I decided that other than the first image, I would leave them images in color to let them come to life. Often times when we take a look at old family photos, we put this "tone" to them and can't or don't imagine what life really looked like other than in the photo. And so, I left these images in color, with an antique wedding setting, style, and wardrobe to not forget the life that has been involved in every photo ever taken regardless of time period, and the life that breathes in it, still.


Below is a before and after, showing the extensive work in Photoshop to make the atmosphere eerie and intriguing in this specific photo.

Behind the Scenes


A very special thanks to the people who made this shoot possible...
Models: Daniel & Bethany Snoke
Wardrobe: Shiloh Leath
Live by faith & share through fotos.

On Veterans Day
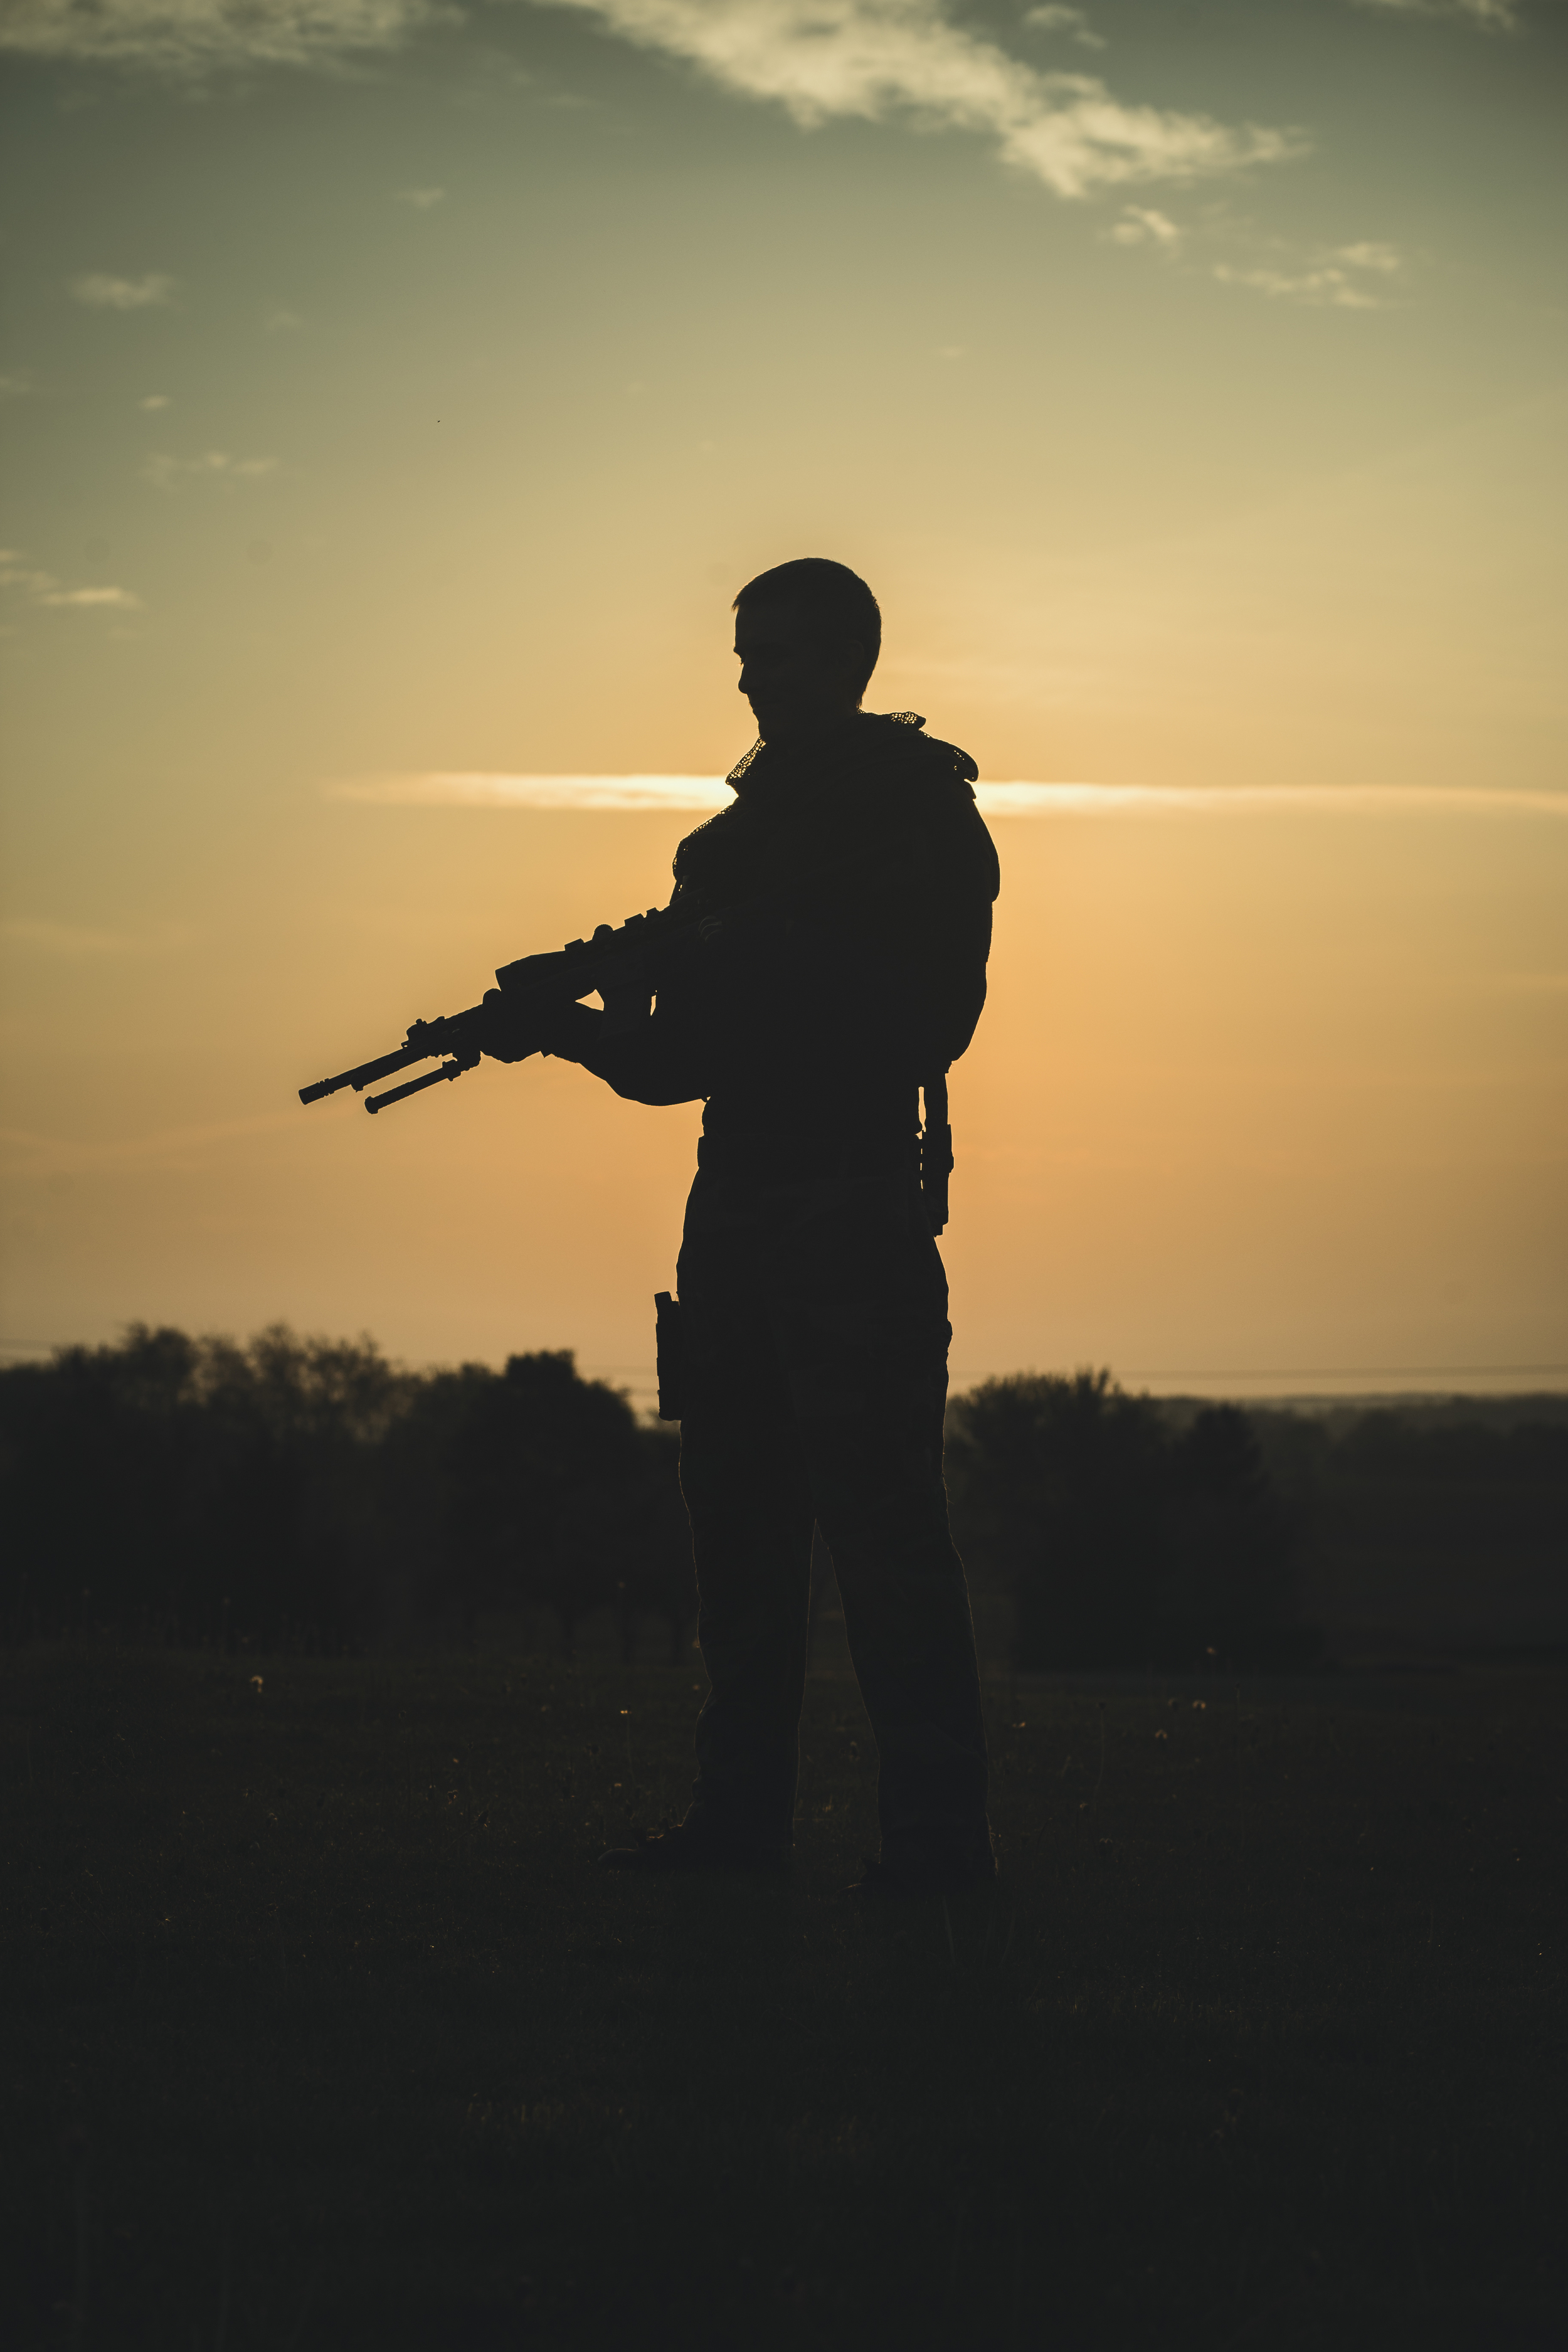
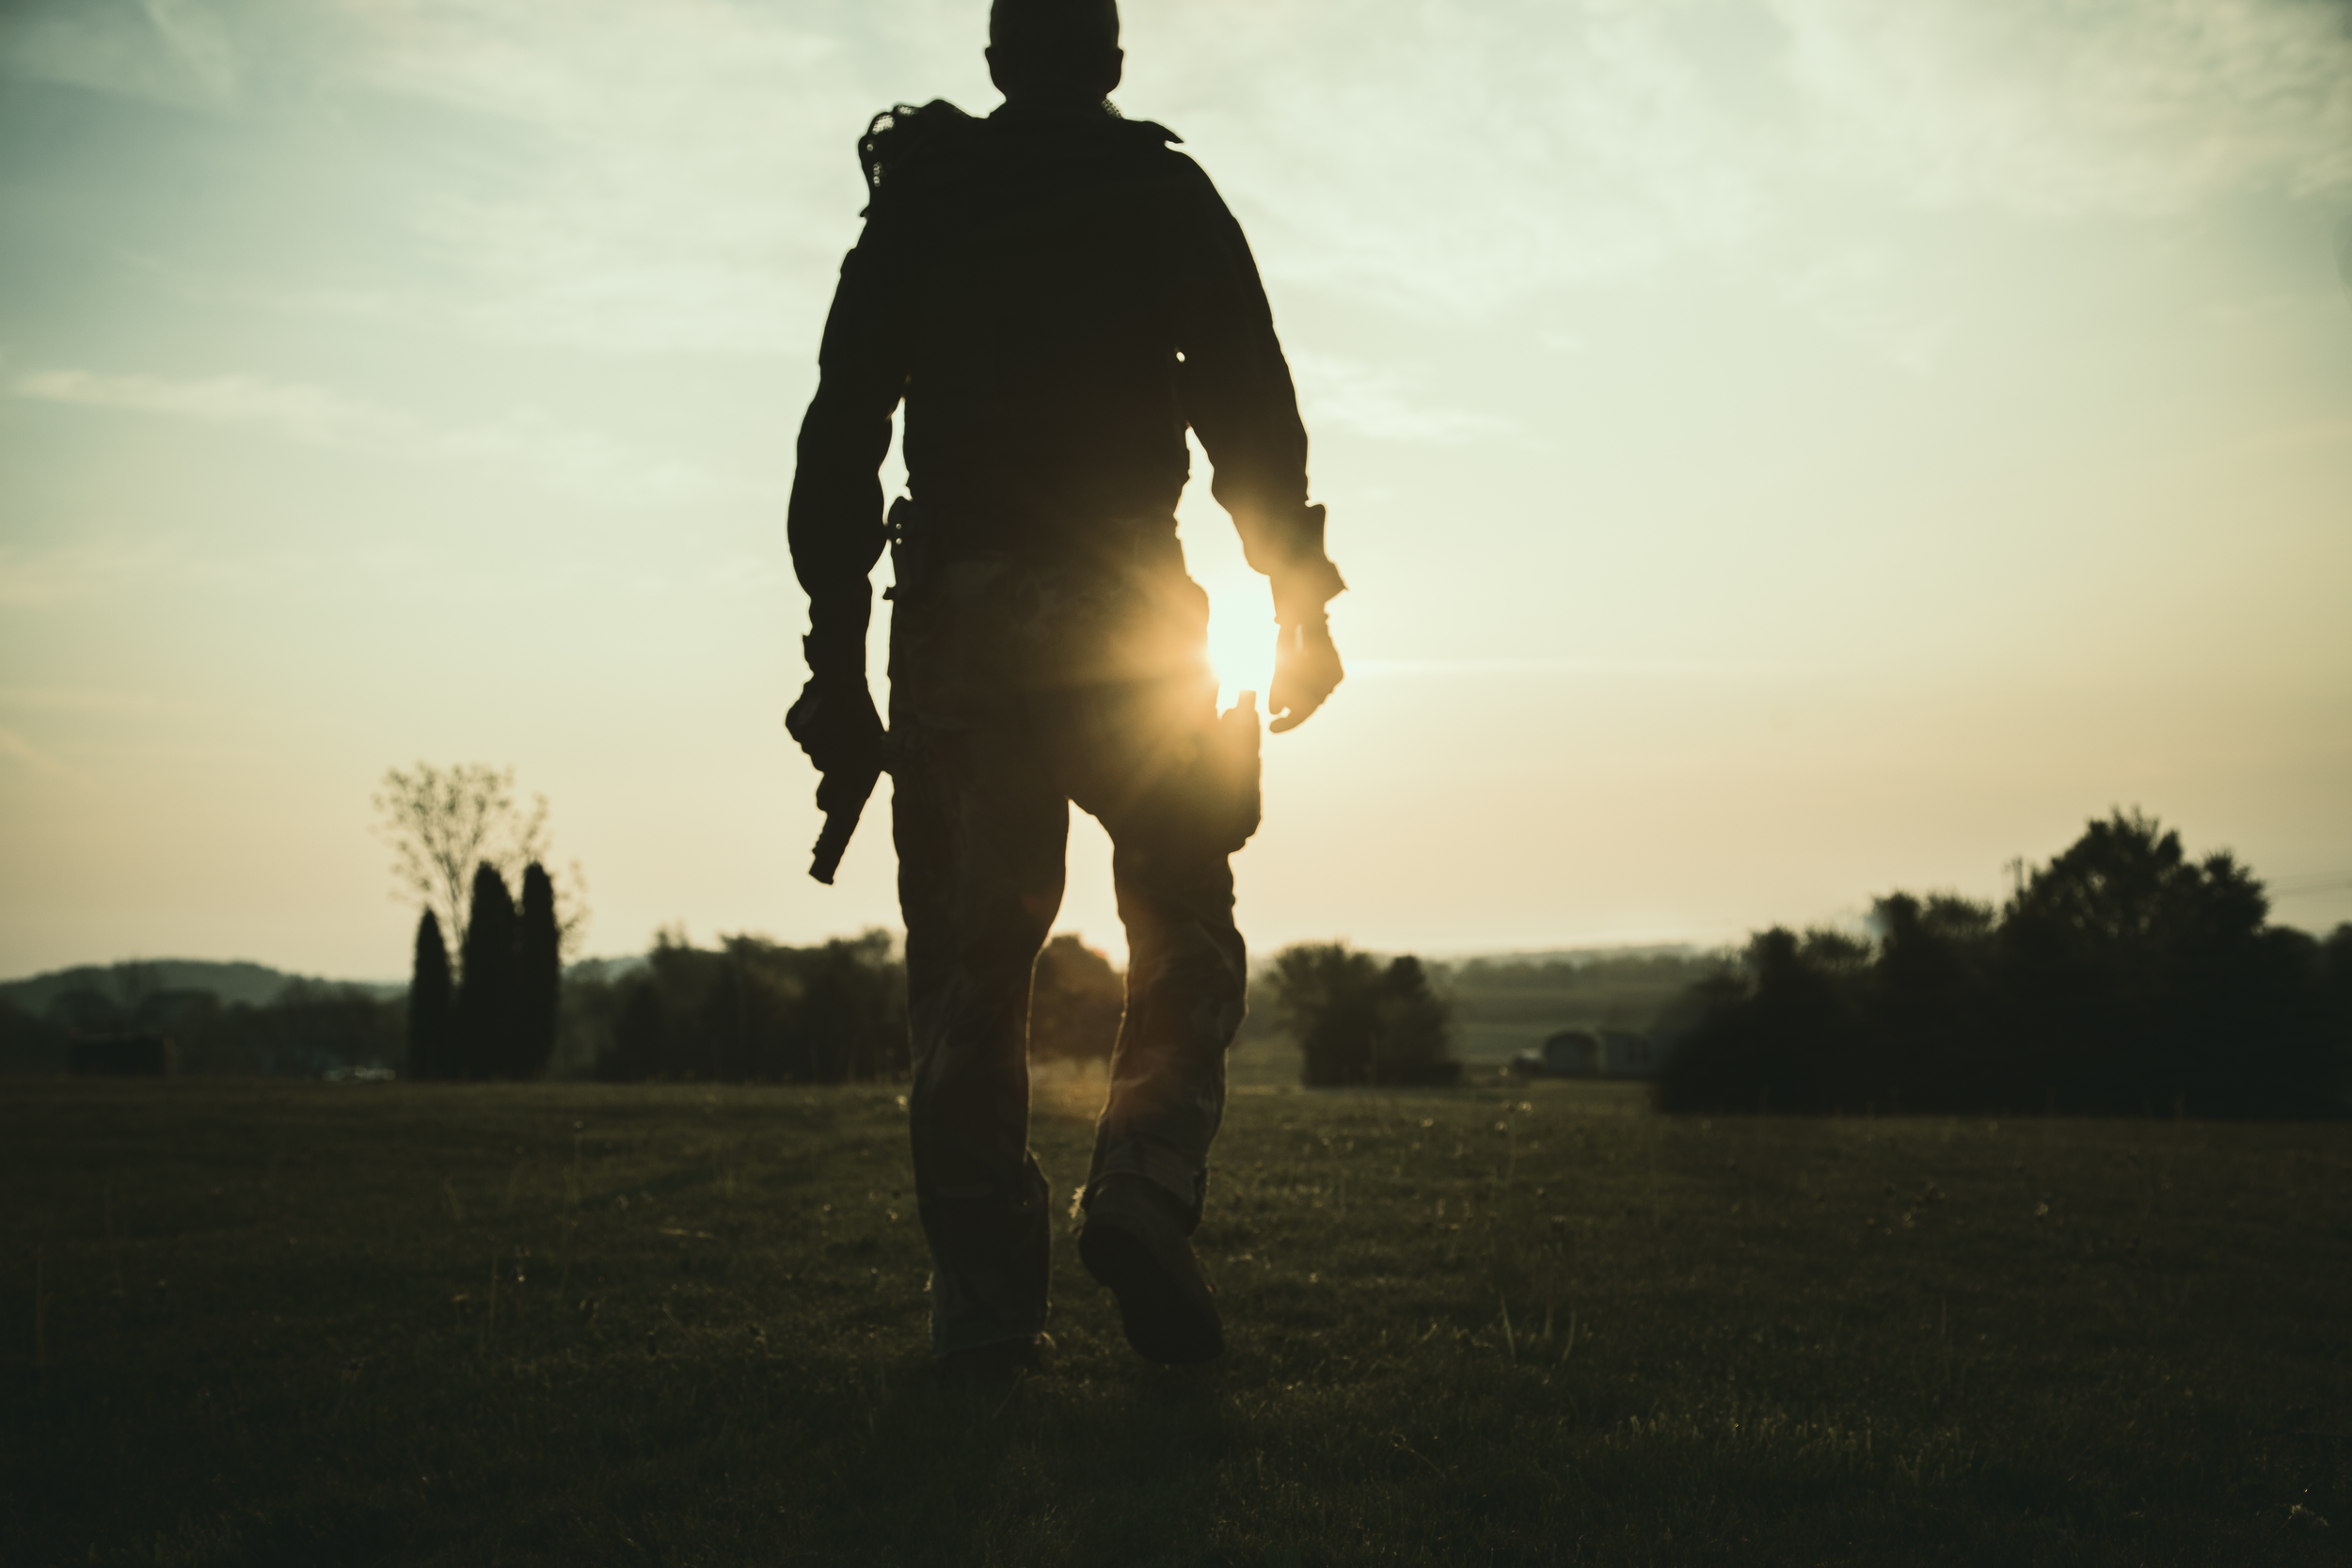
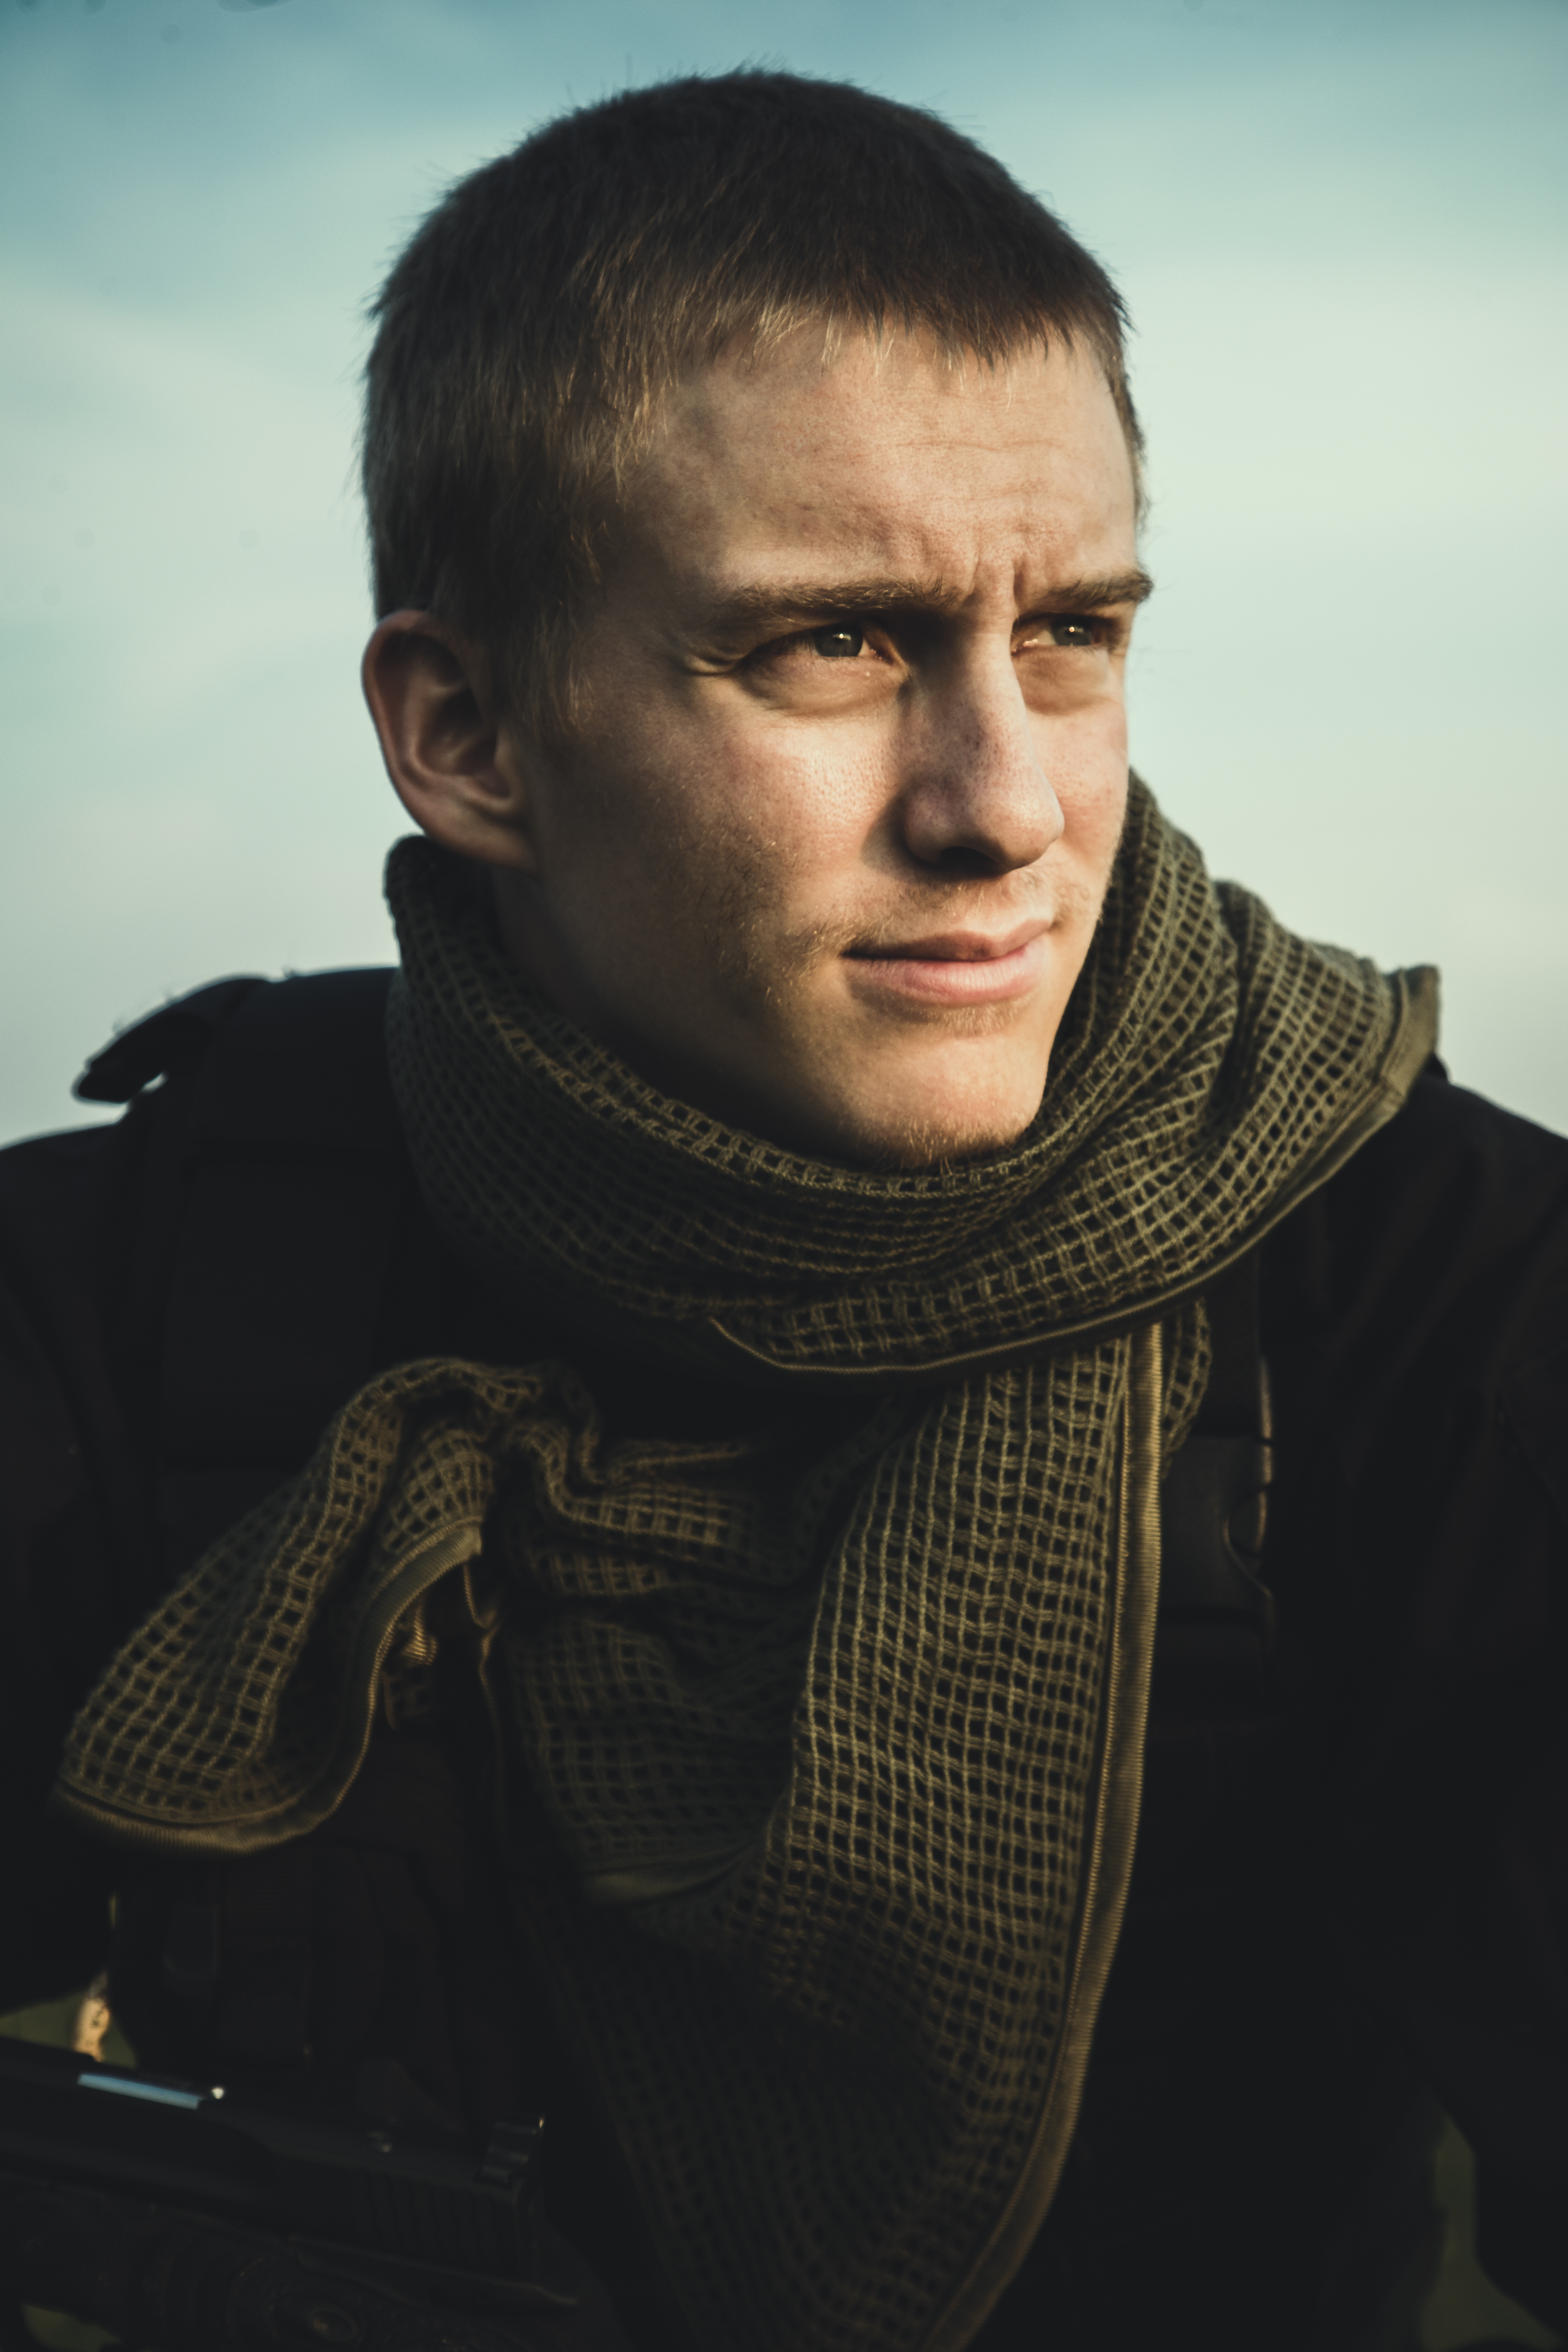
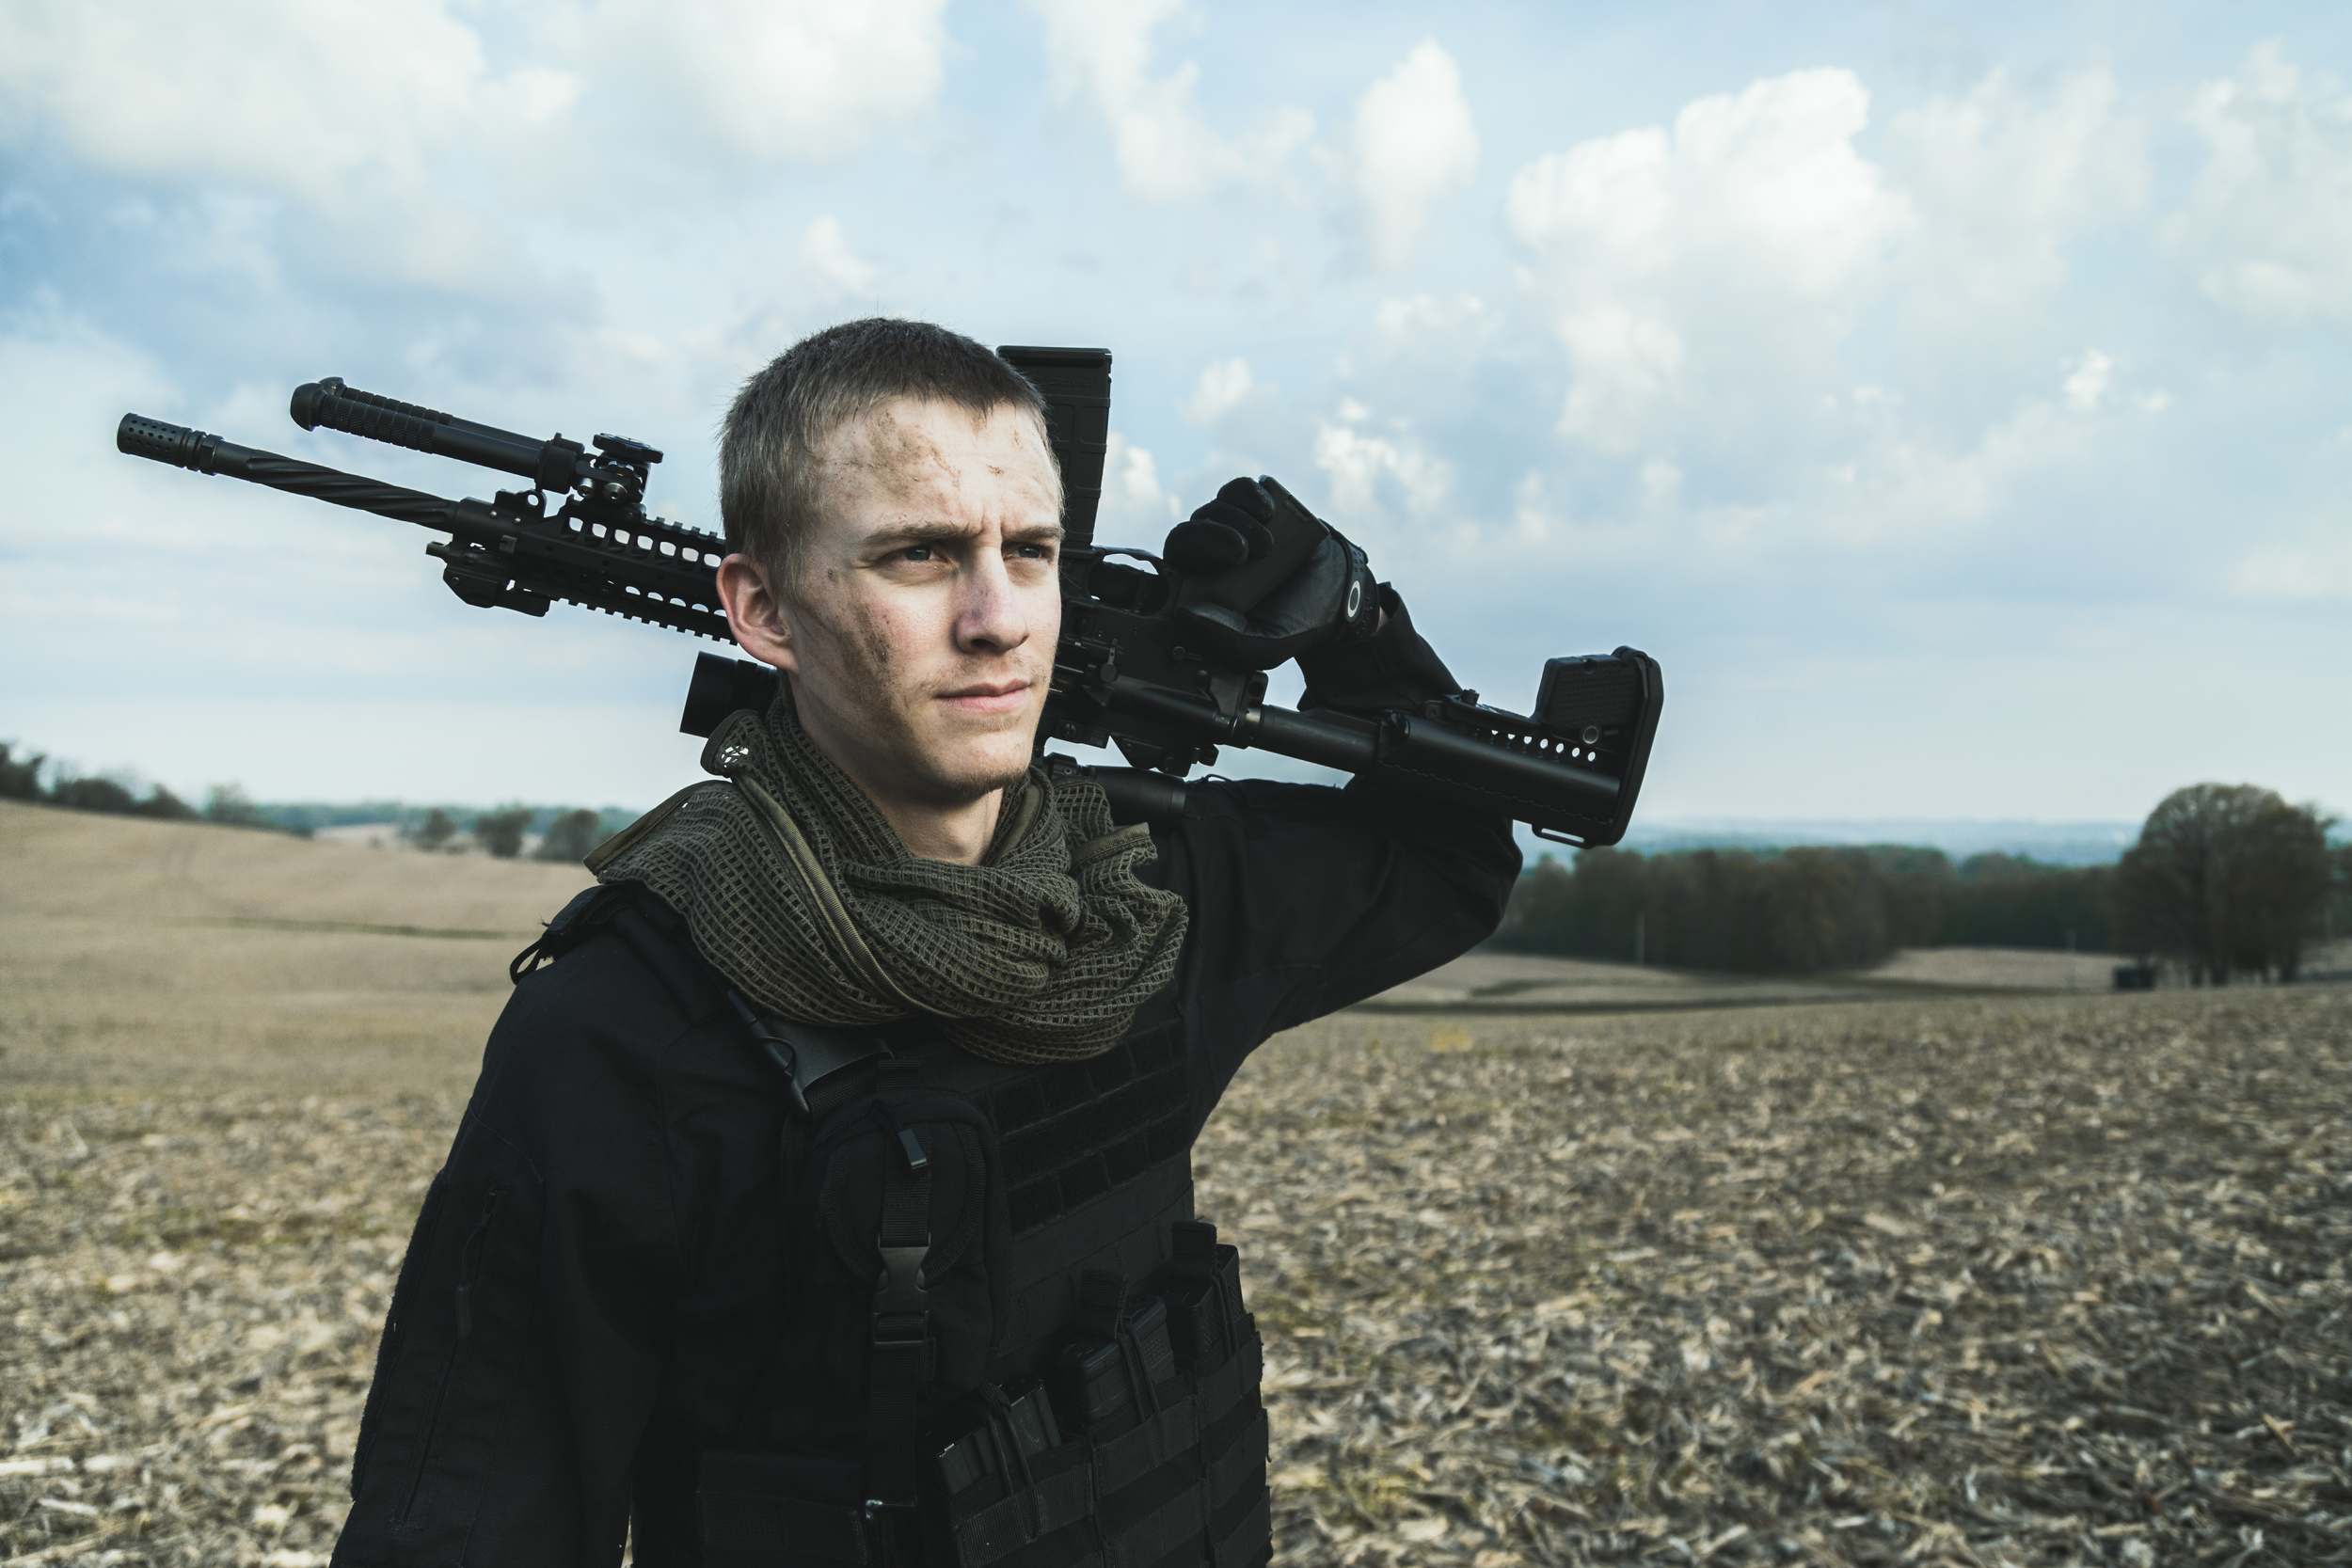
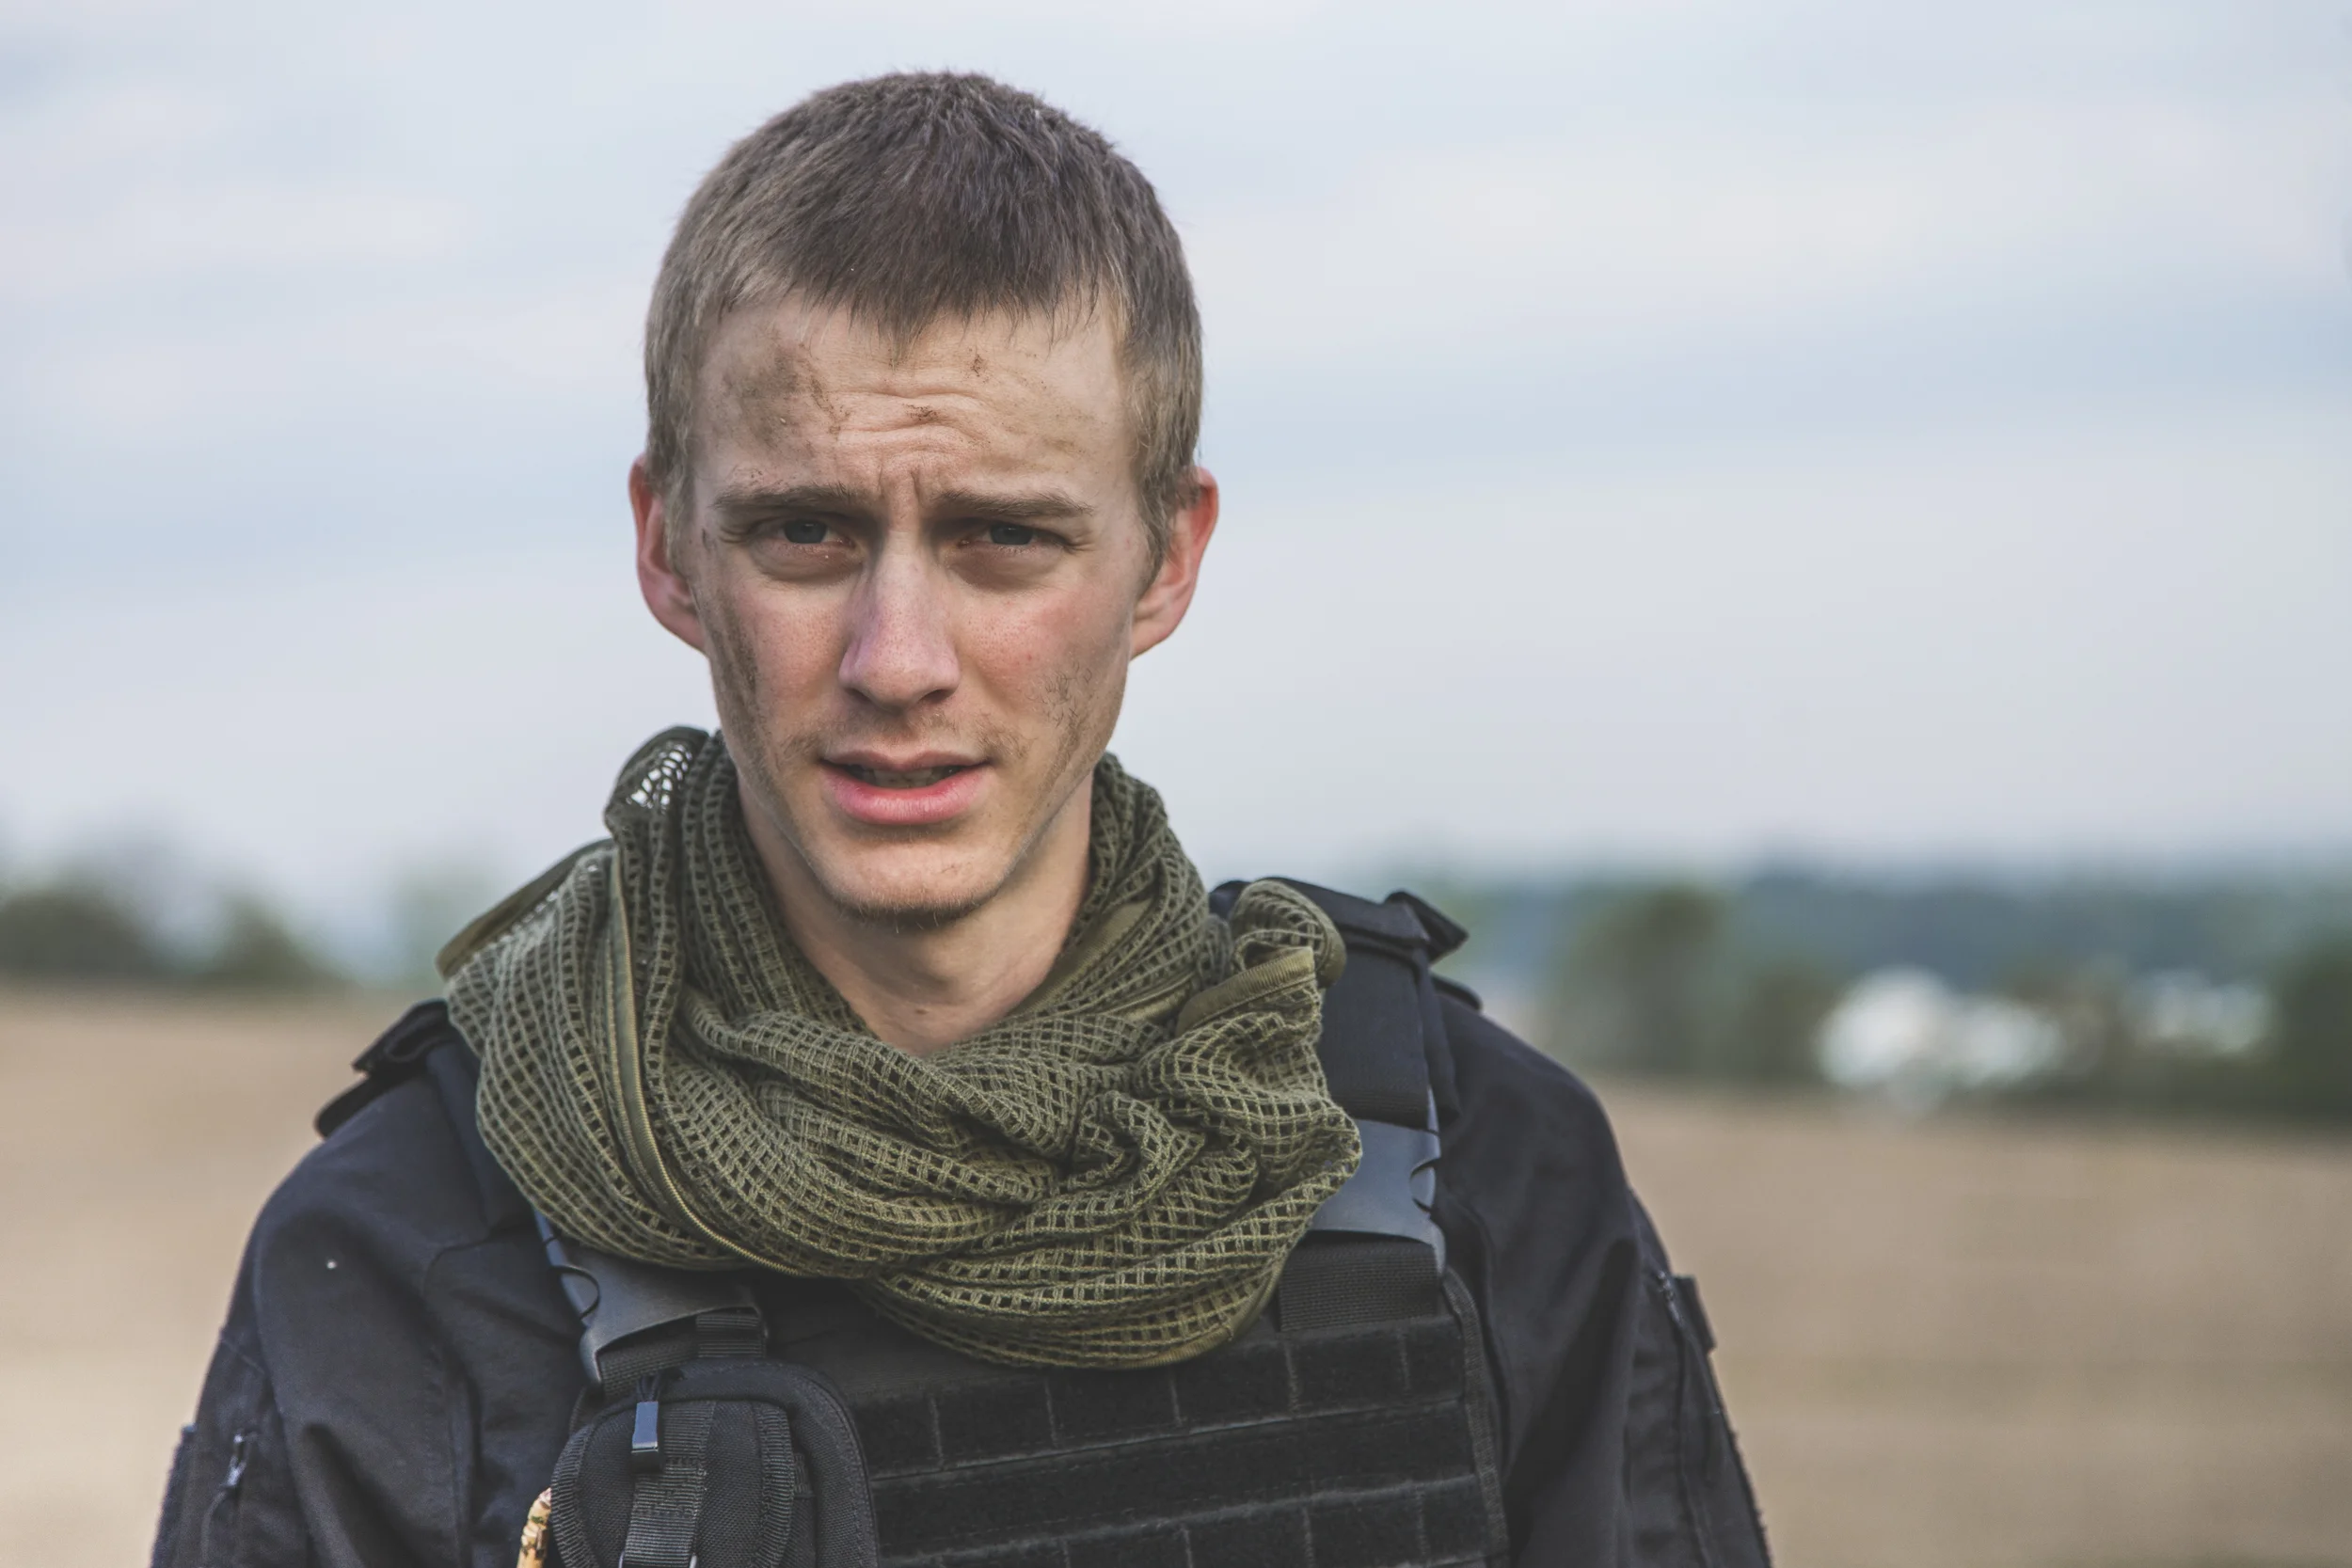
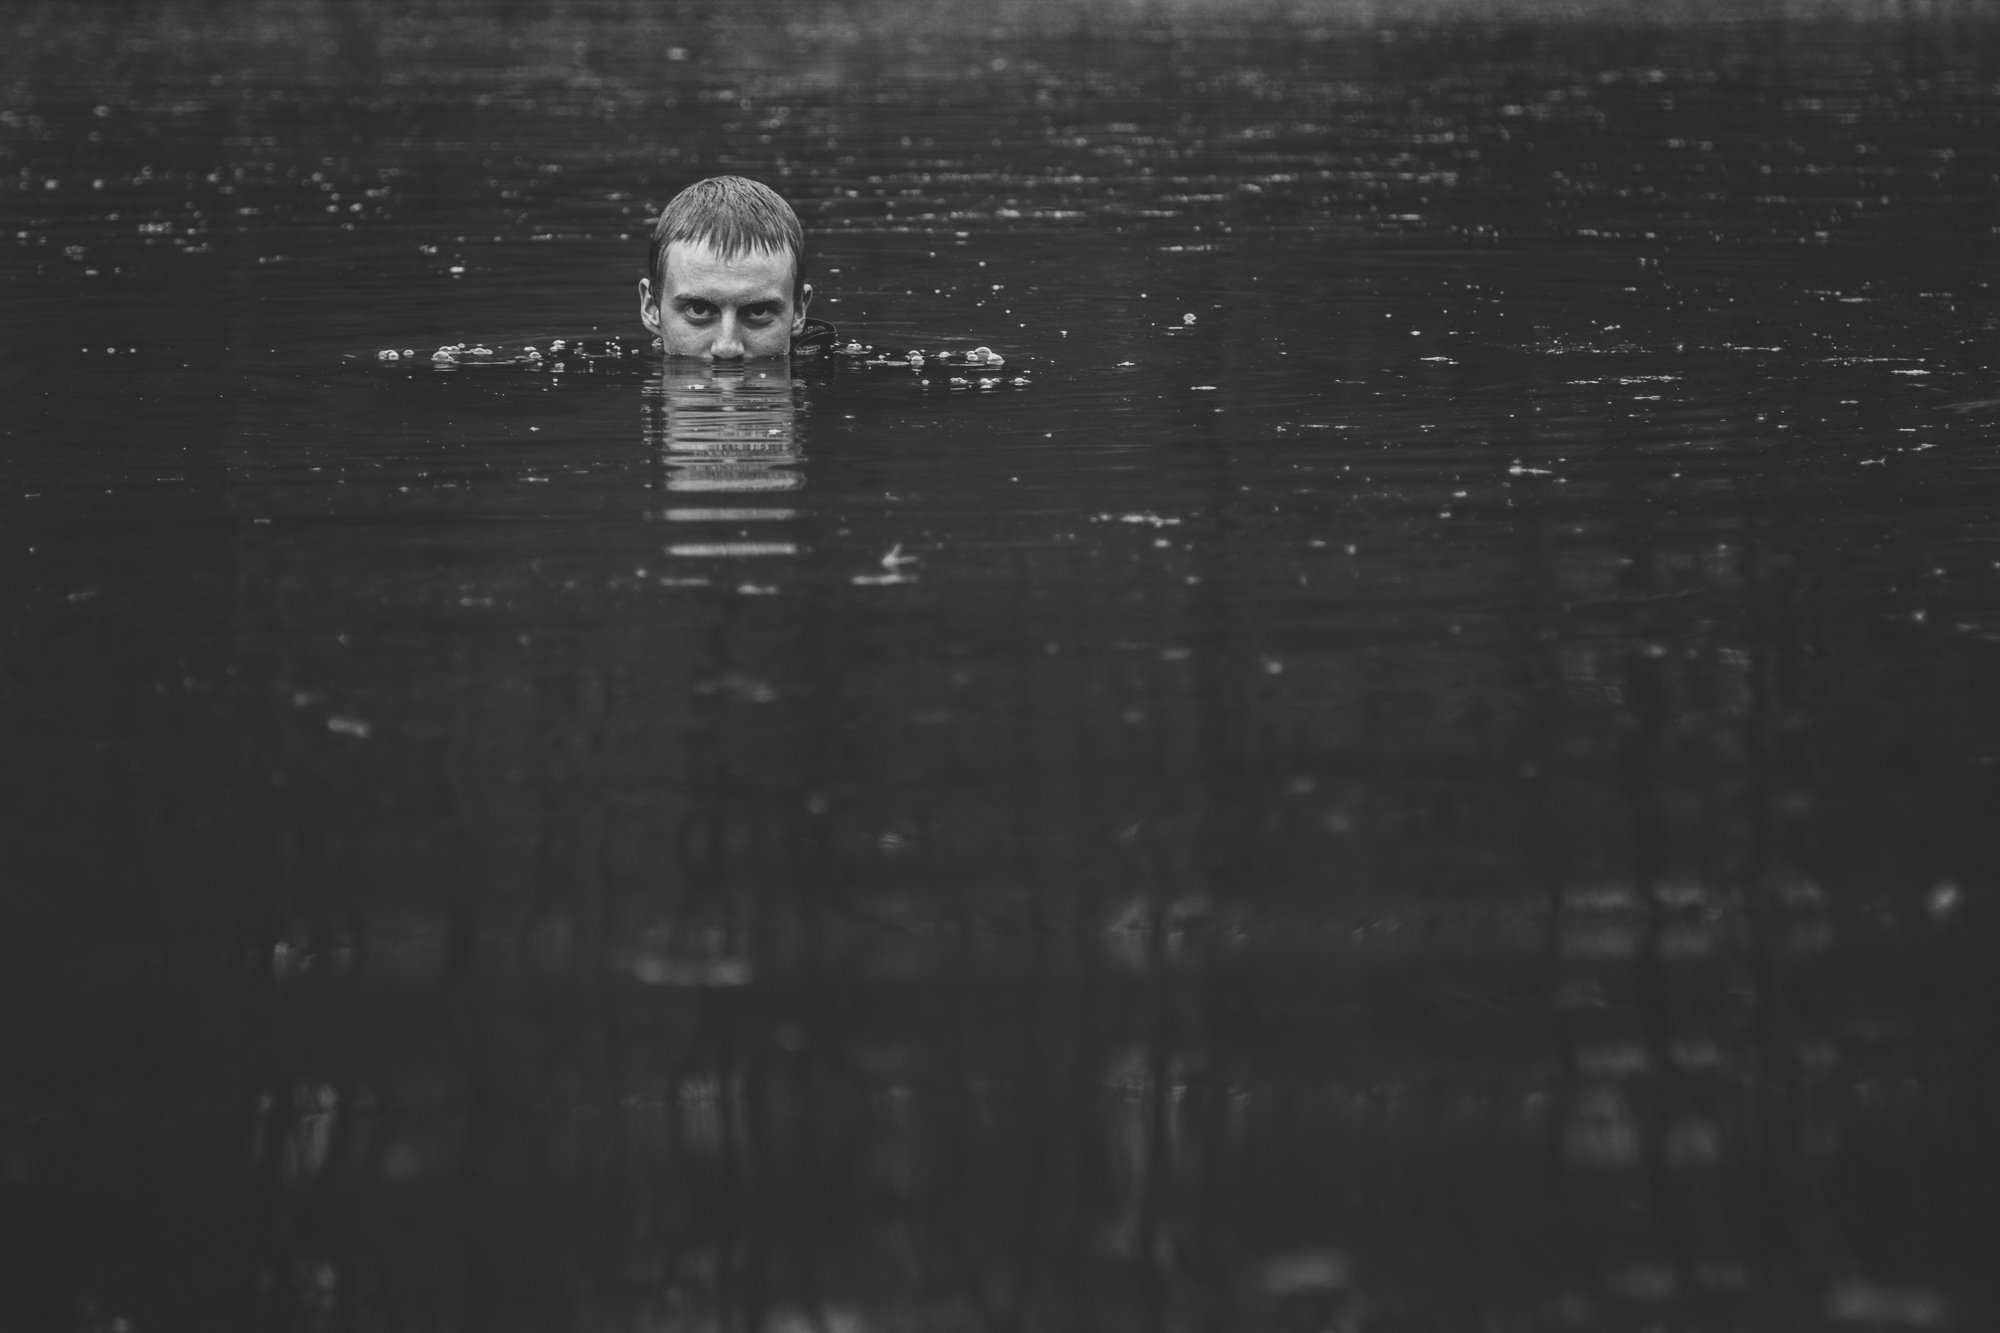
Final images from my shoot inspired by Call of Duty, with behind the scenes and before and after images.

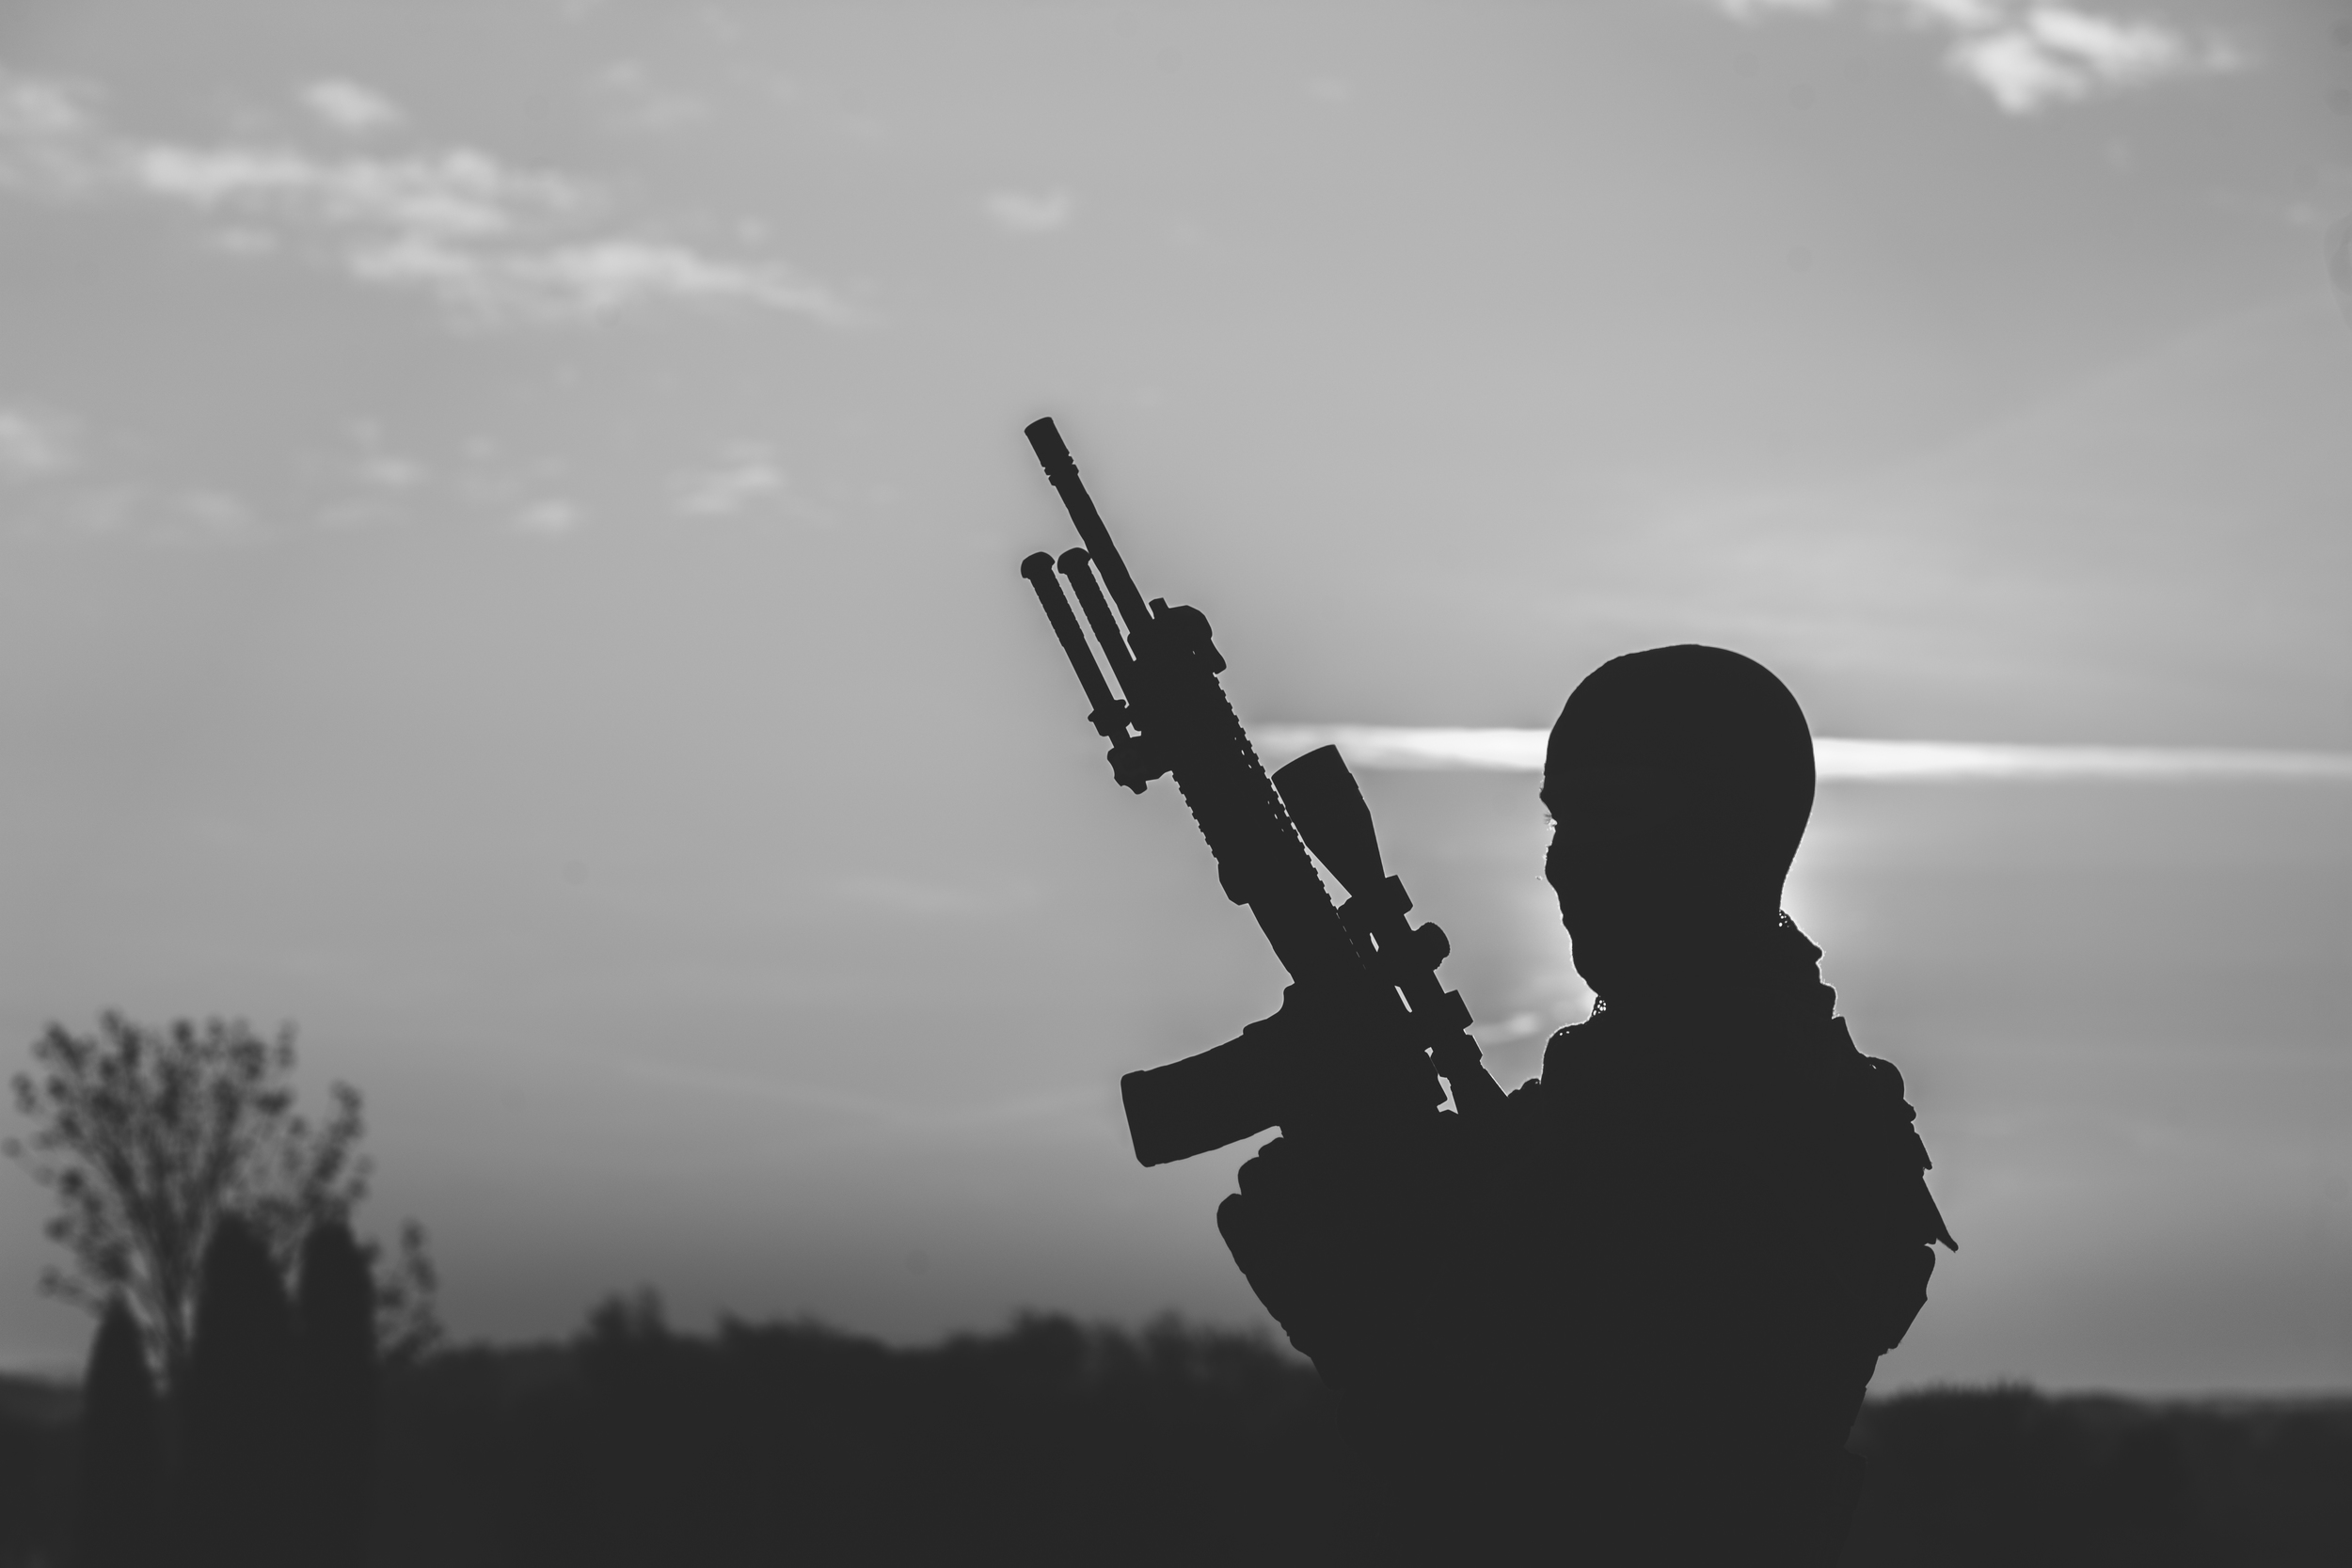
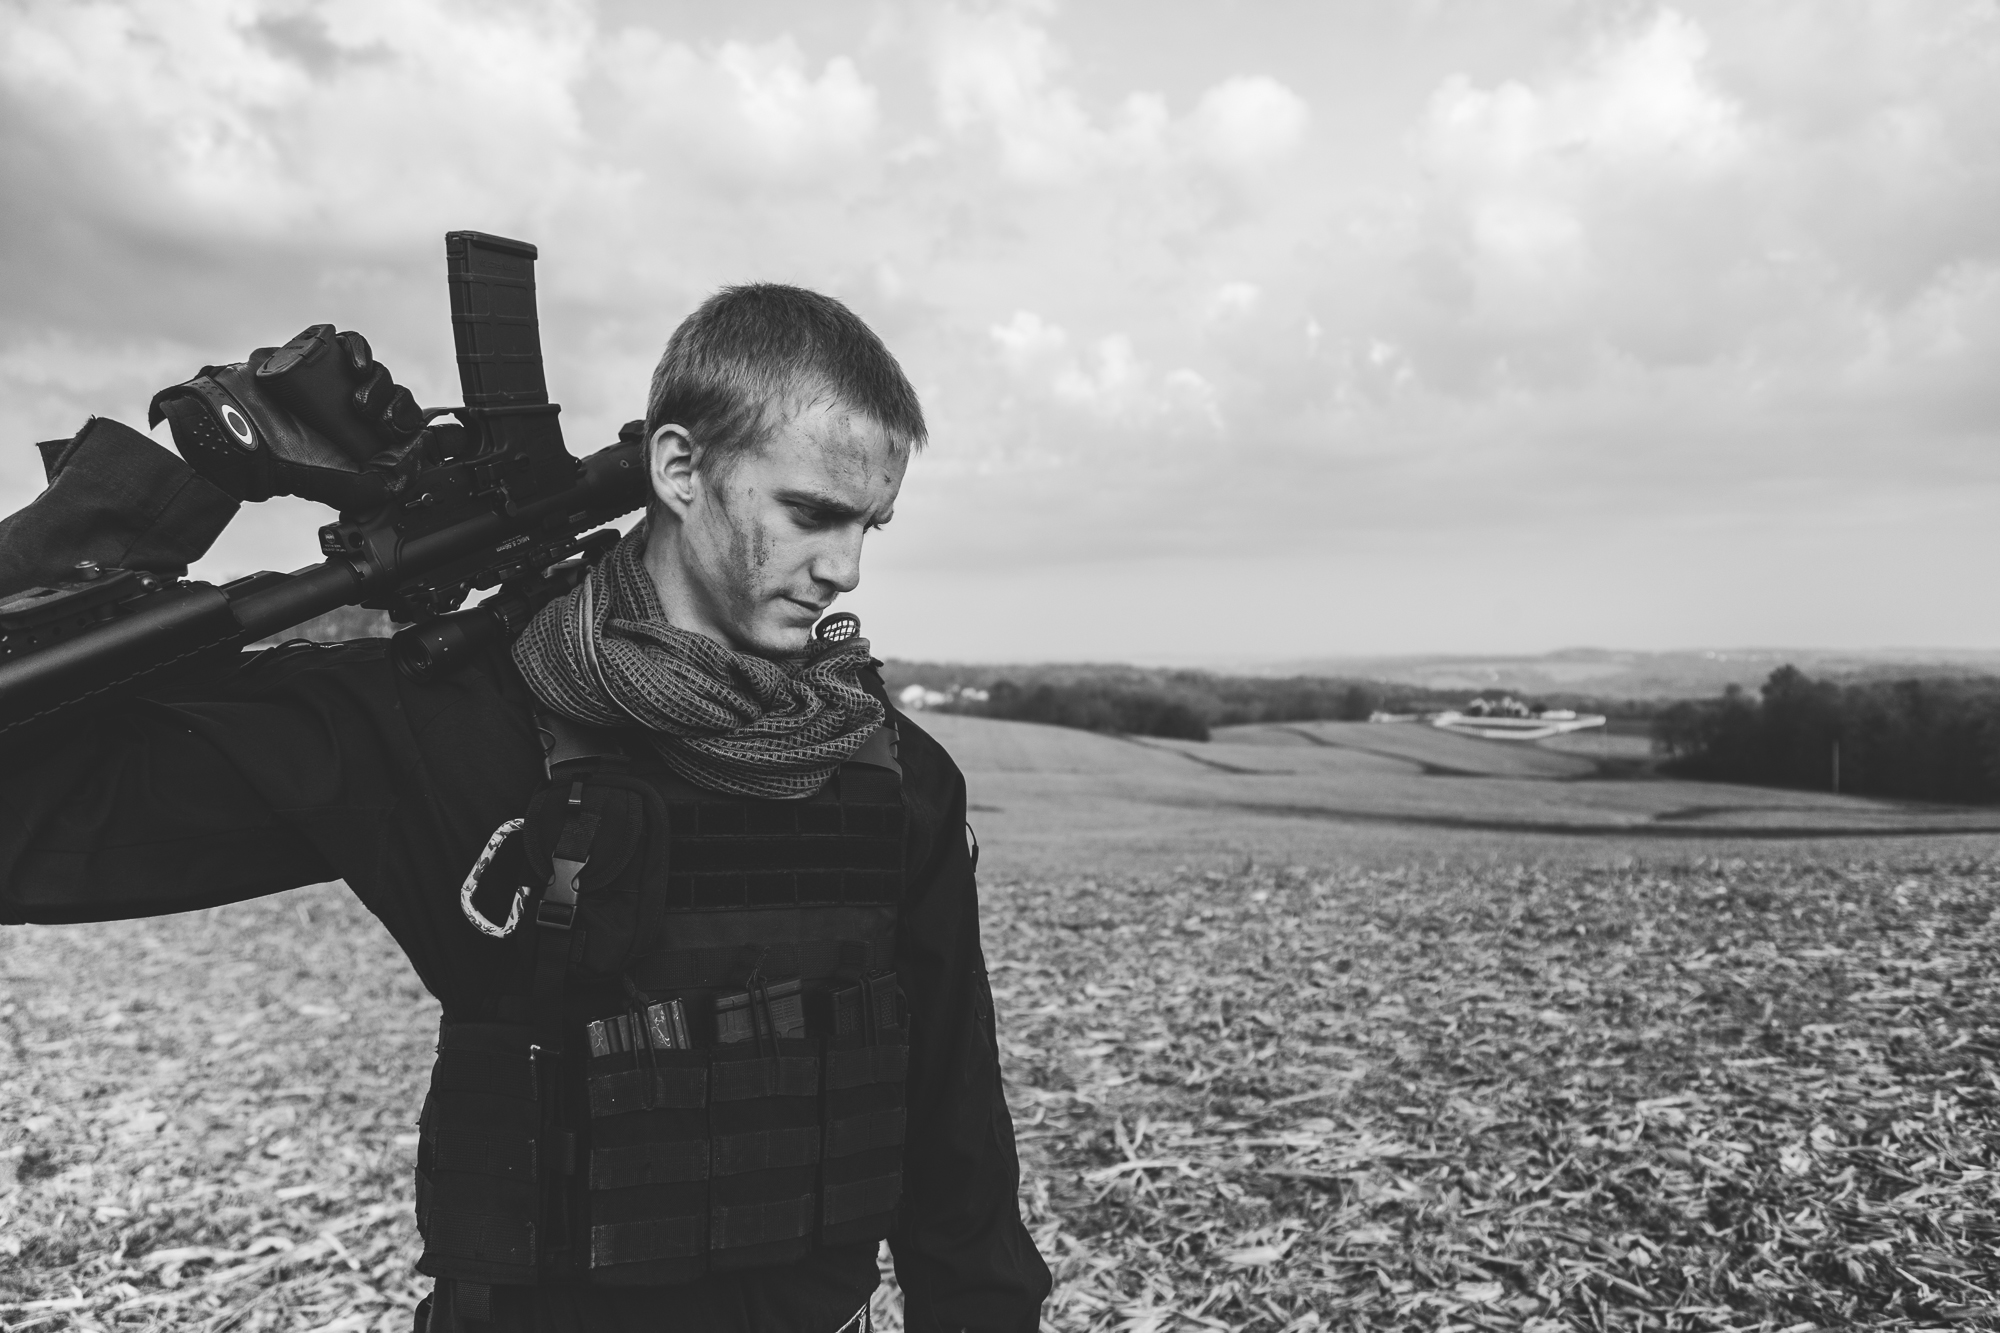
Final image from Collin's shoot used for my print portfolio.
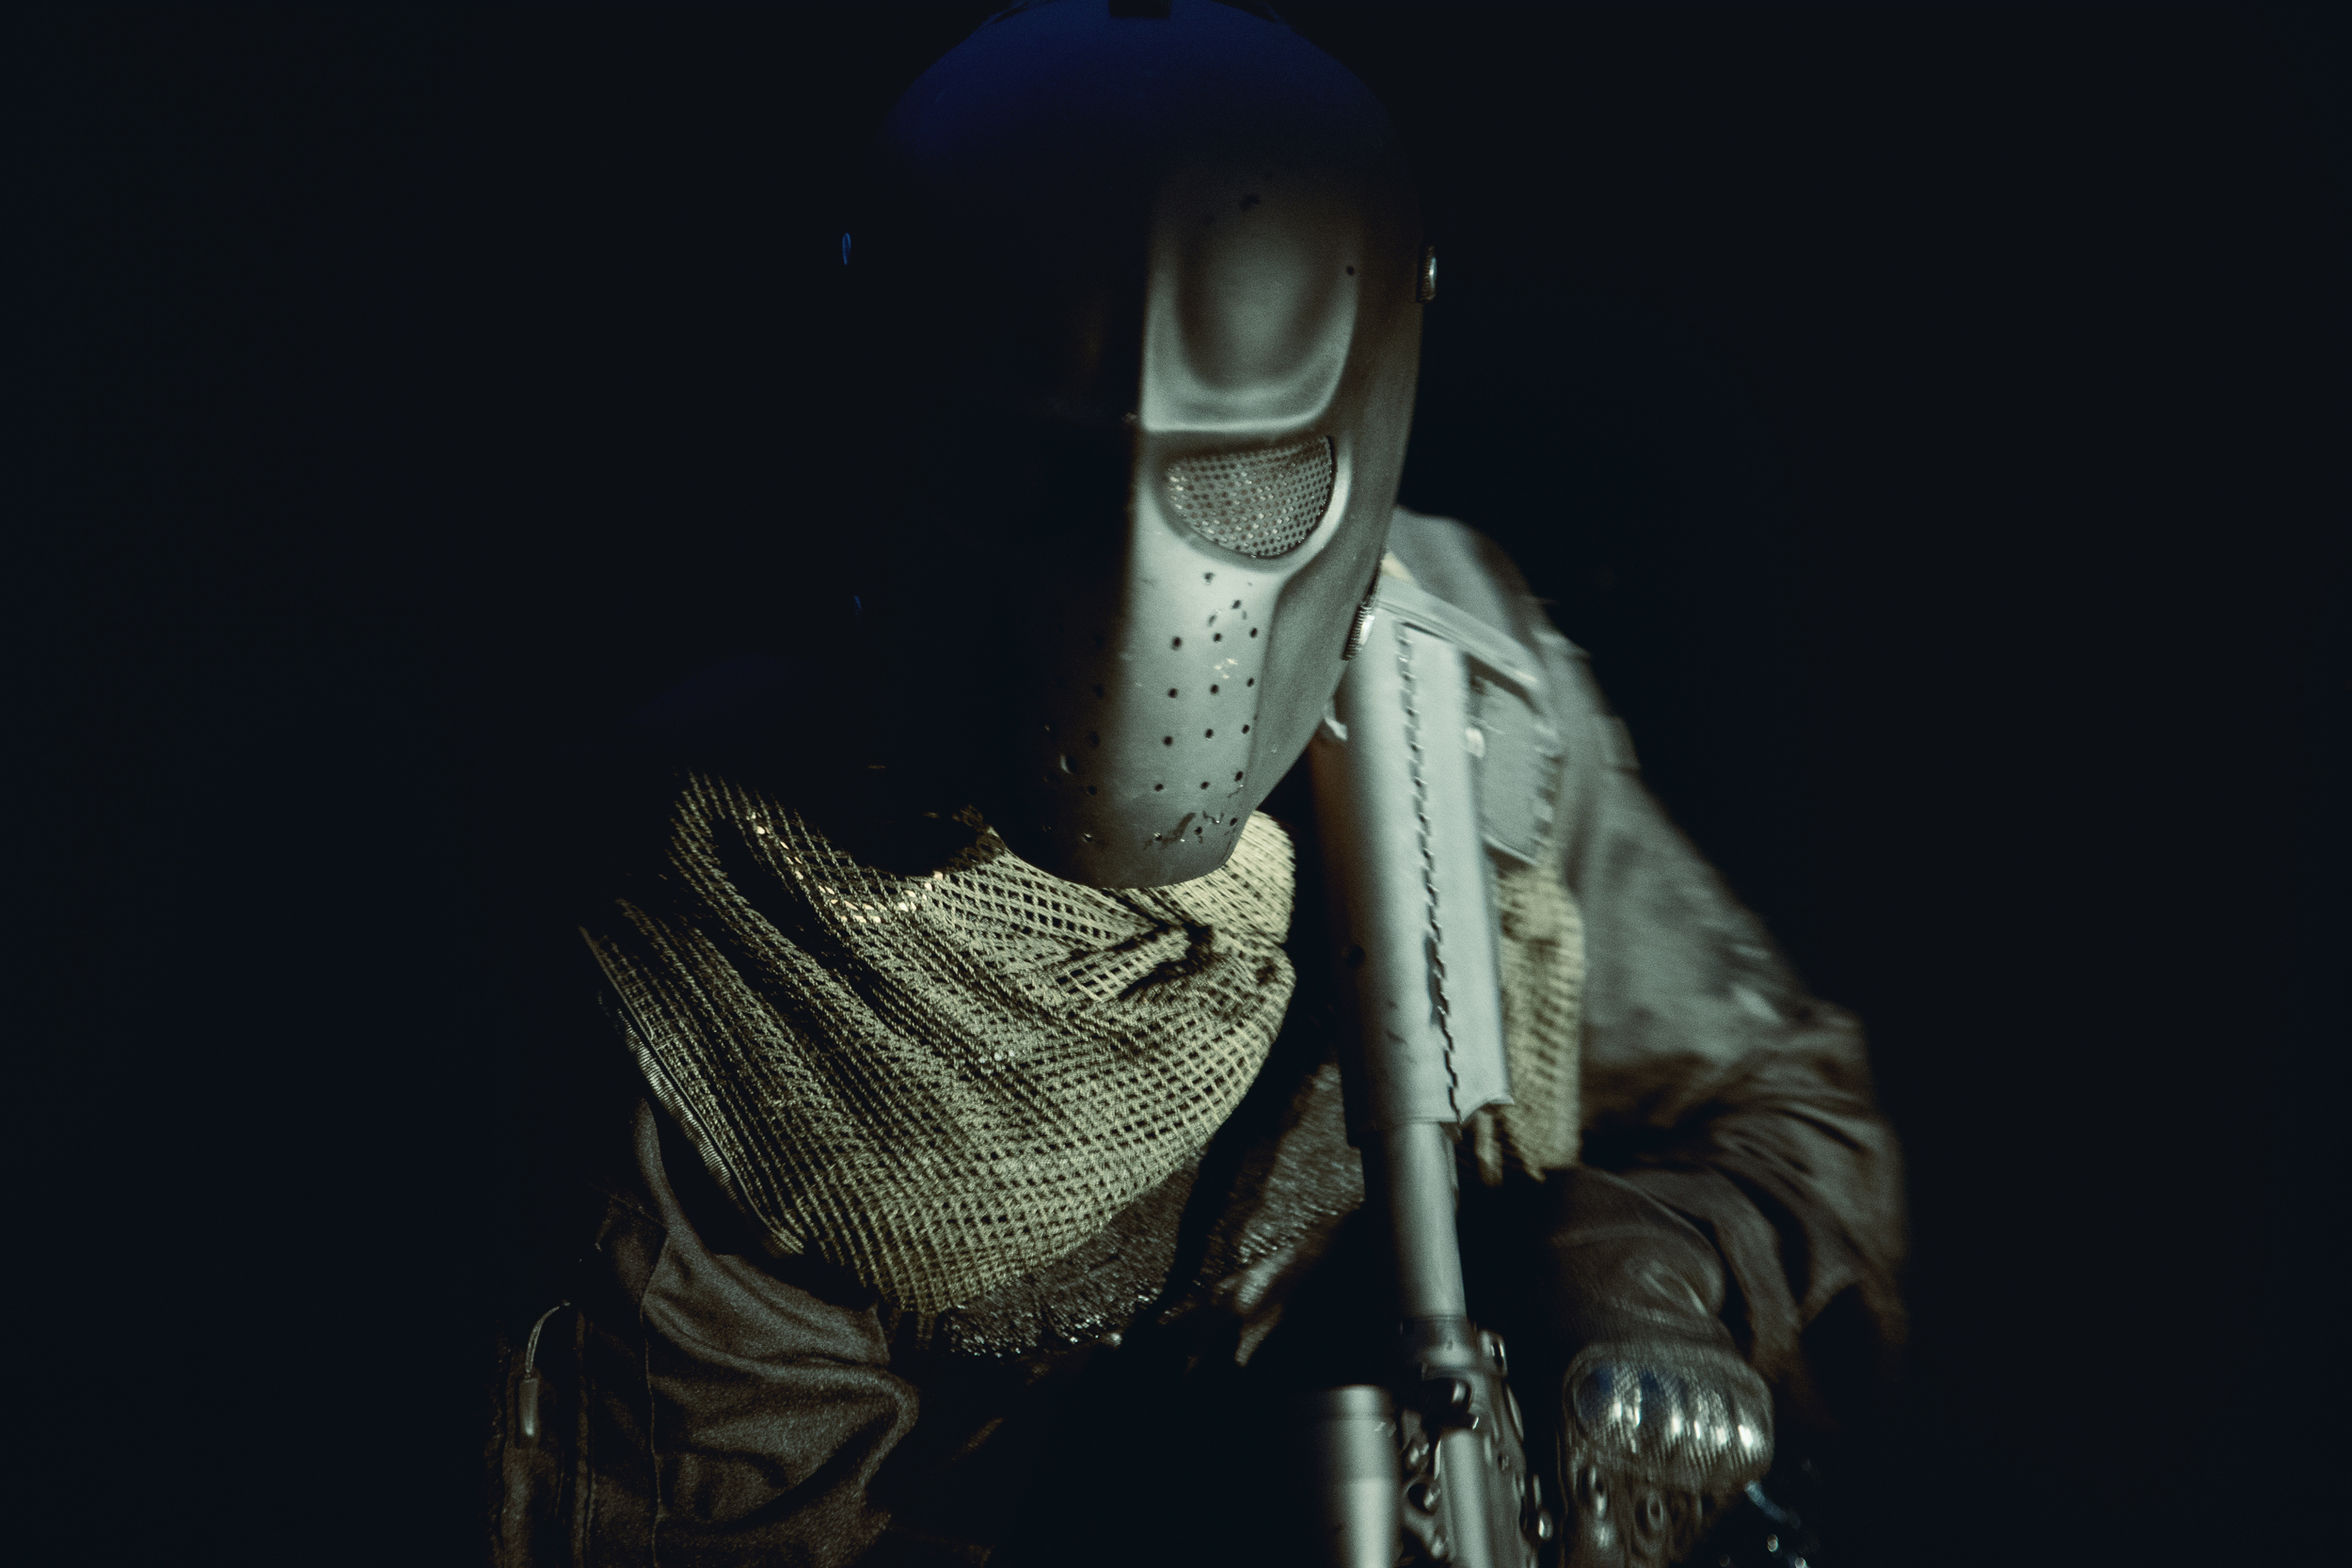
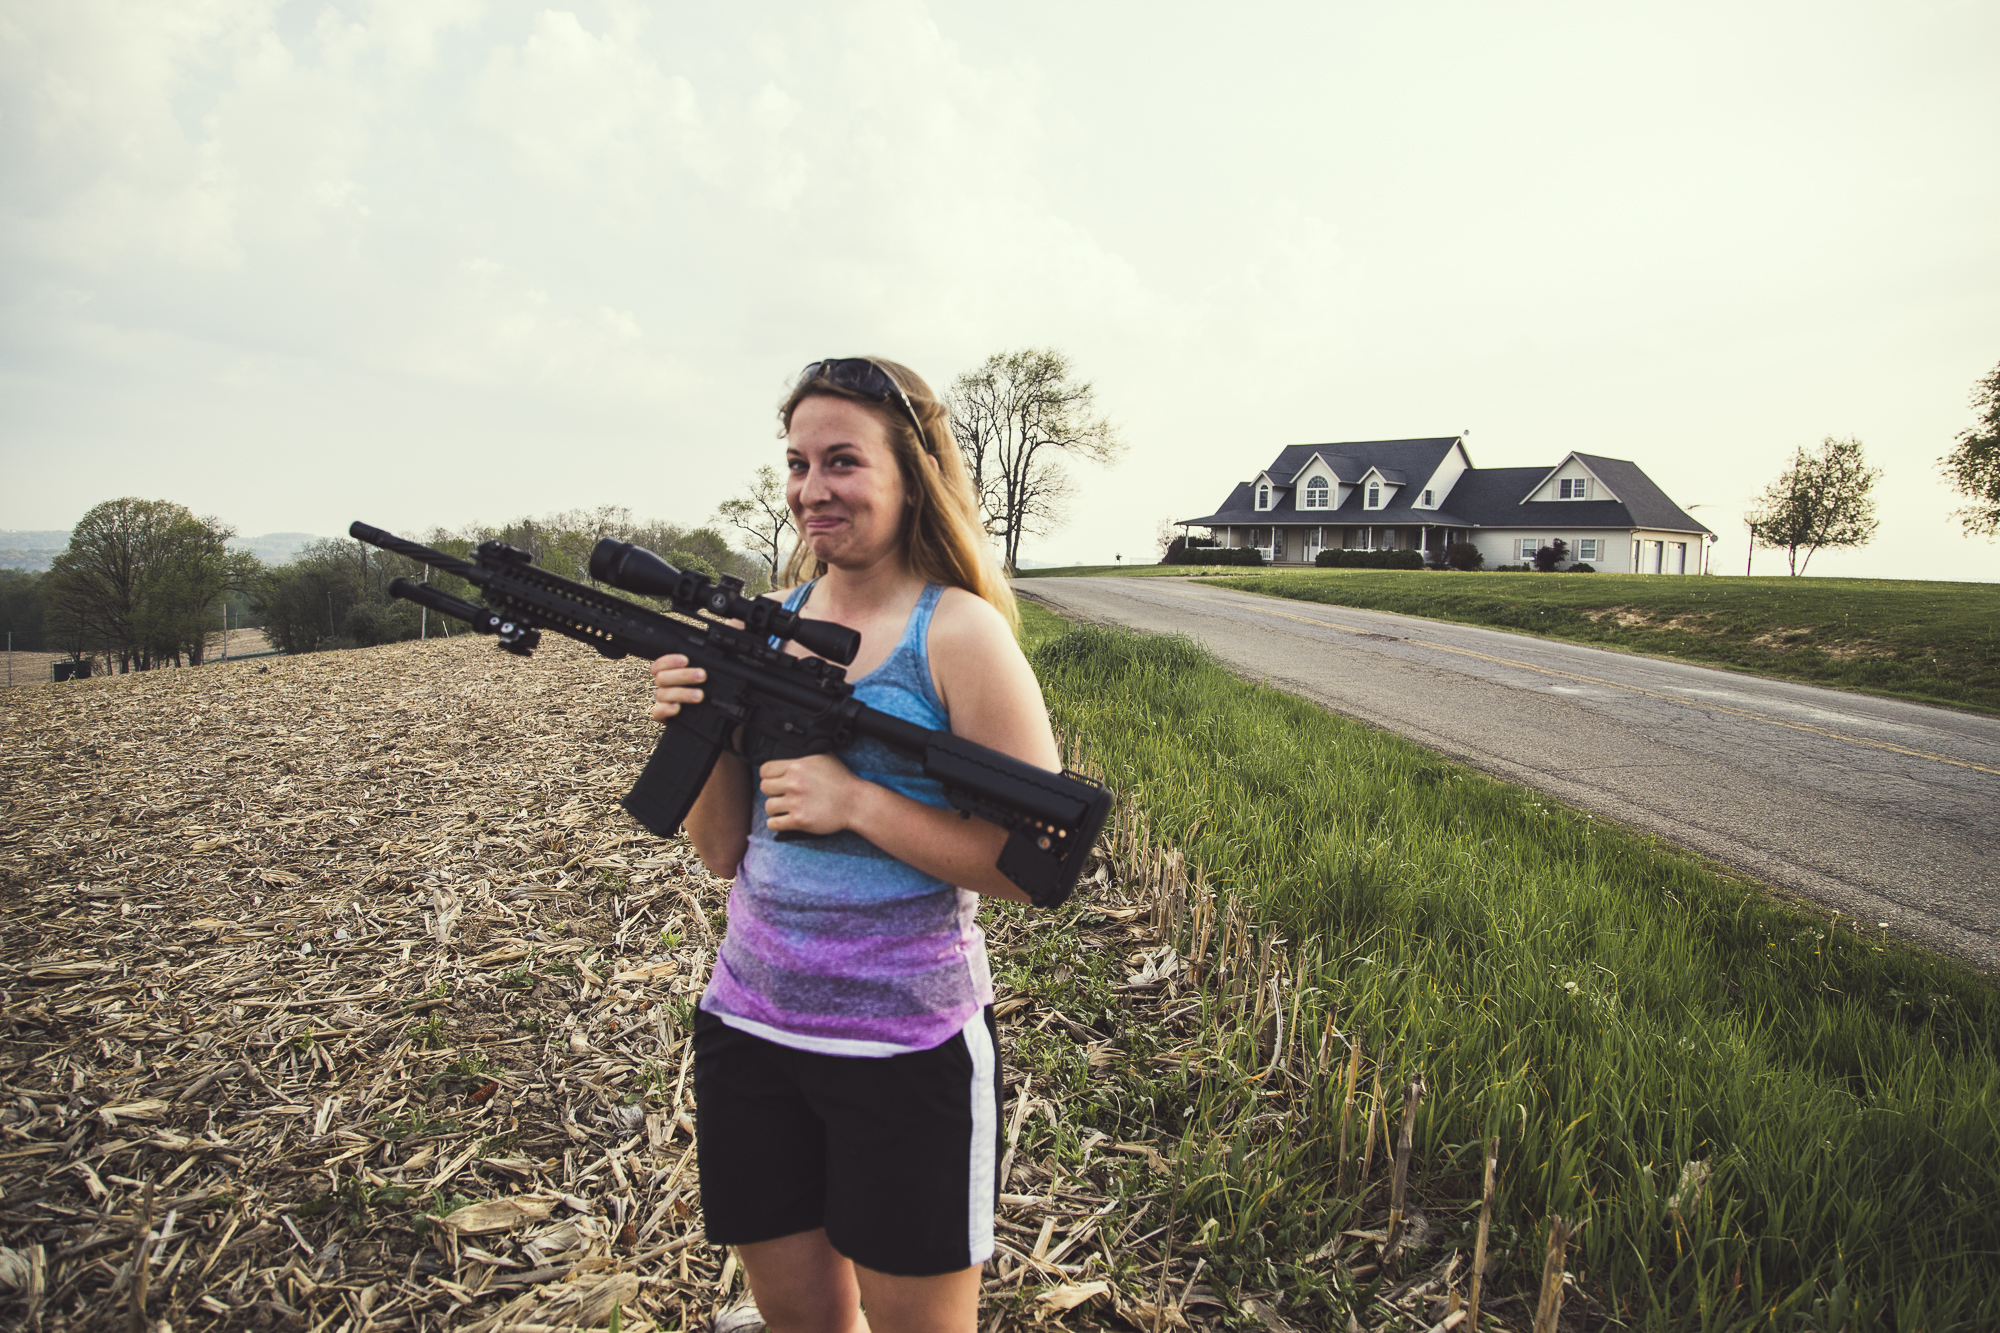
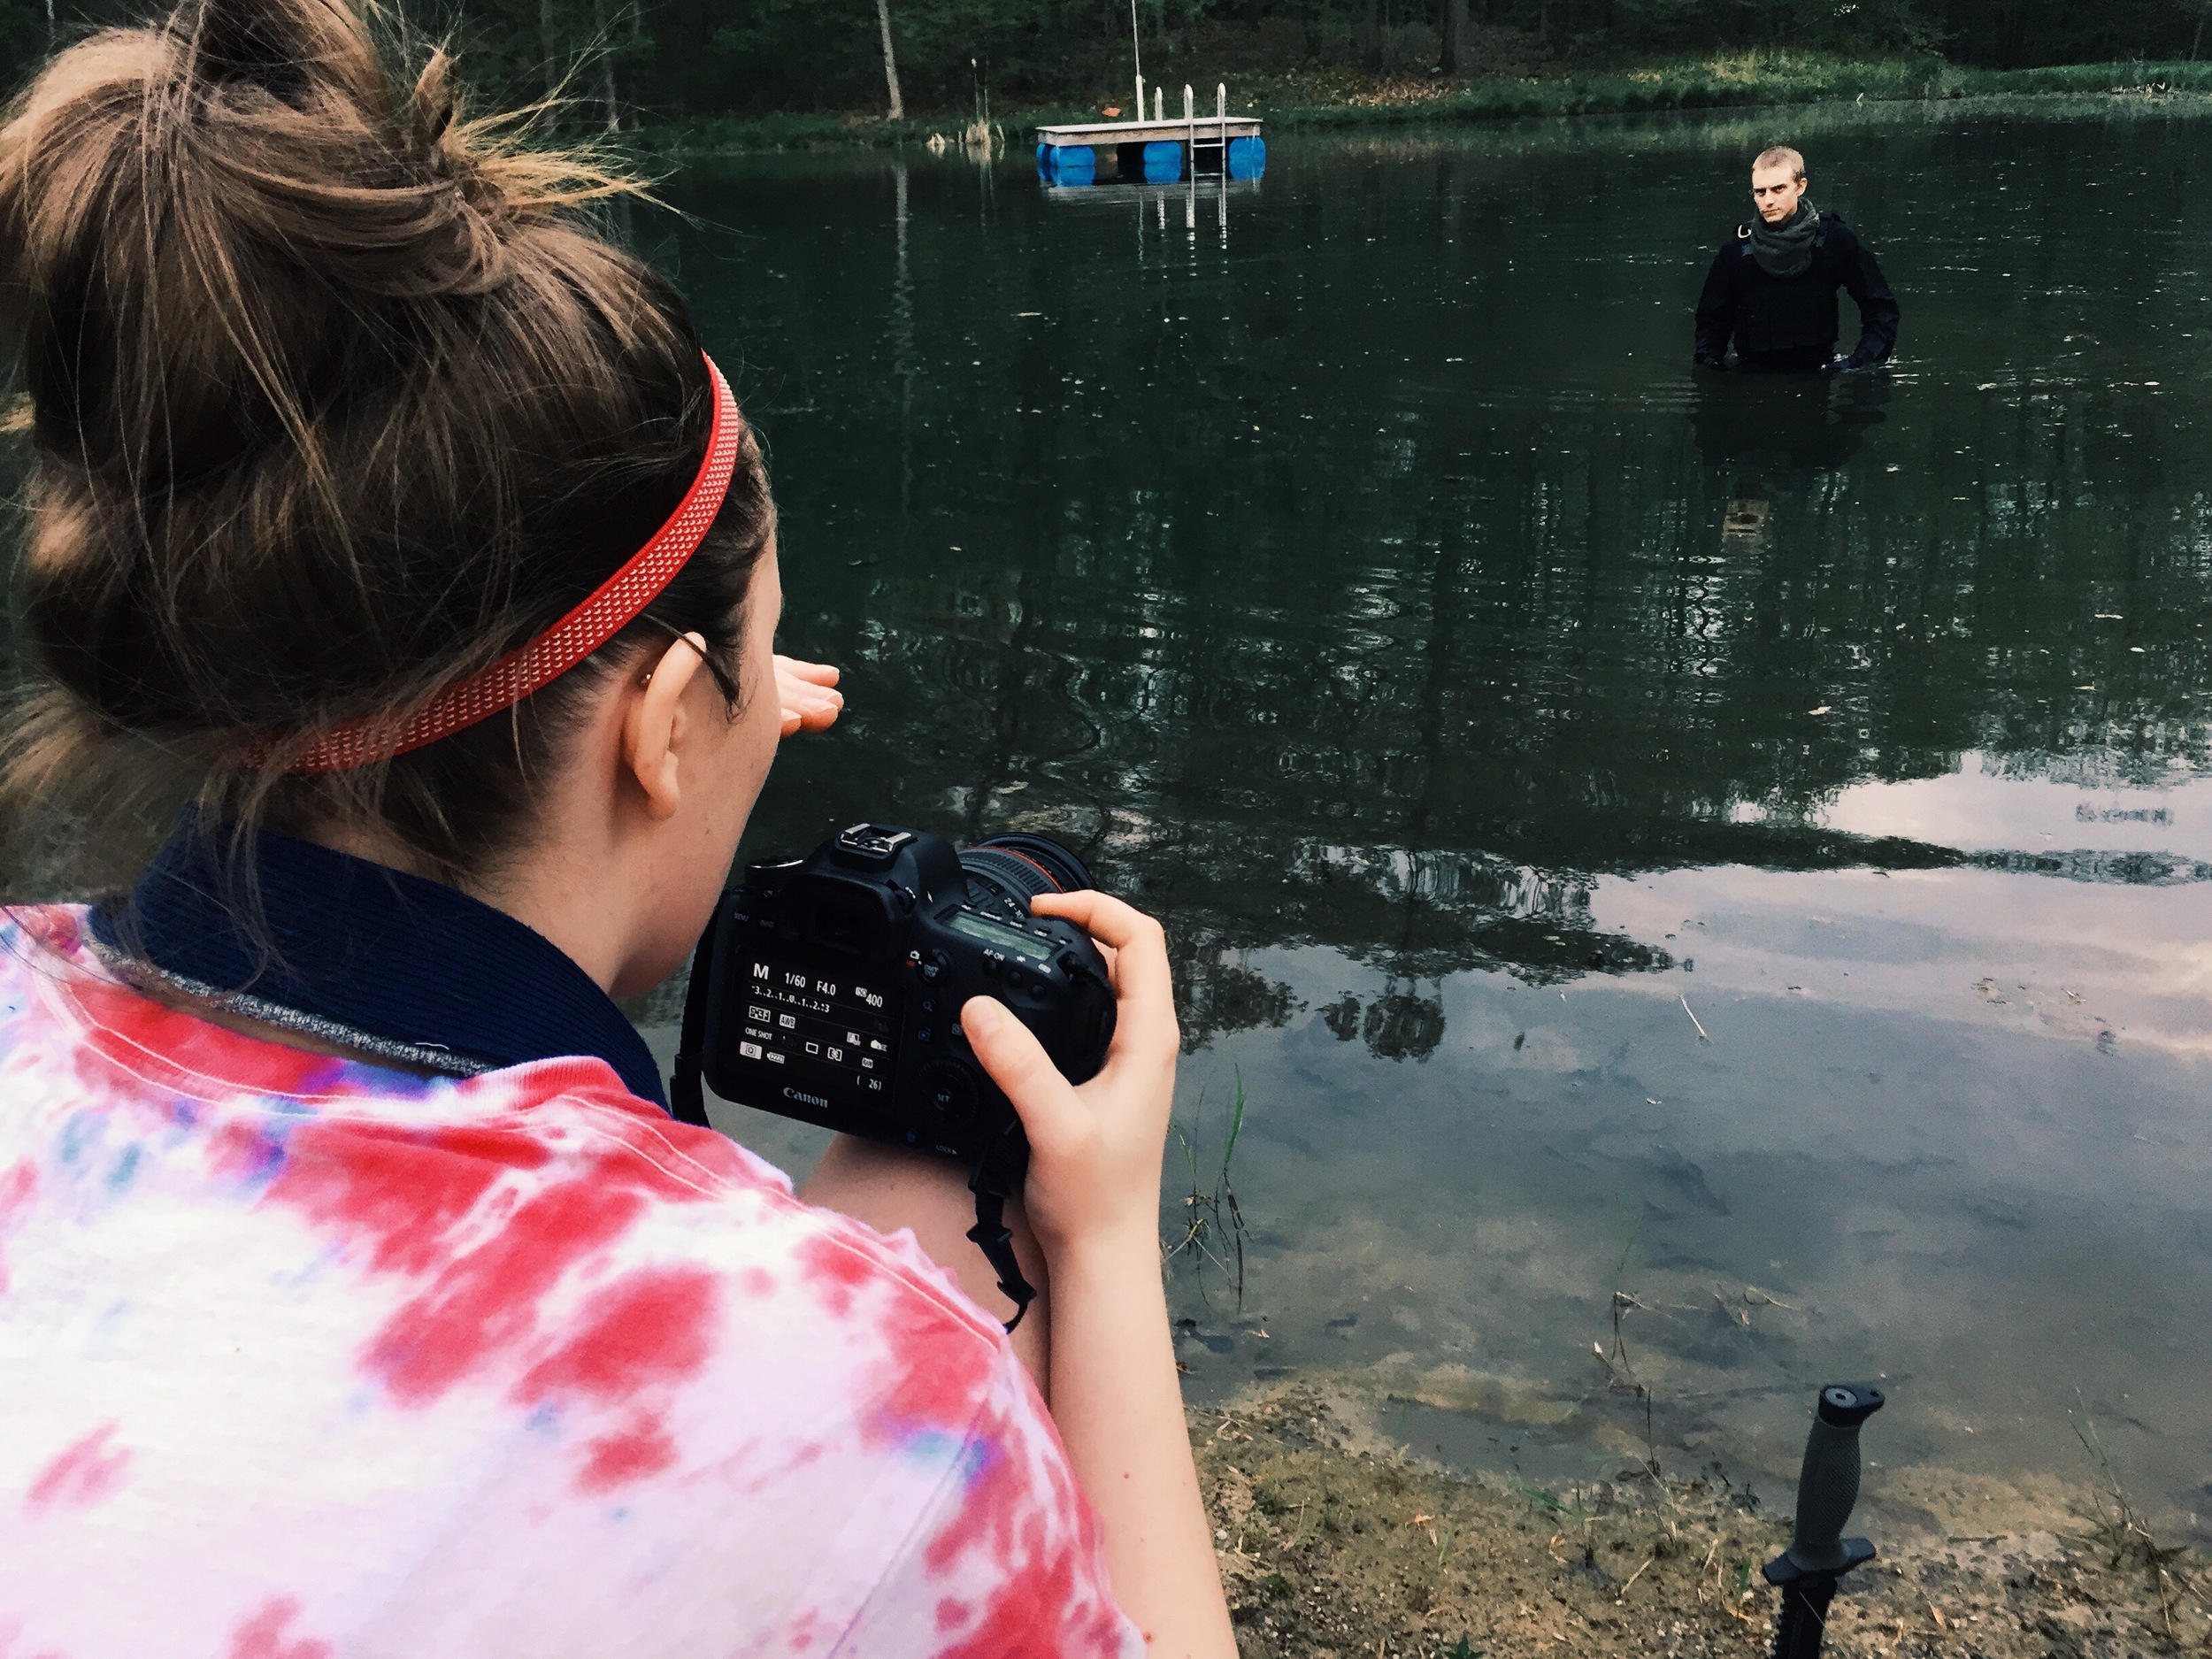
My inspiration for this shoot originally came from Call of Duty. My brothers used to be in love with the game, and gosh darn it, their promo photos are so good. Google Image search "Call of Duty" and you will agree completely. Plus, my friend Collin has been wanting to do a shoot for quite some time using all of his airsoft gear. We did the shoot in two sessions, one at sunrise and one at sunset, which makes for a pretty long day, but the crew had a nice long break for naps between. The team included Collin Galbraith as the model, Chelsea Black and my brother Jonathan Schonauer as assistants.
Although this was a personal project inspired by a video game, on a serious note, I'd like to dedicate these images to all the Veterans that have served our country. I take every thing I have for granted on a daily basis, forgetting the freedoms that I have, thanks to the brave American troops this country has, and our Awesome God. I debated sharing these images on Veterans Day because I didn't want them to be "offensive" in any way to make military or war look "easy" or "pretty" with all the Photoshop and setting up this shoot took. And I hope that that message doesn't get passed on through the images. I want these photos to represent the soldiers as individual people and be a reminder of the incredible sacrifice they have made. It's not much, but I just want these images to say "Thank you!".
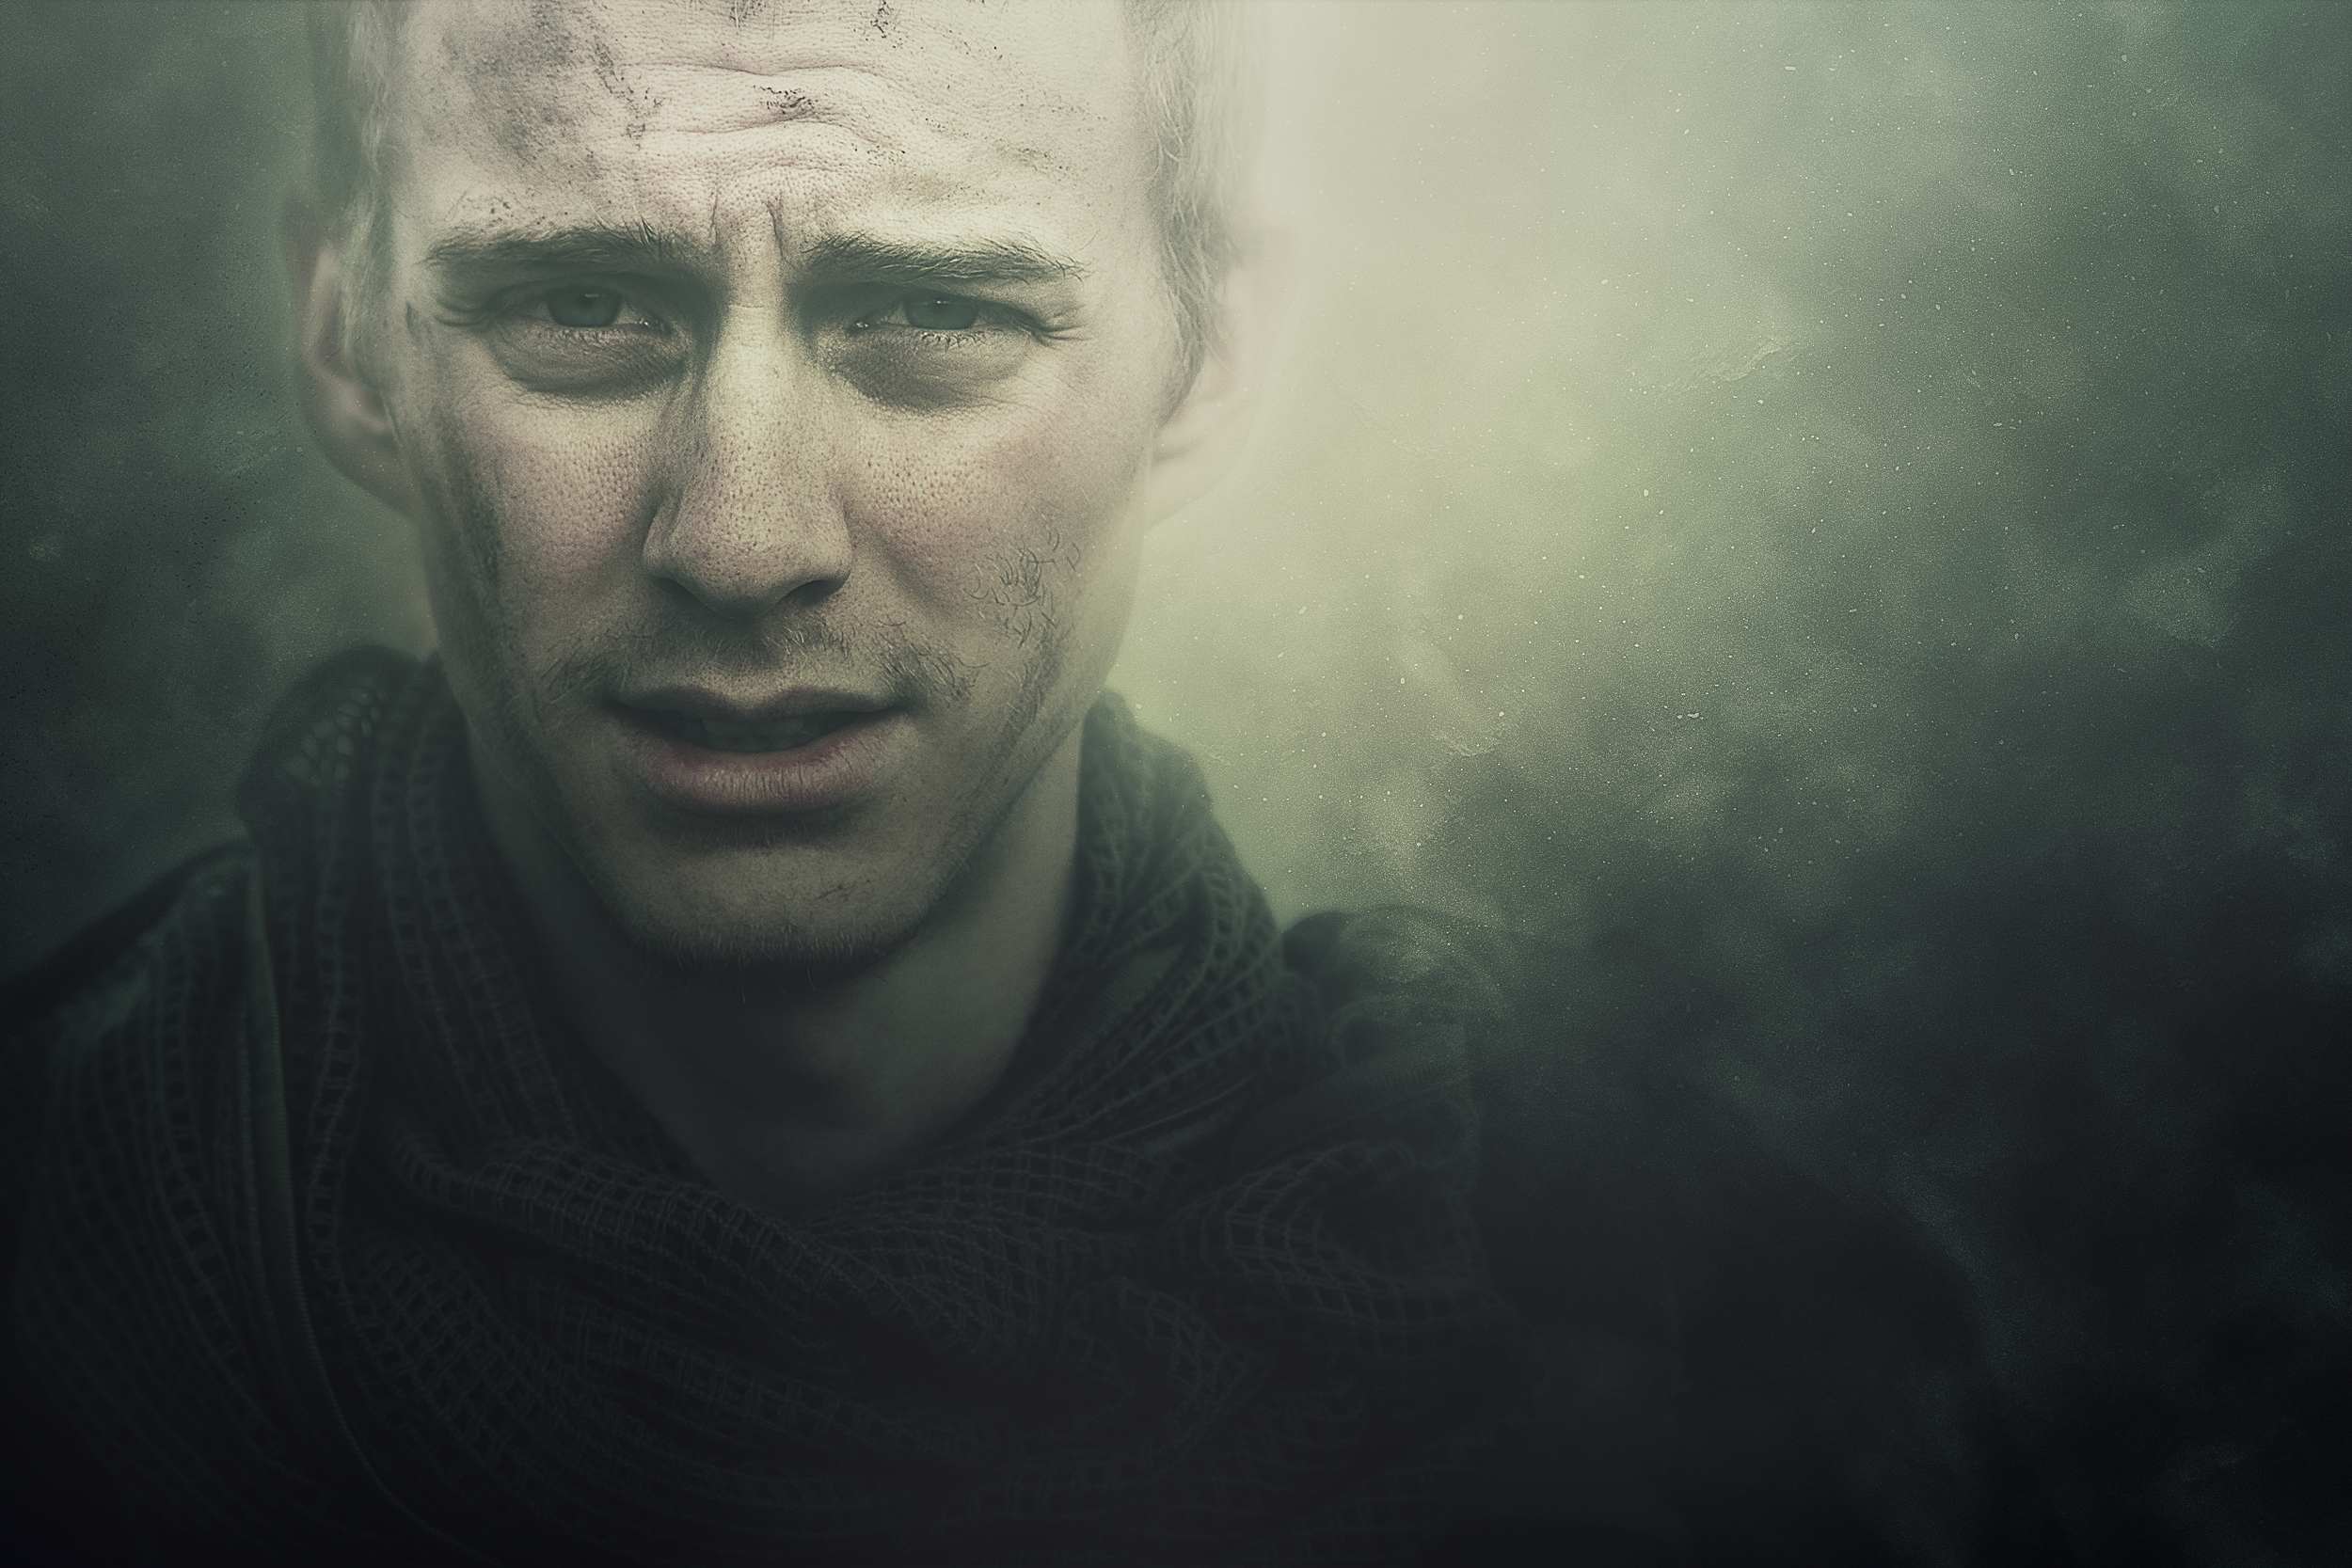

Below is a before and after, showing the extensive work in Photoshop to make the atmosphere eerie and intriguing in this specific photo.

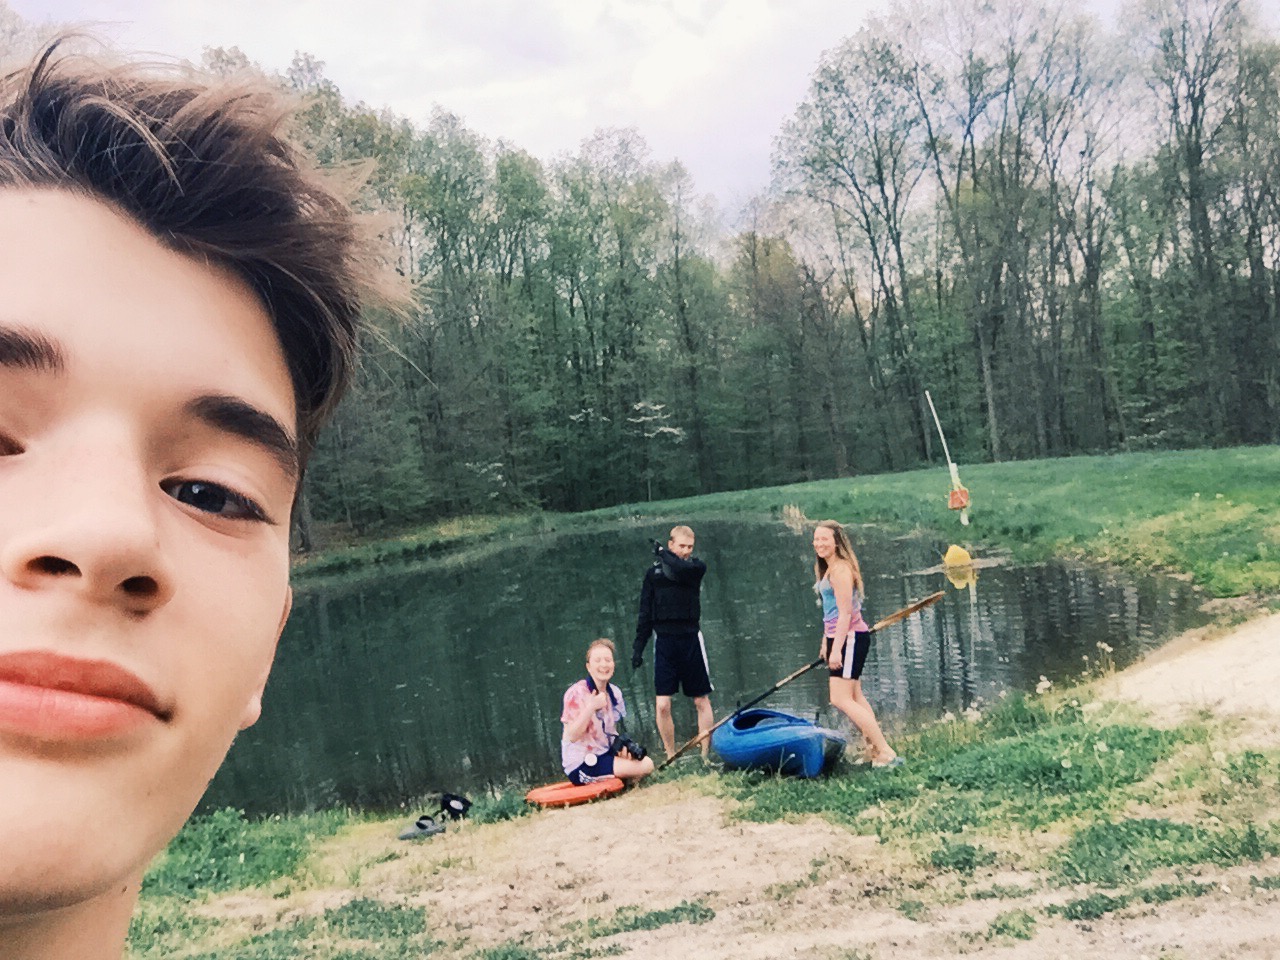
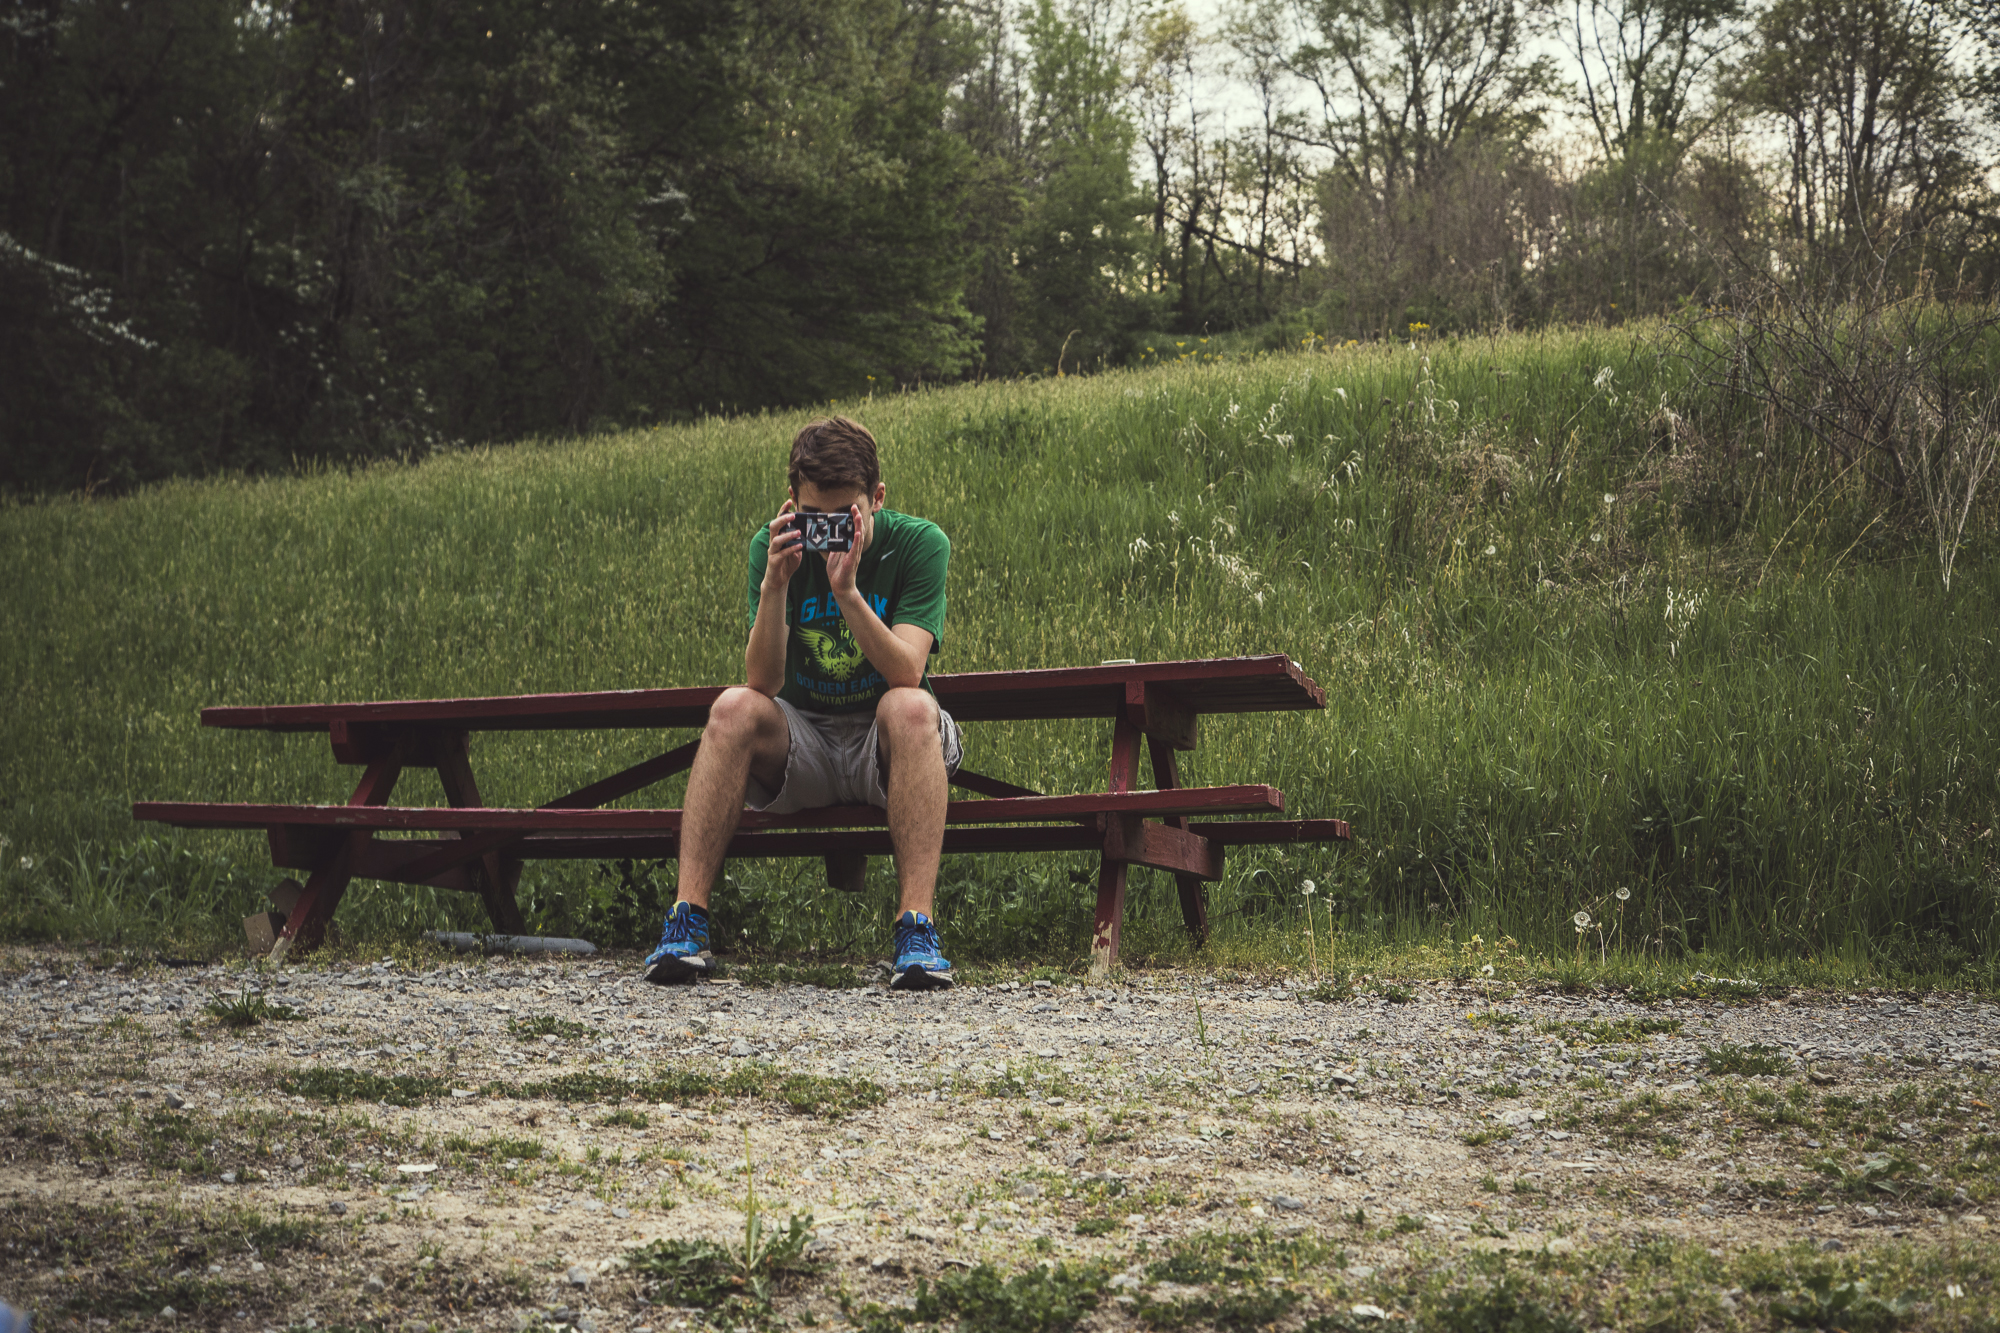
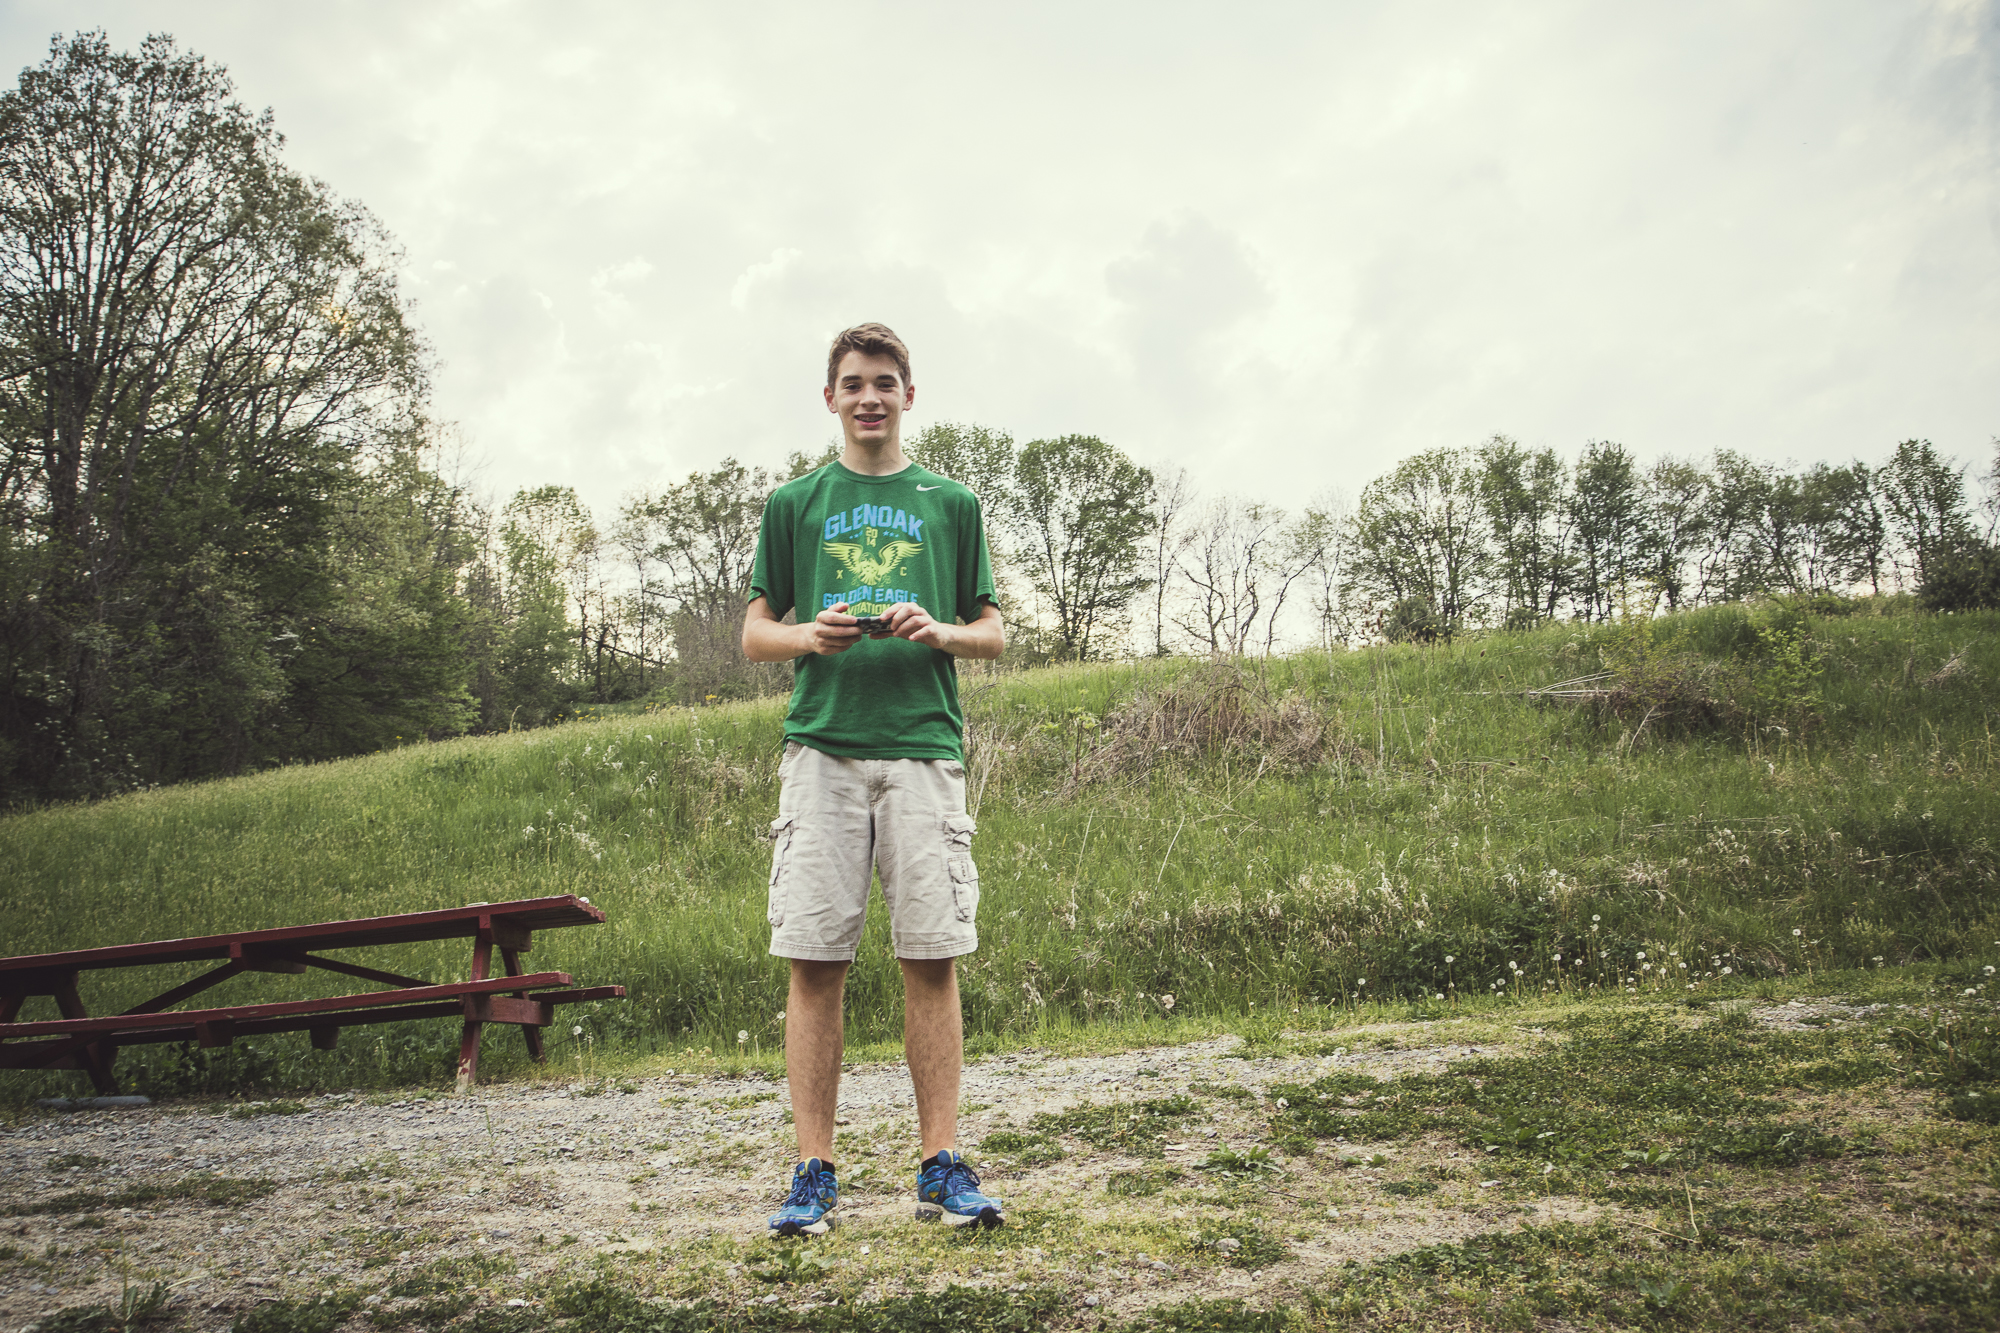
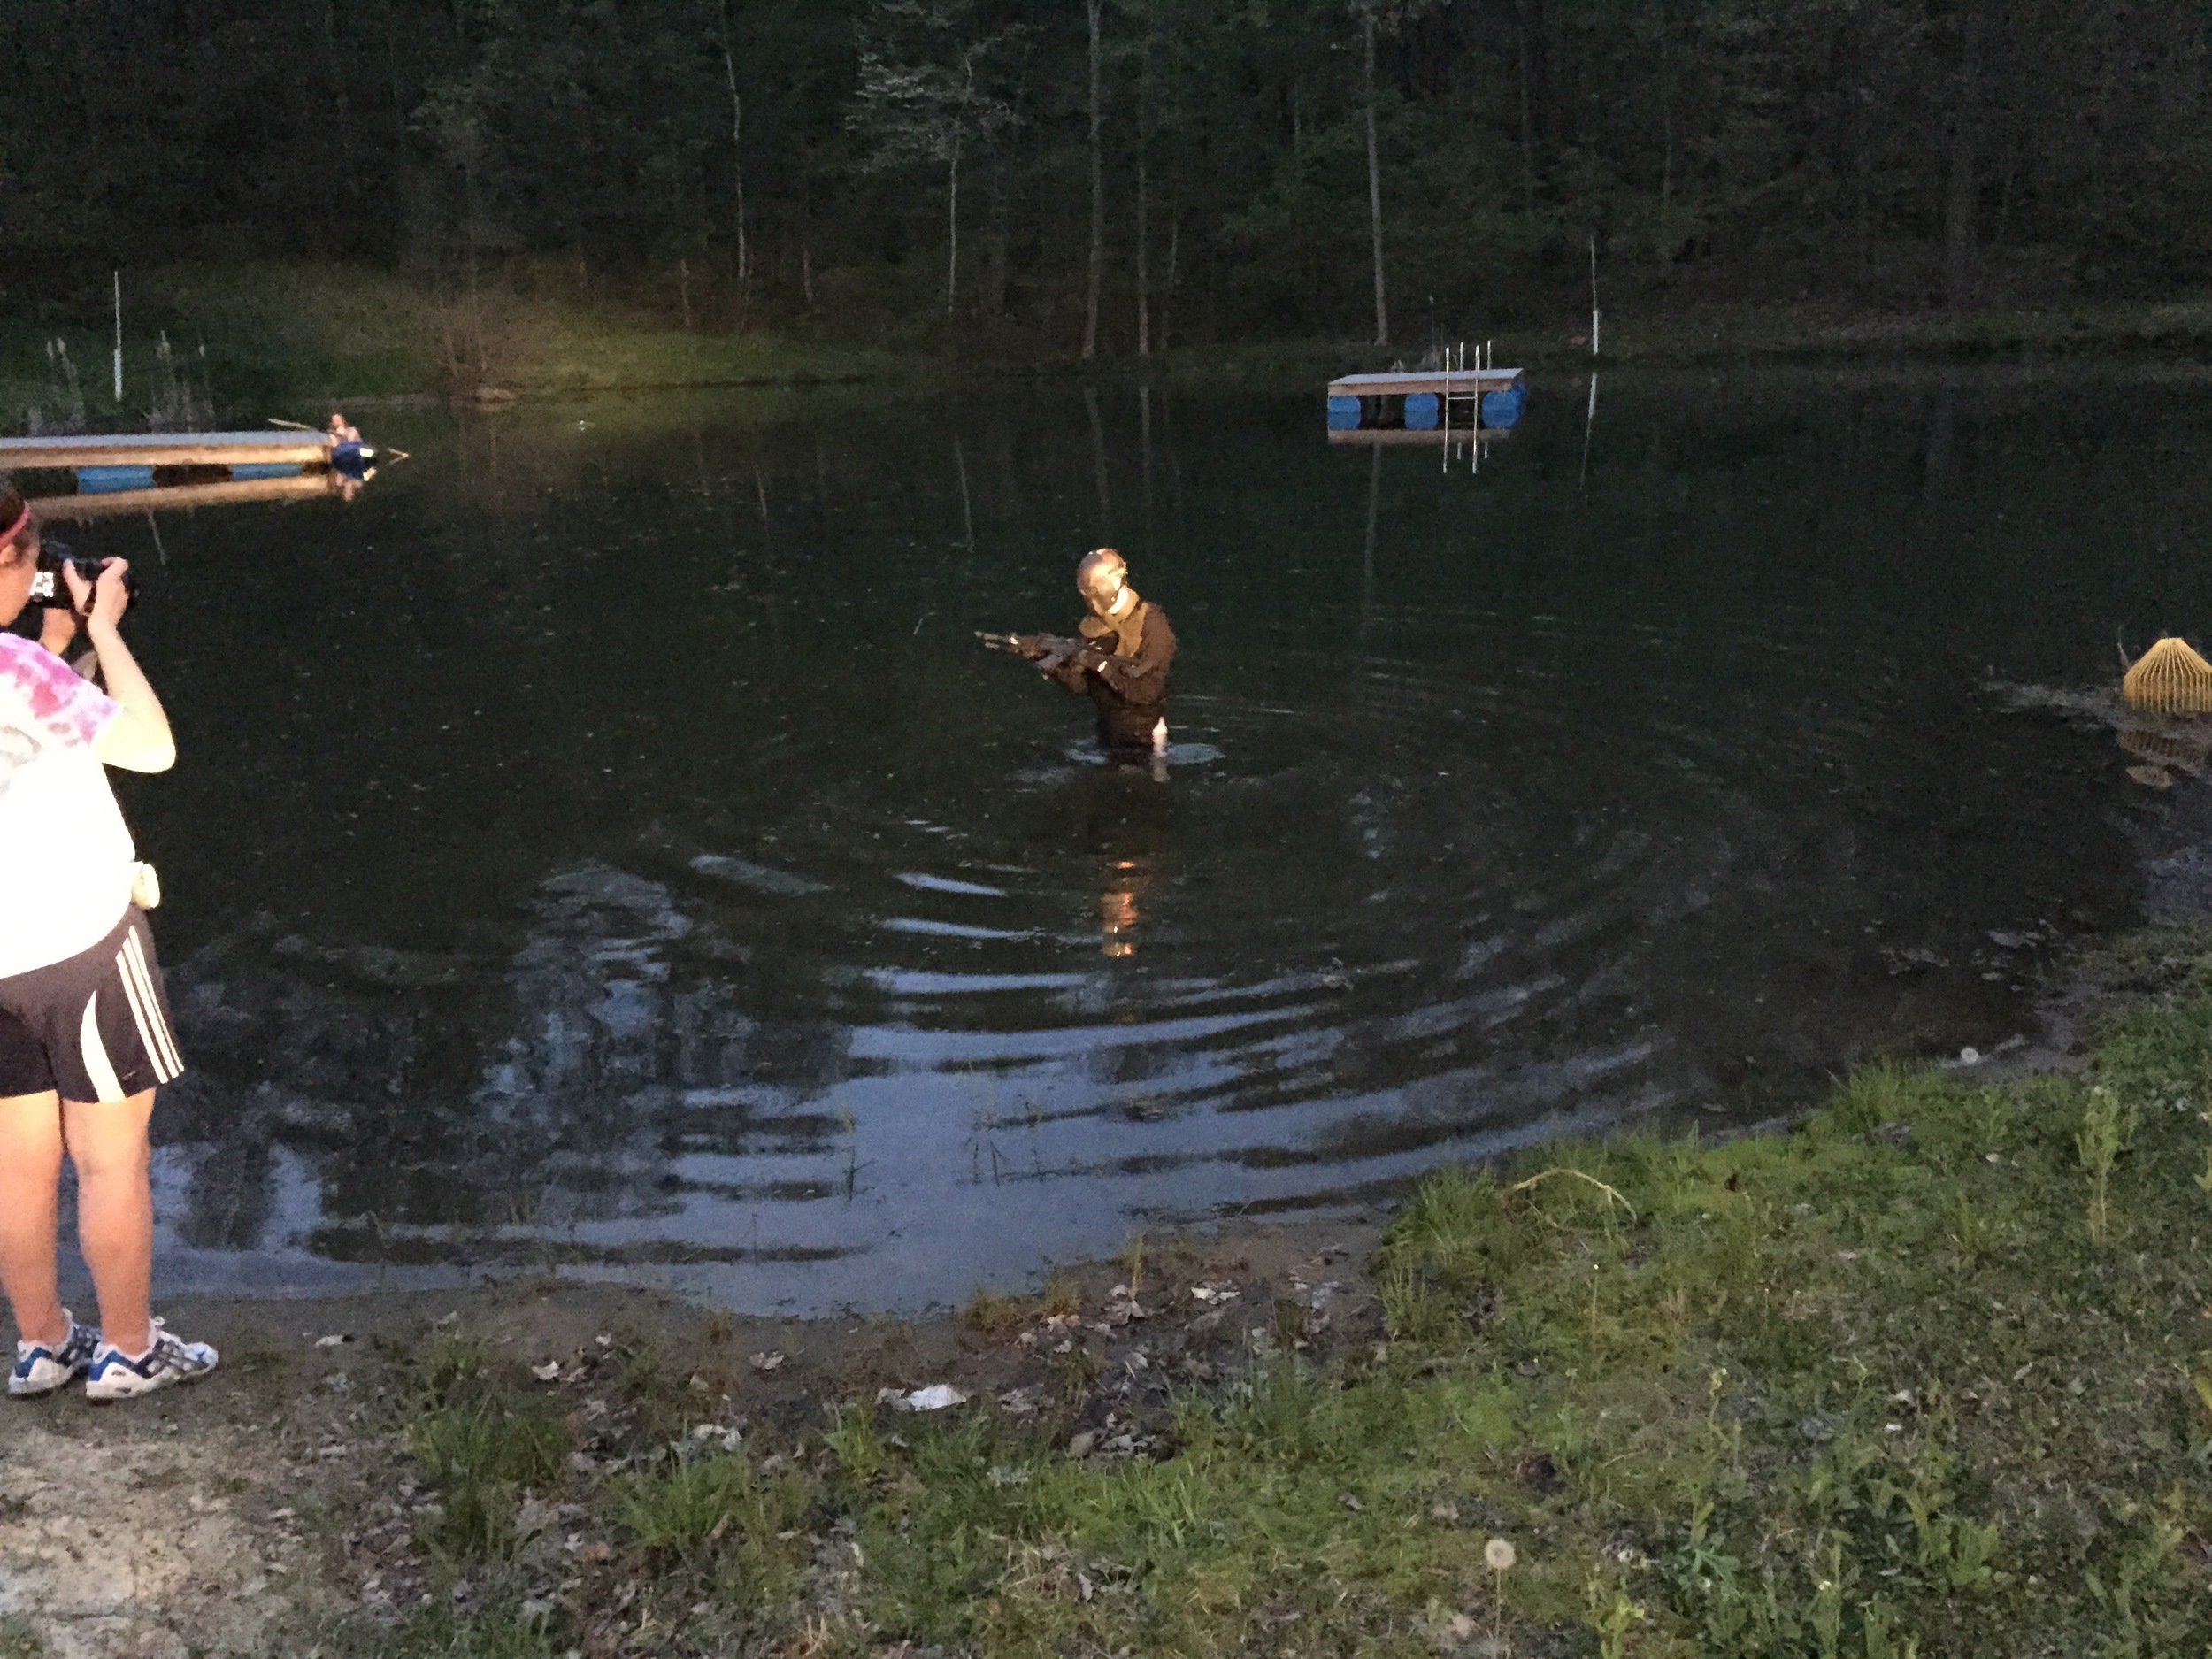
Behind the Scenes


Live by faith & share through fotos.

Digitally Restoring Prints
A before and after look at a W. Haskell Coffin print I digitally restored.
The more I work with retouching, the more I realize that I can't get enough of it! So when my uncle asked me to scan and restore a W. Haskell Coffin print that he had, I was up for the challenge. I've never retouched an old photograph or other type of print, so I had to take what I knew about retouching regular portraits and use it to digitally restore this print.
Here are the before and after looks with 4 hours of retouching this beaut.


Live by faith & share through fotos.

Internship with Kaela Speicher: Week 5-6
Before and after selections of a couple retouched images Kaela and I have worked on.
The past couple weeks have been insanely busy with my internship, classes, planning for graduation, and eating and sleeping somewhere in between. We have covered a combination of retouching methods and also adjusting the perspective of an image, especially in architectural photographs. Architectural photography is something I've never attempted, besides Instagram if that counts. But needless to say, I've never worked with correcting the perspective of an image further than adjusting the distortion simply in Lightroom. Now, since learning how impactful it can be, I take a look at the perspective and distortion of each image I edit.
Furthermore with retouching methods, Kaela has given me several of her files to retouch on my own with the methods we have covered, and then review them when I've worked with them. Below are two of the images a combination of both Kaela and I have worked on the past couple of weeks. All images belong to Kaela, and you can see more of her work on her website: Kaela Speicher Photography.


Live by faith & share through fotos.
Internship with Kaela Speicher: Week 3 (Part 1)
Three things I learned how to become more organized when it comes to client meetings, client shoots, and personal projects.
Being an artist, there's something that's wonderful and intimidating about talking to other people about your work, especially with clients. So this week, Kaela set up a client meeting, and I went along to observe what needed to be covered, and how to prepare for it. Kaela met with her client for a future shoot geared toward revamping a modeling portfolio. Goal #4 on my list of things I wanted to learn through the internship was how to keep organized and schedule shoots in an organized, step-by-step way.
It's easy to become bombarded when dealing with multiple sides of a business by yourself, while coordinating client shoots and personal projects between a model, makeup artist, hair stylist, and personal schedules. It's a necessity that I learn how to keep this balanced and keep some sanity along the way. Not only did Kaela's men's fashion shoot the previous week help address this goal, but observing a one-on-one client meeting was so beneficial to understand how to keep organized, and how to take notes about what should be planned.
I learned 3 simple steps to keep organized and your sanity from all the elements involved that must come together.
1. Prepare. After the initial interest from the client, make an inspiration board for what he or she is looking for. You can also send this collection to hair and makeup artists you will be working with, if they are involved in the shoot. Write down any questions you have for the client, and make sure you bring these questions and a pen and paper for notes. Have an ideal schedule ready to share with the client, and you can make minor changes if need be.
2. Meet. Meet with the client (cute coffee shops are the best) and come to an agreement on what you are able and are willing to do on both ends. Sign contracts and model releases for your personal records, and have a copy available for your client. Plan specific wardrobe, hair, makeup, and locations to send to the rest of your team. Mark out what needs to be done before the shoot, and schedule days to meet these goals.
3. Organize. Make up an itinerary of the day of the shoot, and go over your checklist of client needs, location, wardrobe, equipment list, then update your creative team with this itinerary. Send any updates and keep in contact with your client so everyone is on the same page.
And bam! Whoever thought something so complex could be organized in such an easy way.
Live by faith & share through fotos.

Internship with Kaela Speicher: Week 1
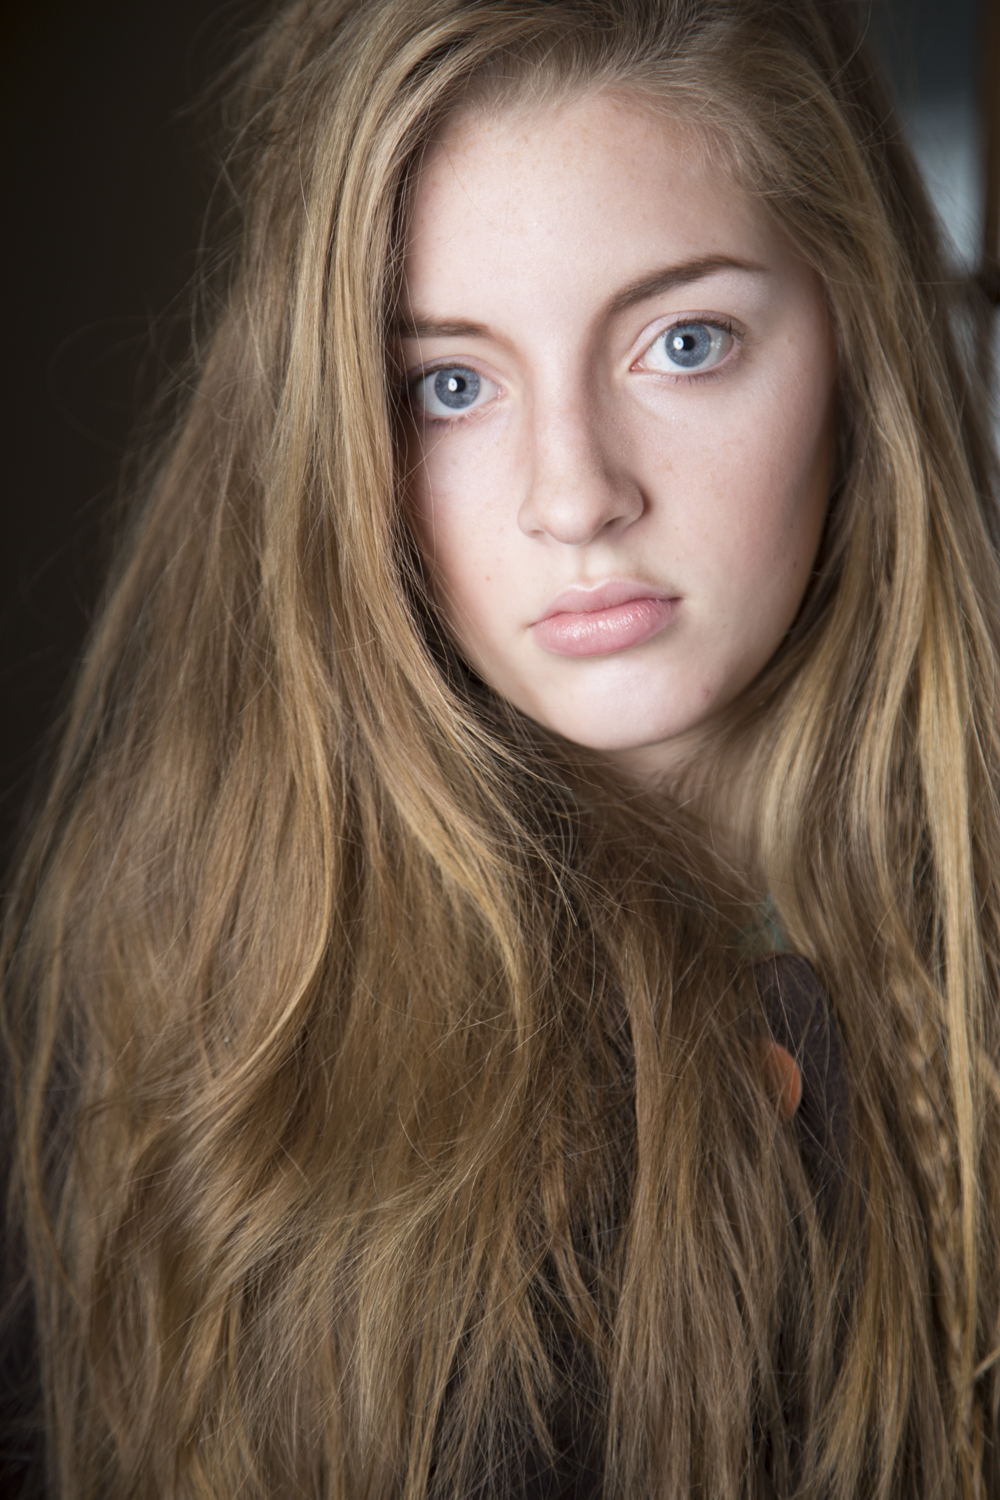
My first week interning with Kaela Speicher, and a recently retouched image from a past shoot of mine, edited with retouching techniques taught by Kaela.
This past Monday was my last, first day of a new quarter as a photo student at The Art Institute of Pittsburgh. Oddly enough, I woke up bright and earlier with a huge smile on my face and excited to go to school. Which, in the rule book of a senior college student, I'm assuming that breaks all of them. Needless to say, I was more than excited to start learning one-on-one with Kaela beforehand. We met for our first official internship meeting Monday morning, covering Lightroom workflow and the beginning of retouching.
Retouching and post-production work 'makes my heart happy' if I can put it that way. I love the complete process of making a photo into another that's entirely new. I like to think that I can see the potential a photo has after I've shot it- not because it's a bad photo, but just how much more it can be elevated with post-editing. Retouching is a long process. And when I say it's a long process, I mean a while back I had to go to the chiropractor to get my wrists adjusted because I spent that much time at my computer. As some people dread the editing process, I highly enjoy having endless possibilities of altering a photo, literally at your fingertips. It can get very extensive at times, but seeing the difference from before to after is so rewarding.
Kaela sent me several photos she had shot, to practice her retouching technique. So much effort and time goes into editing, but the results aren't technically even noticeable, because the goal of retouching is to make it look like the photo wasn't touched. The file she had sent me as a reference she had edited had both before and after, and my jaw literally dropped when I saw how much work had been put into the photo. Her editing is so flawless that it's difficult to find the hours invested in such a beautiful image.
Through the week I have been working on different images, practicing the retouching technique that Kaela taught me. There is oh so much more to learn, and many more hours of practice to come. I came across a shoot from just over a year ago I had done with my sister when I first got my Alien Bee, and wanted to rework the editing and style I had previously. Below are the before and after shots- the straight out of camera image and my recently retouched image.


BTS of Out of the Fog: Shiloh Leath (Part 2)
Part 2 of the behind the scenes look at the final shoot with Shiloh Leath for Out of the Fog, focusing on the specific styling, use of fog, editing techniques, and symbolism in final images.
As mentioned last week, this week I would like to share my thought process behind the specific look shared through the tones, use of fog, and other editing techniques in Shiloh's Out of the Fog shoot, along with the symbolism and poetry in her portraits.
Why did I choose specific lighting set ups and editing techniques through tones? For this project, I was highly inspired by the works of Michael Bader, Laurie Bartley, and Jade Mai. Each of these artists' works has a feel of cinematic quality through lighting and editing techniques Their technical skills are combined with symbolism, that is presented through their models and scenes, making them appear significant. By editing in a cinematic type style, it shows that the model is part of a story, and have their own story.
Why is there fog? Fog causes confusion and a loss of sense of direction, which can mean either physically or mentally. Fog can also represent danger as it hides things from us, like truth. So, in this series, the fog is presented as a symbol that represents all the cloudiness and confusion of who the model is, as they are literally coming out of the fog and revealing who he or she is.
So why does her nose appear to be broken or cut? As mentioned last week, through the final images, I wanted to get across every essence of the pain that she has faced, and how she has risen from it. I wanted to present her in a beautiful way as though she has literally healed and risen up to where she is now, although the mark is left behind in a subtle way that may be noticed at first or second glance.
Why did I choose the outfit? Shiloh is a photographer as well, and works with mostly female models in the fashion and fine art categories. I wanted to portray her how she would portray one of her own models, as this art form of photography is so much a part of who she is.
What does the poem mean? The poem reads: "Buried alive/The flesh will fail./Into the fray,/Battle the veil." This poem follows the idea of Shiloh rising from the pain that she has suffered from, and that physically we weaken. For the second portrait of her, I wanted to have her picking up her dress and walking with such intensity as though she were literally about to go into battle ("Into the fray). Shiloh shared with me that she feels very strongly about feminism, therefore "Battle the veil", a veil as it represents female power.
Here are the before and after shots of each image.
Before

After
Before
After
Live by faith & share through fotos.